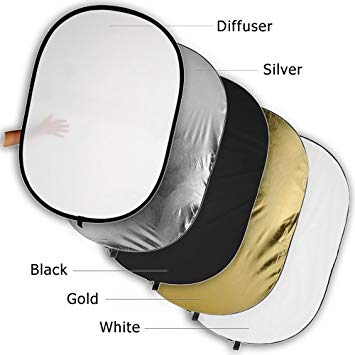
Reflectors

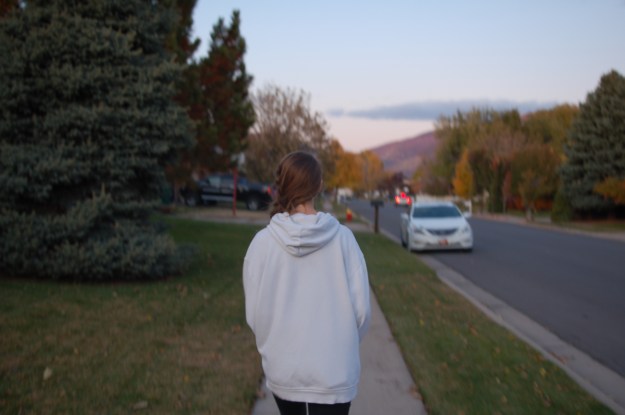
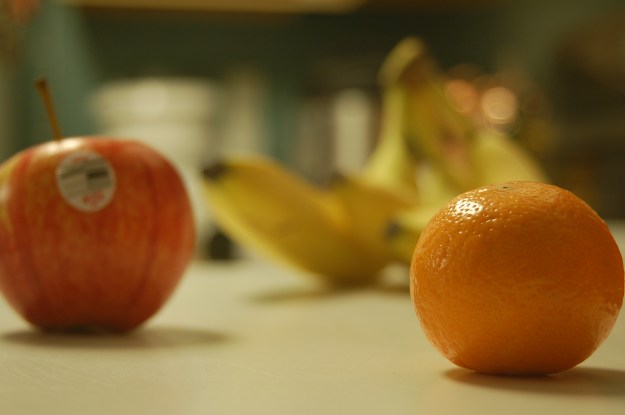
reflectors are a way to remove unwanted shadows from your subject’s face. there are several colors and types of reflectors that highlight your subject in different ways. the photo below is a photo with no reflectors.

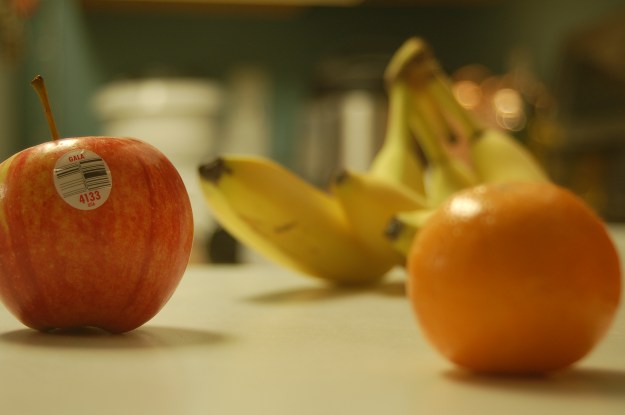
this photo below is using a gold reflector. it highligts the yellow and warms a persons face. unfortunately, the lighting was not very good, and my gold reflector on her face resembles campfire light.

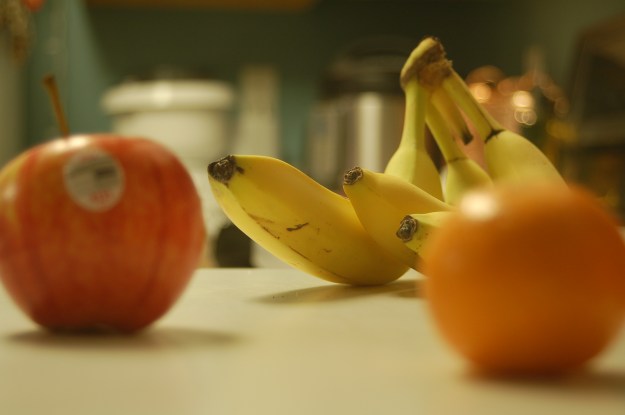
this photo below shows my subject with a white reflector. it has the same affect as snow, or any other pure white substance against light. notice how it pales her face, and also lessens the intensity of the shadow?

the photo below is my subject with a silver reflector. this adds more volume to her hair, eyes, and features as well as gets rid of unwanted shadows.

reflectors are a good way to add light for some people. i personally do not like them, and would rather take a picture of my subject facing the sun instead of going through the hassle of reflectors. the two not mentioned in this post were the black reflector, which adds a shadow, and is good if your subject is standing next to a white object, and a diffuser, which, when your subject is in harsh light, will diffuse the light and make it seem more natural.

Reverse Engineering

Rule of Thirds

For me to explain this, I will be using some professional example photos next to photos of my own. The photos with links attached are not mine.

The rule of thirds is a technique in which you divide your photo into 4 lines, creating 9 squares, and align your photo into a line or a square to make the photo aesthetically pleasing. In my photo, I simply used a photo of a pillar in my backyard. notice how it follows the rule of thirds?

Leading Lines

leading lines are certain points in the picture that direct your eyes to the focal point of the photo. My photo and the example photo both use a central focal point, but as long as the lines direct, it works for any focal point.

depth of field is focused around aperture and zoom. the wider your aperture is, the shallower your background will be, and vise versa. both my photo and the example photo have a shallow depth of field, so the focal point is the only thing in focus.

Camera Focus

on any camera, the 5-6 little squares inside your lense are your Focus options. changing the point of focus from left to right or up or down will allow it to focus on different objects without moving your camera. for these photos I used the left, right, and top focus points.

Blur and Freeze motion

Sweet Ride | NIKON D50 : EF 92mm : f/36 : 1/40 sec : ISO 400 | 9/8/19 : 12:56pm : Layton, Utah
Light | NIKON D50 : EF 78mm : f/36 : 5 sec : ISO 400 | 9/9/19 : 3:26pm : Layton, Utah

Blur motion creates a photo in which some form of motion is apparent, but the background and/ or other things surrounding it are blurry due to shutter speed while capturing the apparent motion. Simply set your shutter speed to about 40, and take a photo of anything going faster than average running speed. or, set your shutter speed for a longer time (a few seconds at least) and photograph any light moving around in your frame. This style of photo is very fun and easy in my opinion. I got both of these images on my first try.

Suspense | NIKON D50 : EF 100mm : f/4.2 : 1/200 sec : ISO 1600 | 9/10/19 : 6:32pm,
Backyard Fun | NIKON D50 : EF 52mm : f/13 : 1/500 sec : ISO 400 | 9/8/19 : 11:52am : Layton, Utah

Freeze motion is a little harder, but still fun, with the same basic concept. Object is moving, but this time you want to get the full image in sharp quality. As you can see, I had some problems in this challenge. The photo of the volleyball player is grainy, and doesn’t have good quality, because I had to raise the ISO to get the lighting I needed. the one of the girl and the water (actually one of my siblings) I couldn’t quite get the desired outcome because my shutter speed would not go past a certain speed without showing a completely black image (keep in mind I have a very old camera, you shouldn’t have this problem).

Past Photos

These photos are some of my favorites from when I lived in Montana. The only edit any of these needed was 10-25% contrast increase, and maybe a 5% brightness increase. the 2nd sunset, the old building, and the 1st mountain didn’t need edits.

About Me

My name is Aubrie.

I was born and raised in northwest Montana, and lived there until I was 15. I lived 10 minutes away from Glacier National Park, and one of my favorite activities growing up was polar plunging in the McDonald Lake. I am currently trying to prepare to be an Emergency Response Dispatcher, and I would also like to do Photography on the side.