Making Skin Smooth And Eyes Pop
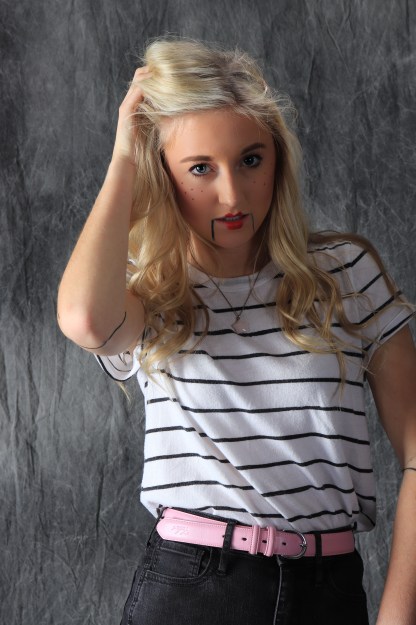
Smoothing out the skin and bringing out the color of the pupils in the eyes is a very minor edit that can make all the difference. Even if its not noticeable at first glance.
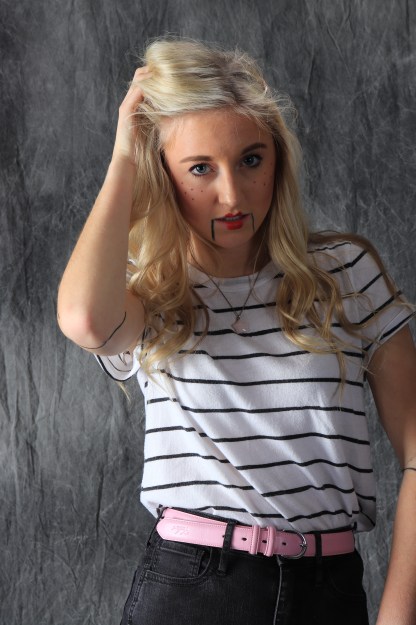
Smoothing out the skin and bringing out the color of the pupils in the eyes is a very minor edit that can make all the difference. Even if its not noticeable at first glance.
Creating a cinematic affect was a little bit challenging for me at first. Its so hard to get everything looking exactly the way you want it to. It was, however, extremely fun.
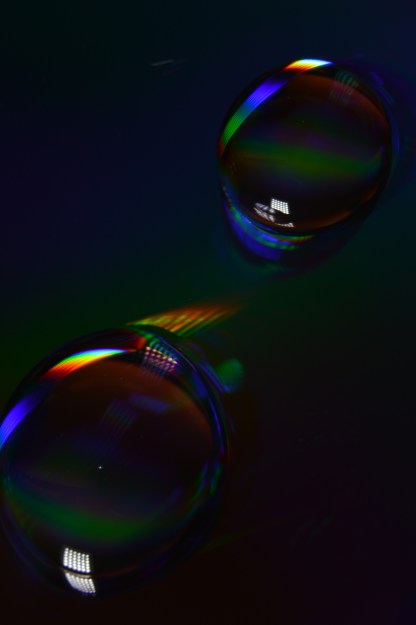
i admit this photo is a little too dark and vibrant for my tastes. But I also think it looks really cool.

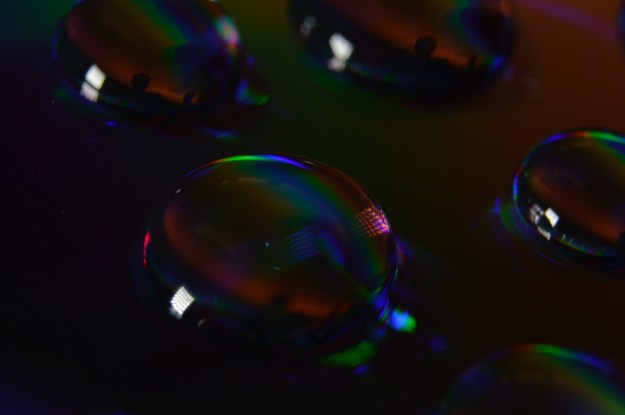
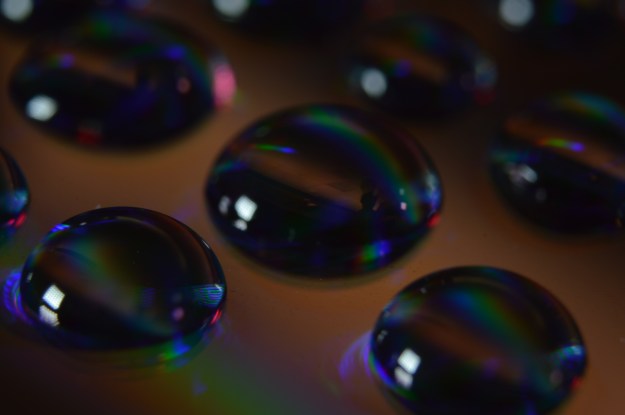
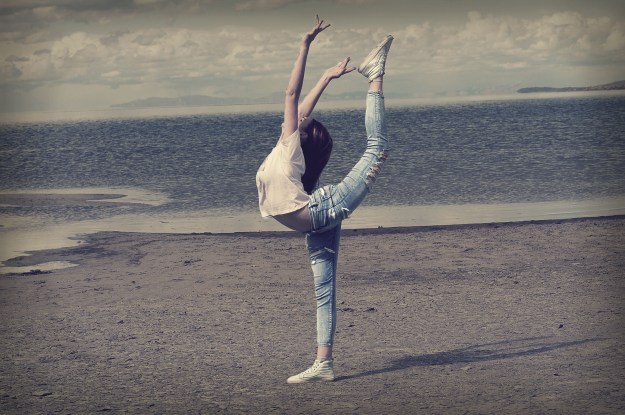
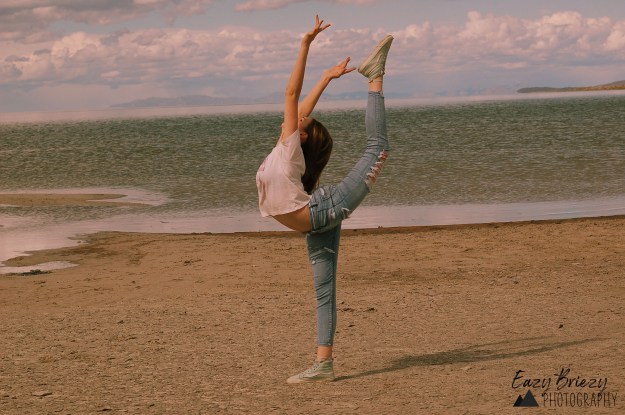
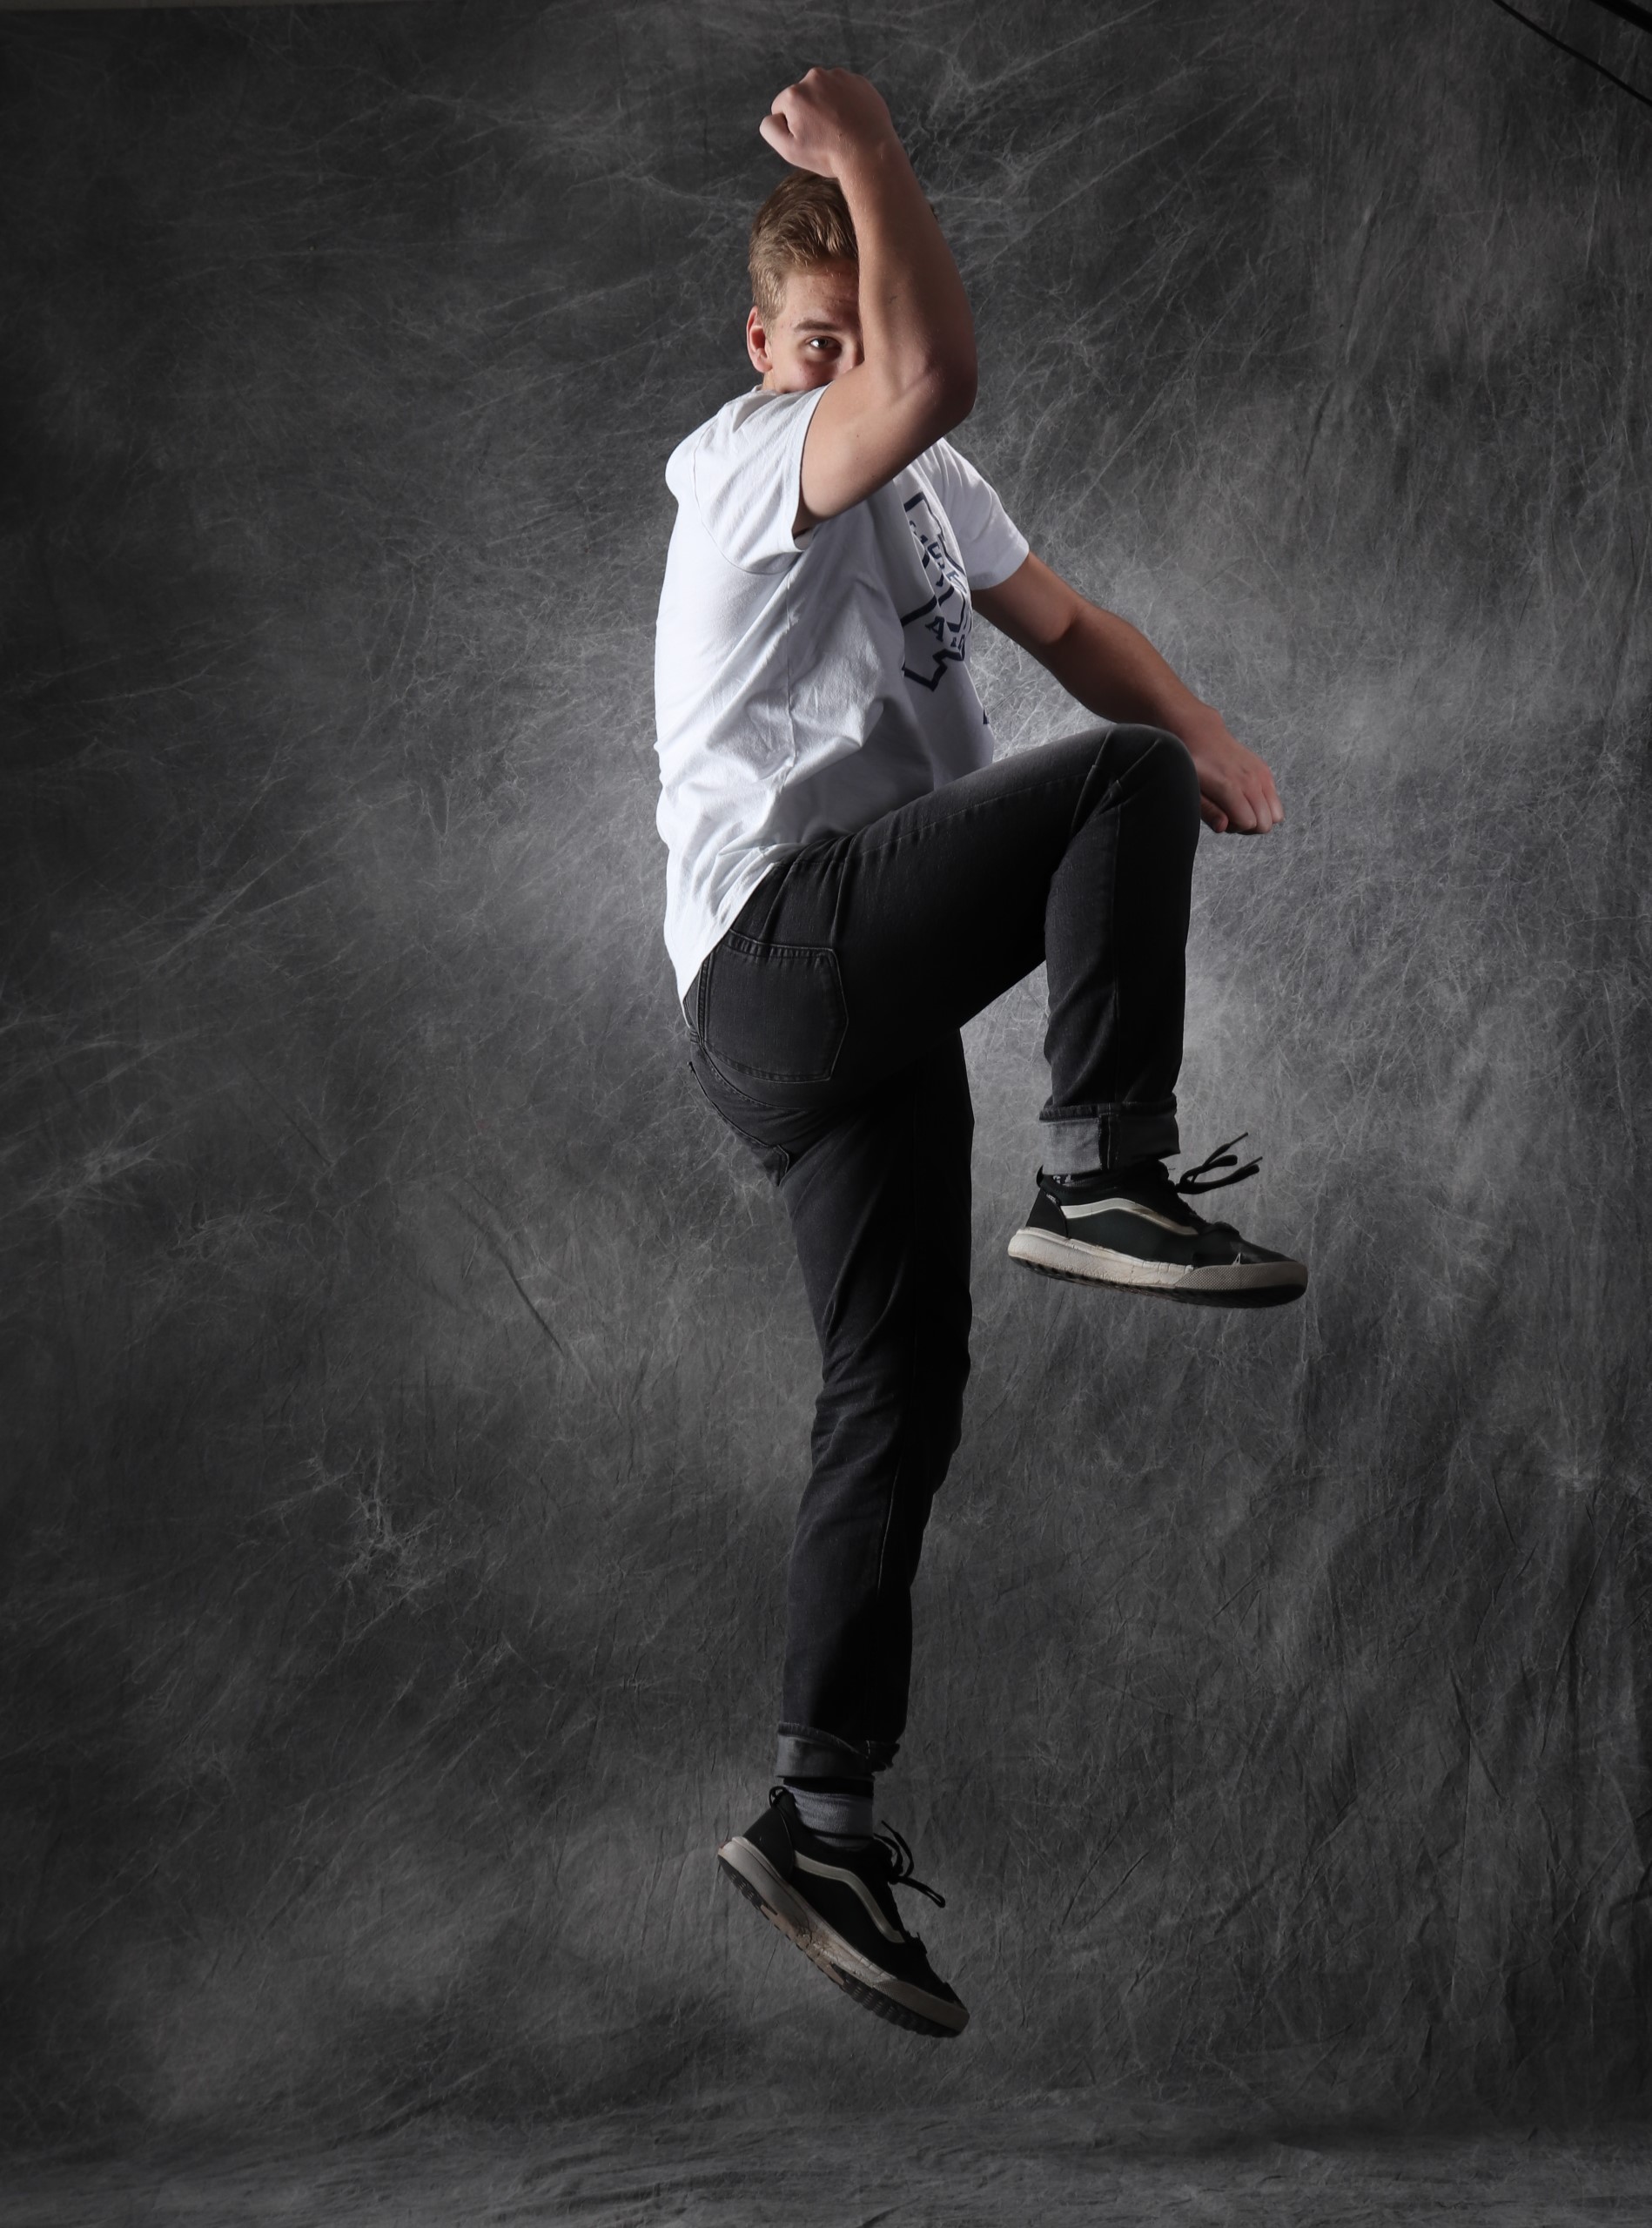
when you have objects aligning with your focal subject, or it is protruding out of the subject in a weird way, that’s bad. shift the focal subject so it is on its own.
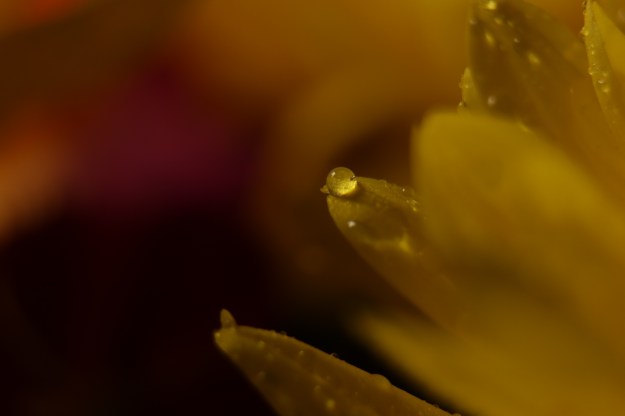
basically the goal is to keep your focal points completely in the picture, or at least make sure the object fused is placed partially out of the photo with purpose.
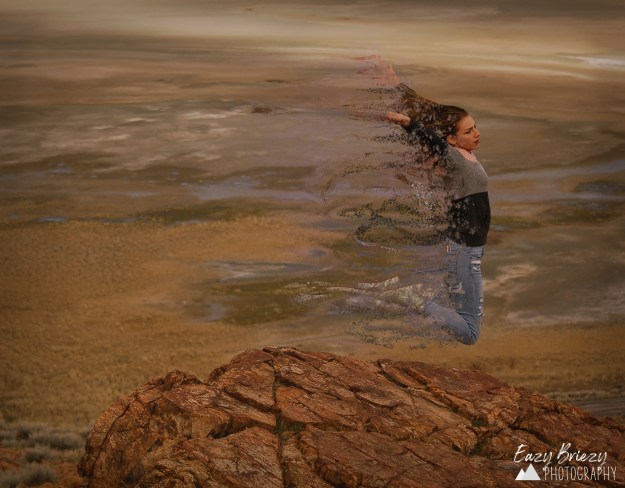
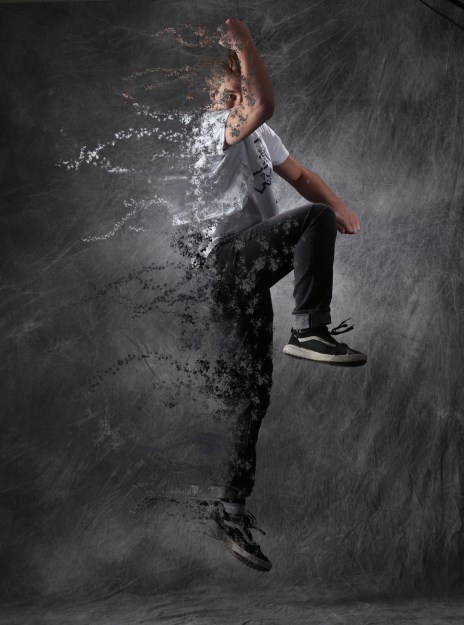
The ashy effect used in Avengers: Infinity War is quite easy to recreate in Photoshop. You take a photo, copy some layers, and liquefy/warp one layer. Then you create your own brush in Photoshop and use it on both layers, one to make the body of the subject look like its disintegrating, one to make it look like the ashes are blowing away. This isnt the best explanation, but there are many sites where you can find a more in-depth description.
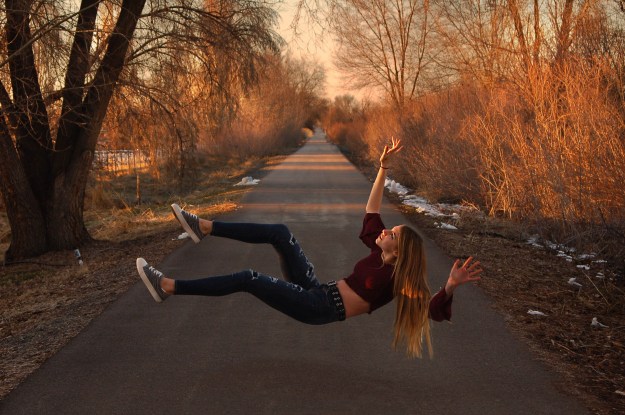

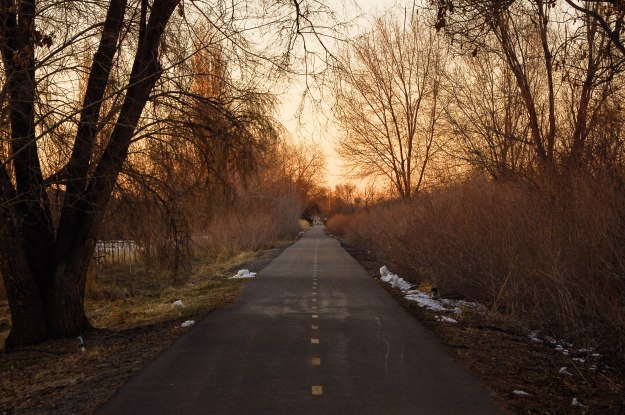
Levitation Portraits are extremely fun to do. You take two photos, one of the background, another of your subject sitting on something a little over a foot in the air (the bucket worked pretty well). You generally want the background with and without the subject to look the same, but obviously with the sunset fading fast, that didnt work for me. You edit the bucket out of the picture, and anything else you dont want as well. I chose to also add a little HDR into my picture as well, to give it a little extra oomf. And voila!
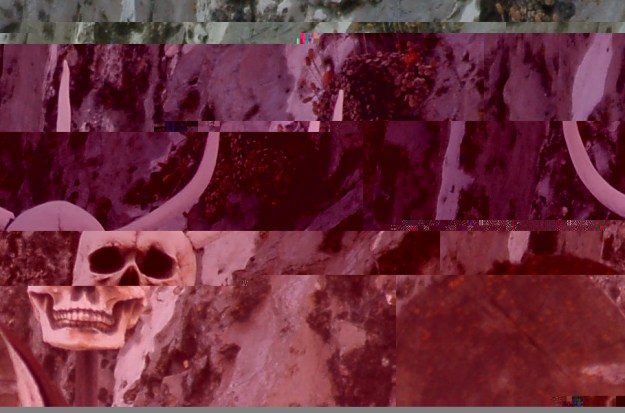
Glitch photography involves messing with the very code of the image itself. When creating a glitch image you create a copy of your original and pull up the code. You cant mess with the first 1/8th of the code, or the file will be corrupted. Basically other than that you just mess around with the code however you want. This is the photo i came up with, Im pretty happy with it.

Aperture Priority mode focuses the controls of the camera around aperture, as the name states. It allows you to adjust aperture, and will automatically adjust the shutter speed based on aperture. Aperture priority is good when you want a certain depth of field.
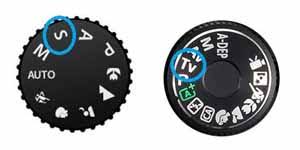
Shutter priority mode is just like Aperture mode, but reversed. You can adjust the shutter speed and the aperture will automatically adjust to your setting. Shutter priority is good for sports events or capturing moving images.
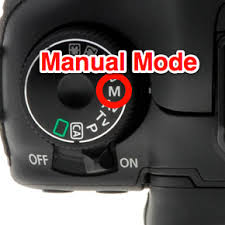
Manual mode gives you full control of the settings. You adjust the aperture and shutter speed however you want on your own, giving you a wider range of exposure.
