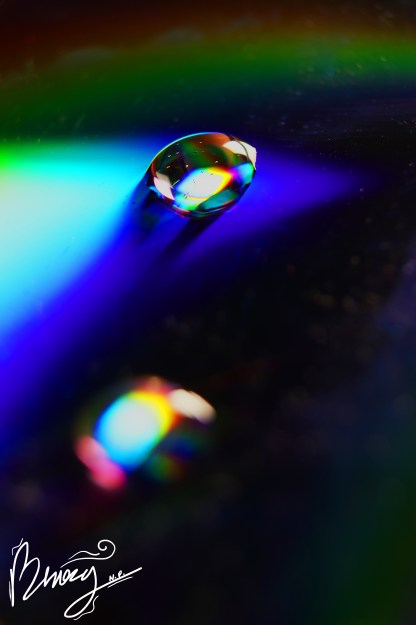
Vibrant Color
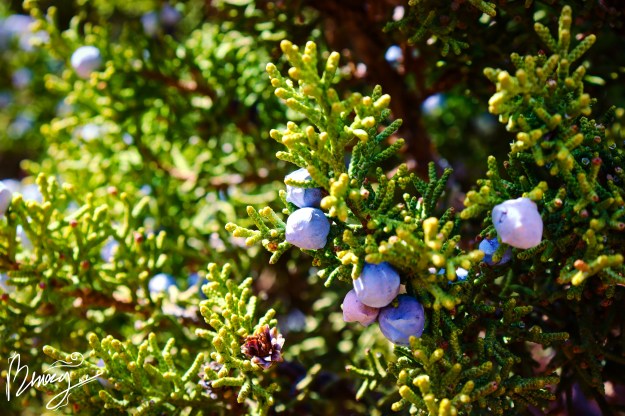
Results like these are why I love curve layers.
Results like these are why I love curve layers.

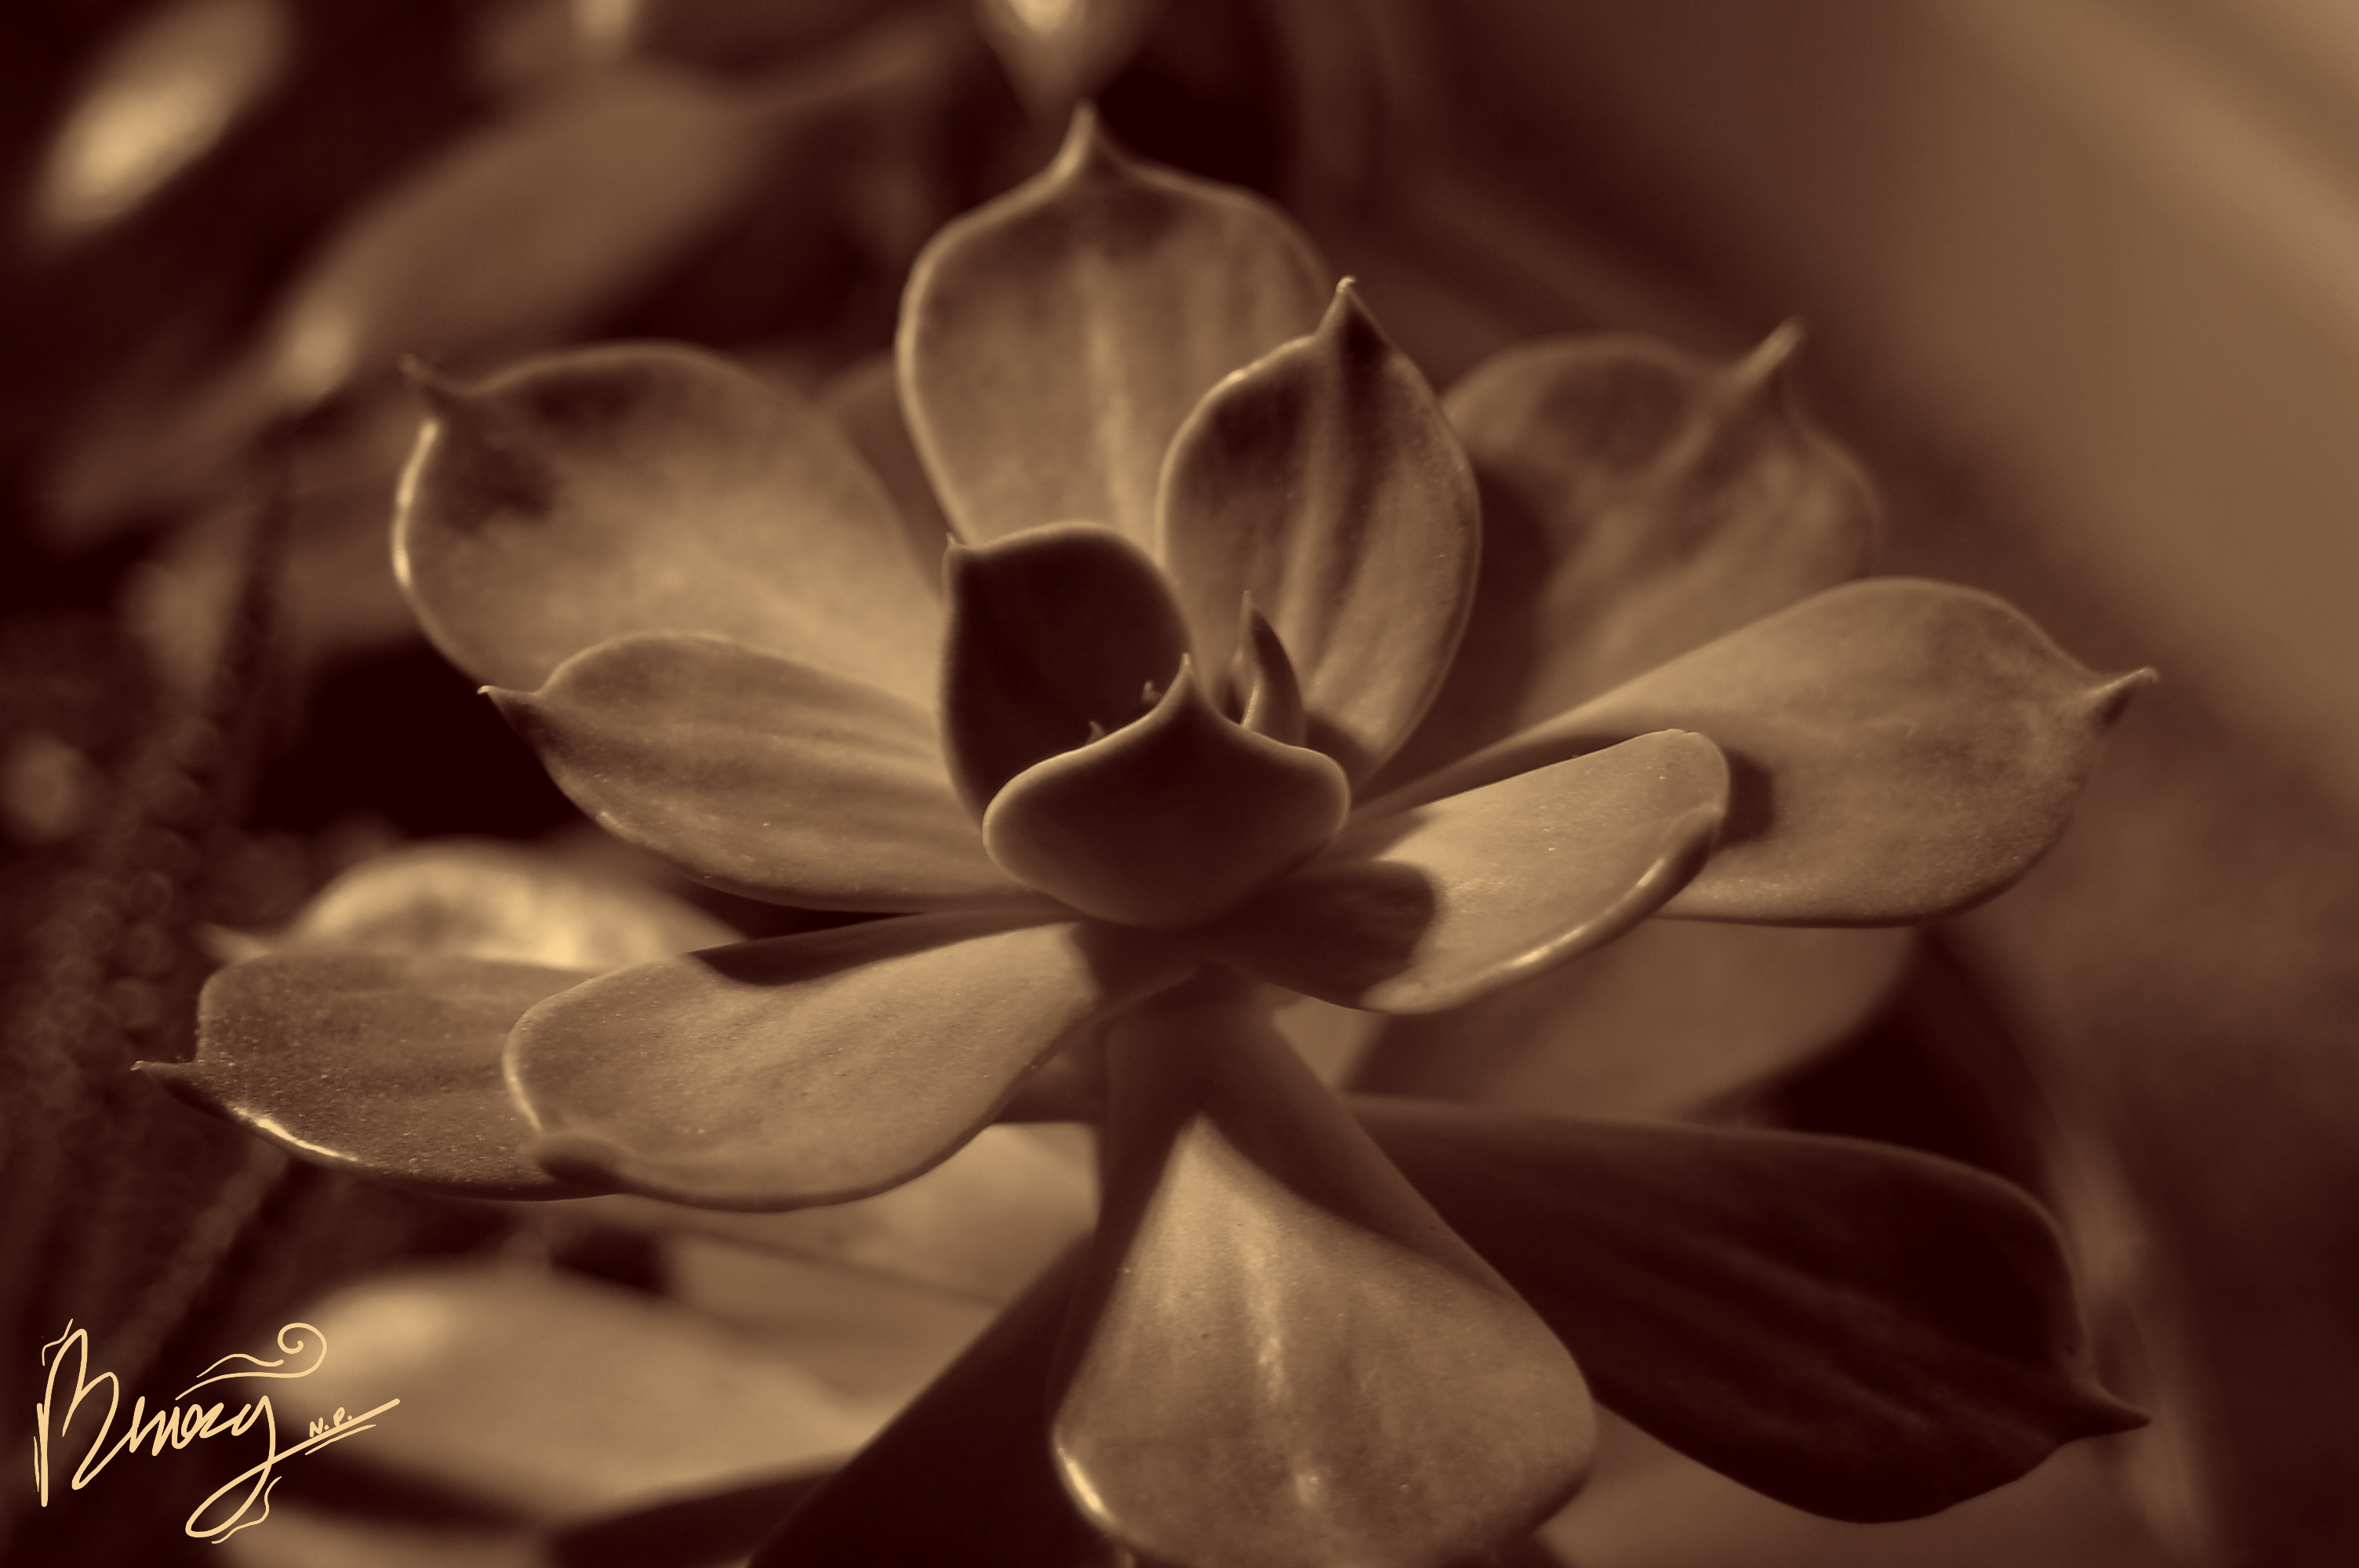
All you need to do to turn your photo into a black and white photo is add a gradient map layer in photoshop and play around. I added a vignette just for extra effect.
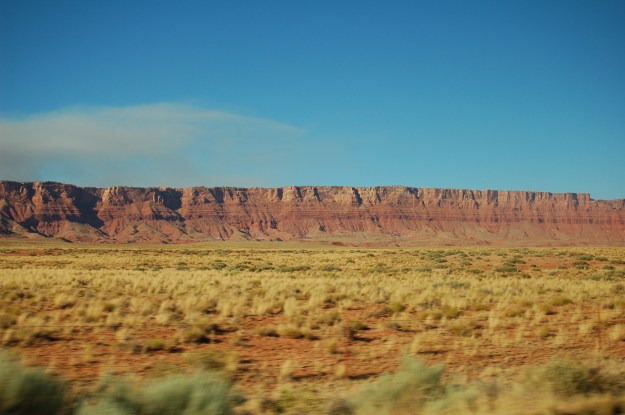
This photo was taken on the road to Scottsdale, Arizona. It was very hot!
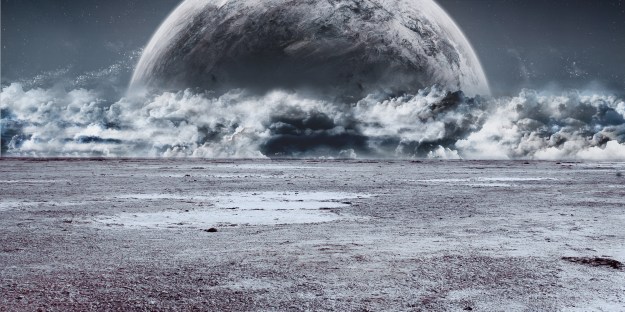
the photo of the moon is not mine. I used it to replace the sky in my landscape photo for a space-like effect. I also needed to change the tones and temperature of my background to match the sky.
There were several layers used in the making of this photo, so the link to the tutorial I used is here: https://shutterpulse.com/how-to-create-a-cinematic-effect-in-photoshop/
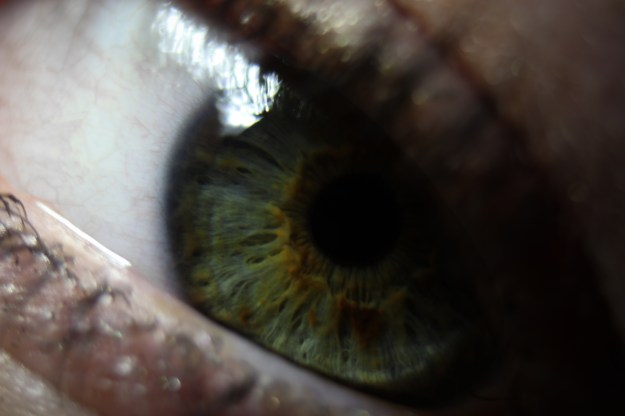
For this I used a gradient and a lighter shade of orange-ish yellow mixed with an extremely dark shade of red to make this photo.
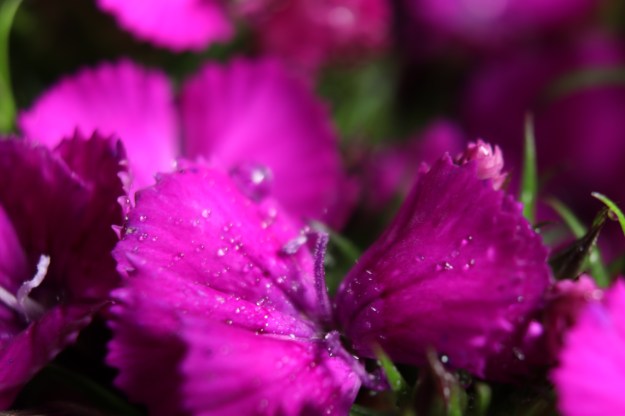
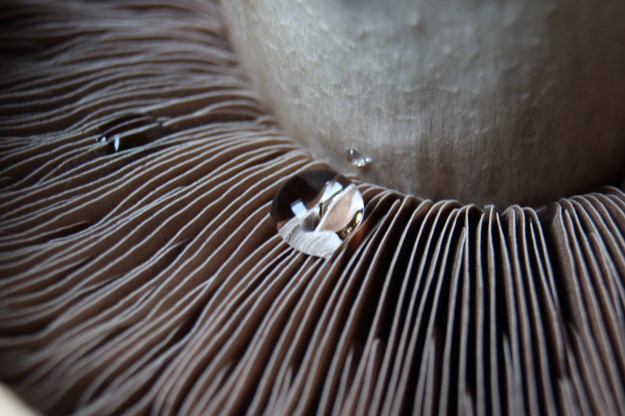
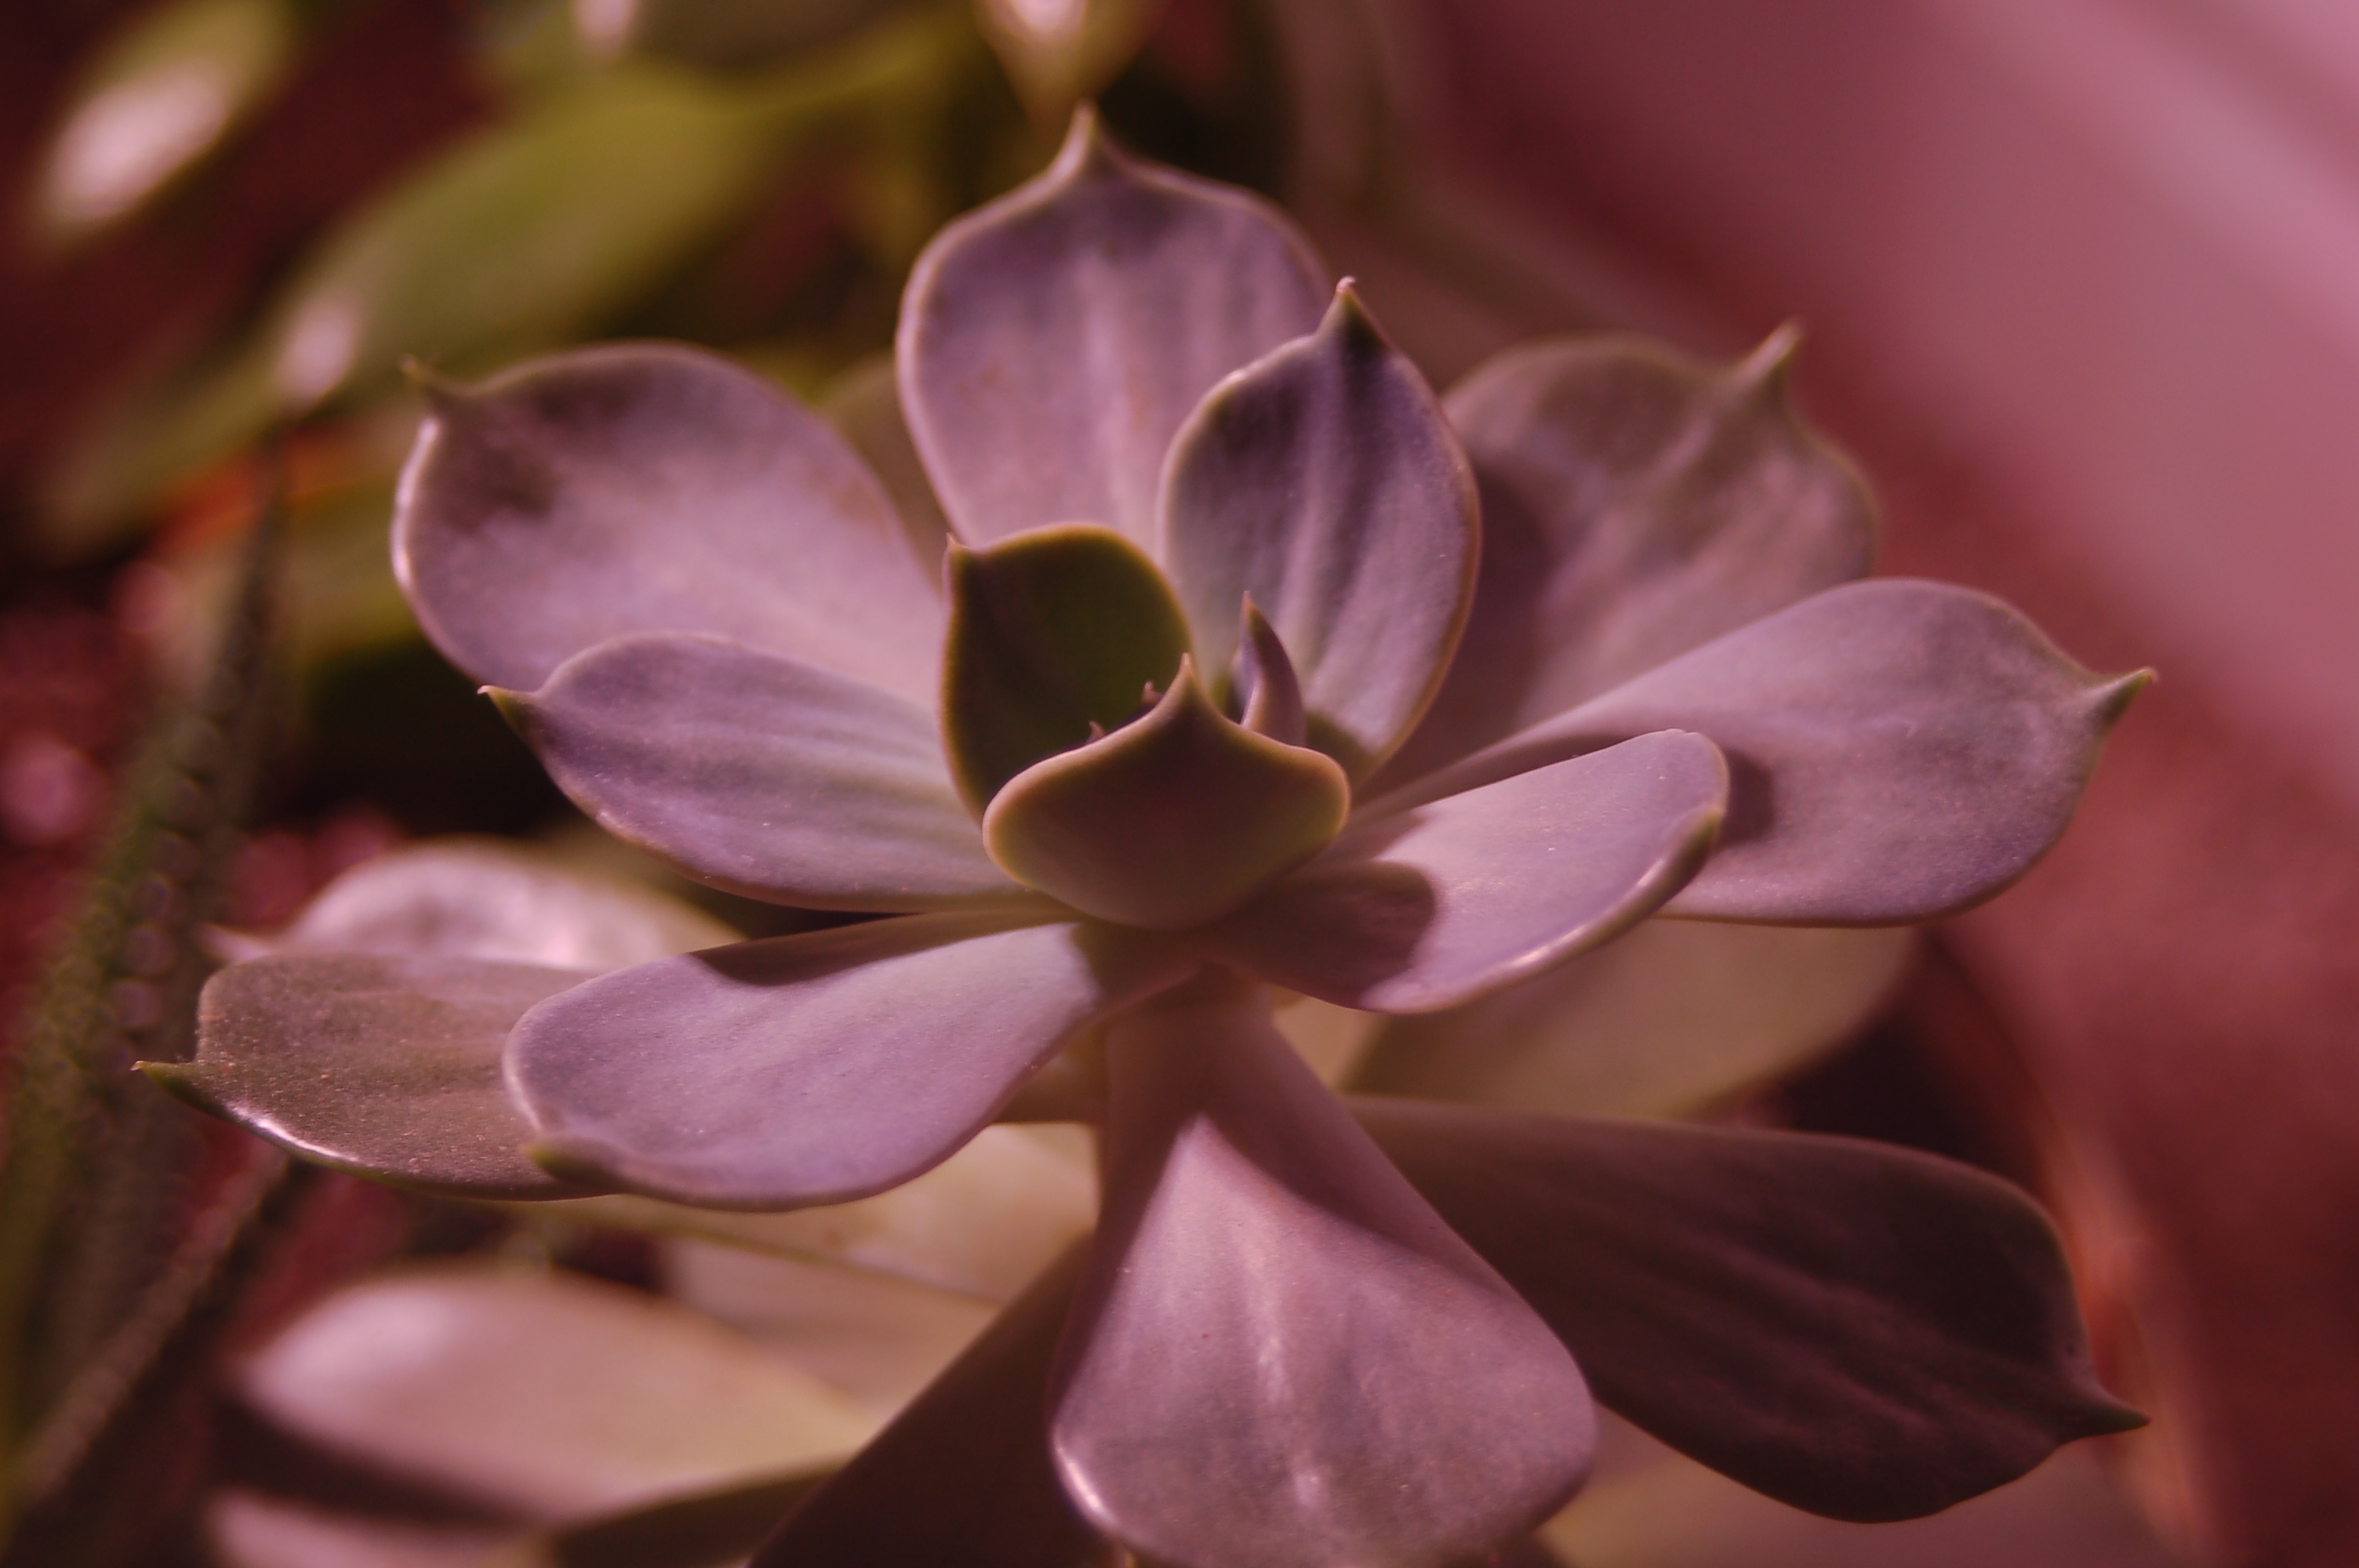
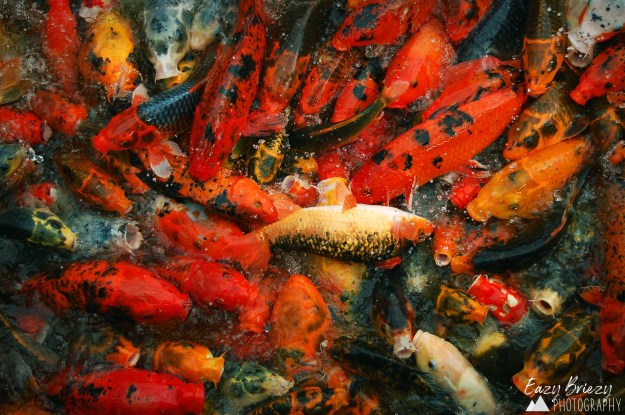
Macro photography is one of my favorite things to do! Here are some newer photos for you.

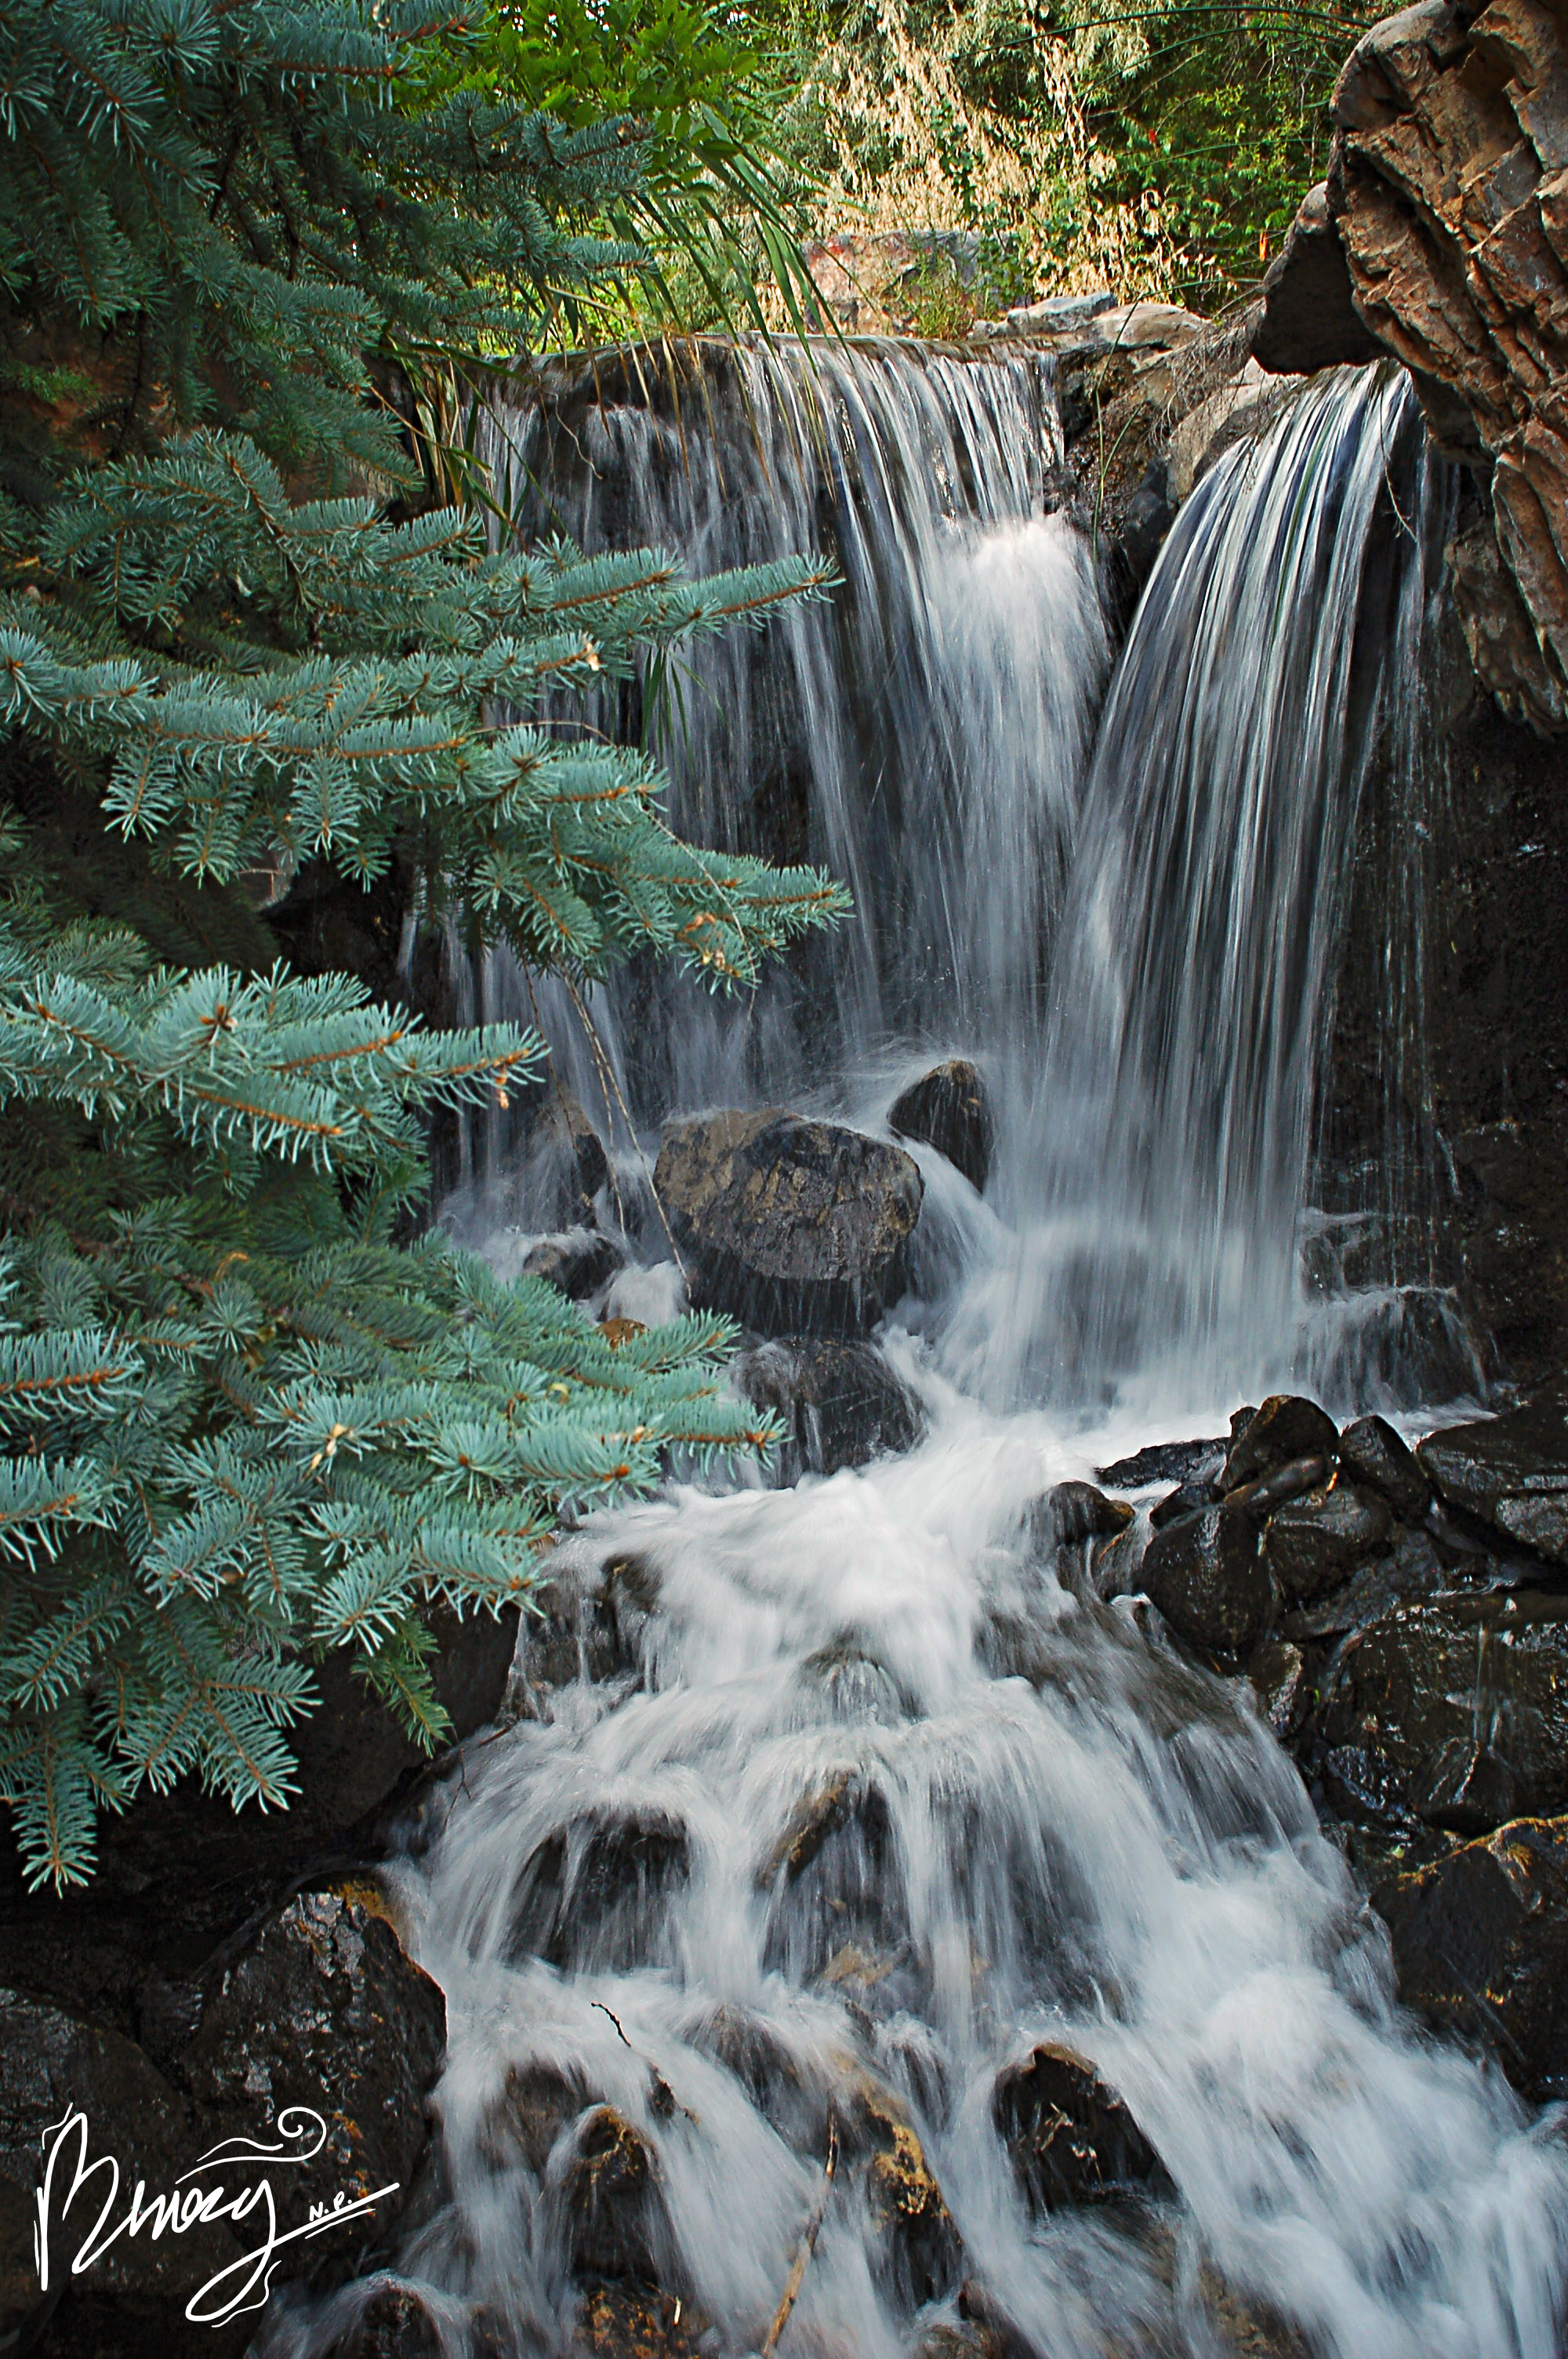
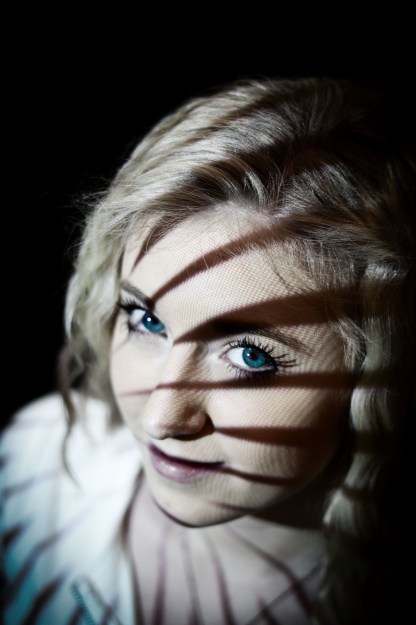
A halved shape in the frame is when there is an object in the frame that has been cut out halfway by the edge of the photo. In this photo the tree is the object out of frame.
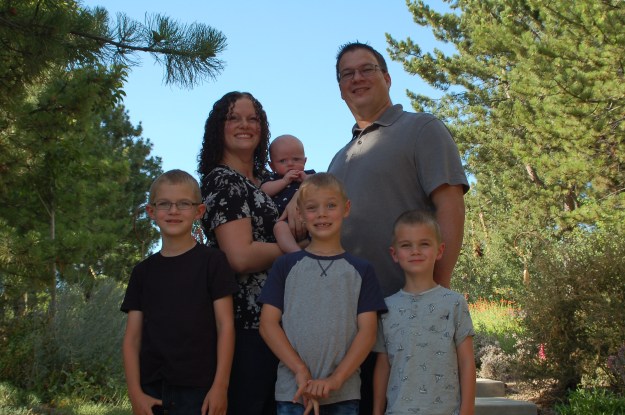
A skimmed edge or a hidden edge is when the edge of an object either fully or partially shares the edge of another object. In this photo the boy on the far left shares several edges with other objects in the photo.
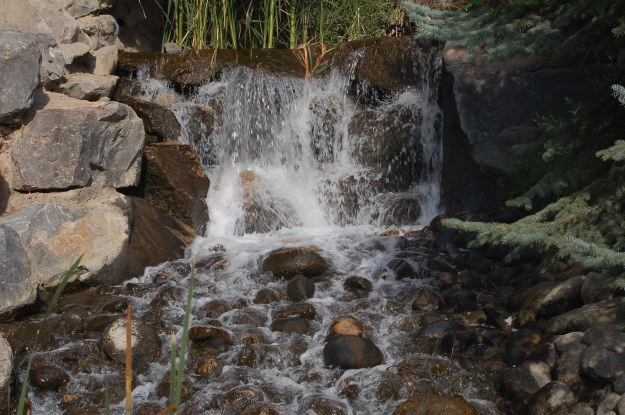
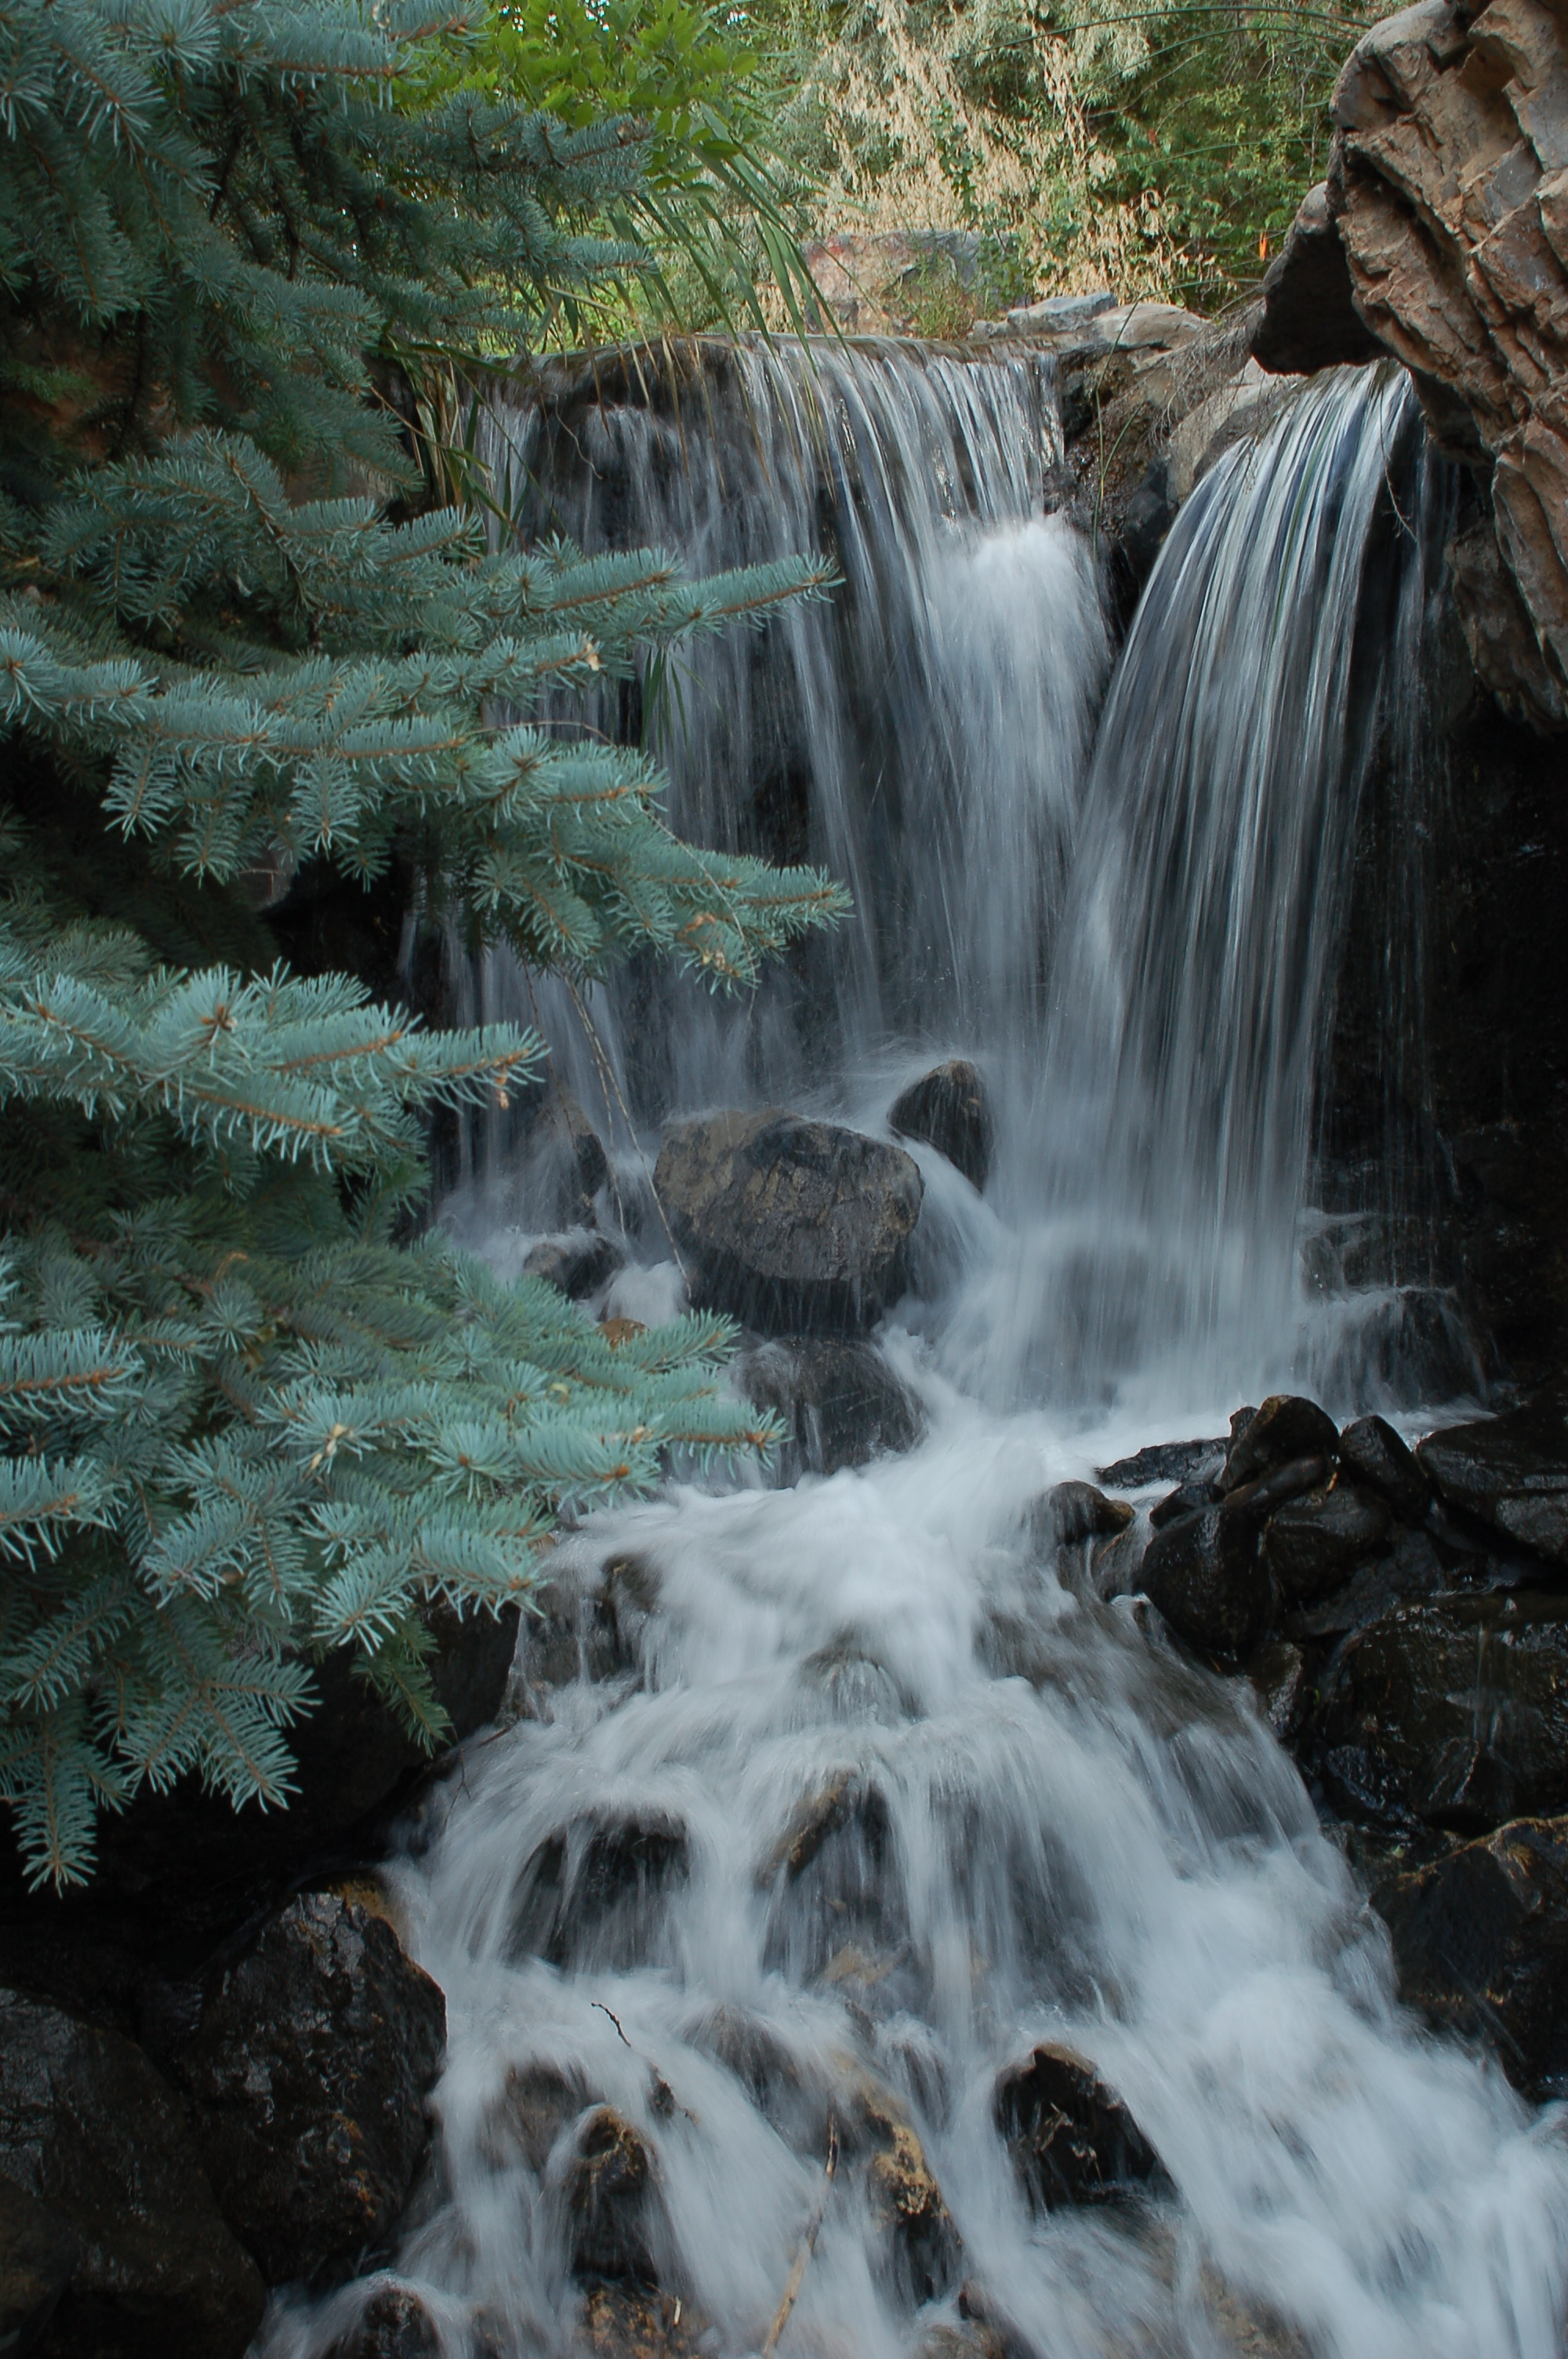
A split apex is when vertical objects line up almost perfectly, creating an unseen line in the photo. In this photo there is a line of rocks directly in the center of the photo, as well as that they line up with a more defined part of the water in the waterfall.
I entered these two photos into a contest! the first one was entered into a contest at viewbug.com, and the second was entered into a Shoot The Frame contest.
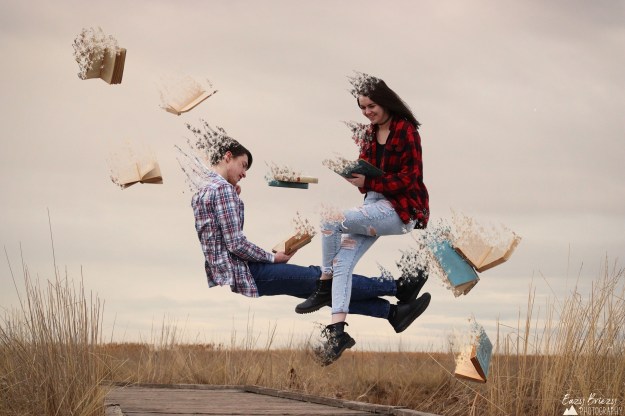
These types of edits are some of my favorite to do. For this effect you use background photos and two copy photos, as well as a personalized brush to essentially make the body disappear and basically float away in an ashy effect.
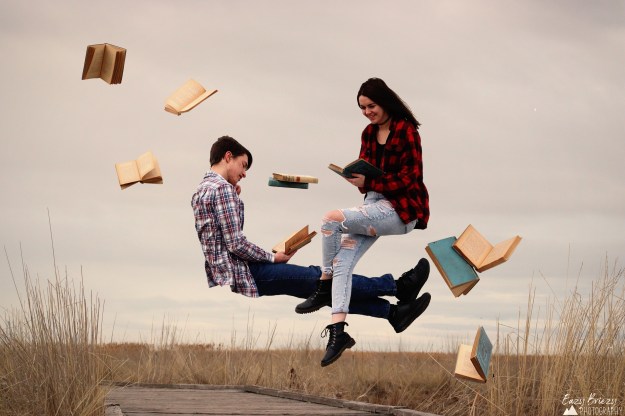
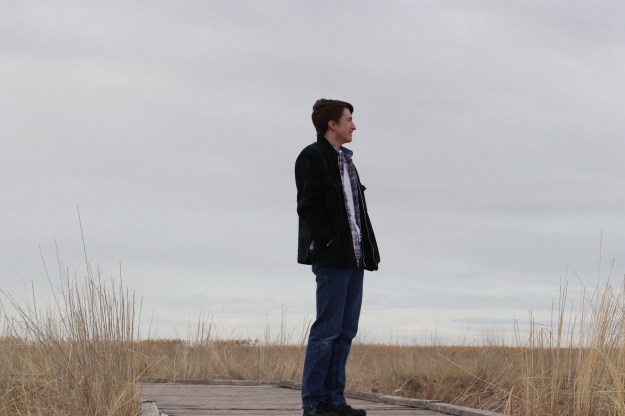
When making a levitation portrait, you first need a background photo (in the same place and time as you others, though I usually make my exposure slightly darker for background), and then people and props if you want them. have people hold up the props, or sit on an elevated surface. Then in photoshop you will layer the photos together and then edit the people out.
Camera modes are settings in your camera that prioritize either your Aperture, or Shutter speed, adjusting any other settings automatically to make sure you maintain the setting prioritized. Manual mode allows free reign over the settings. Usually Manual is the best way to go, but if you are at a sports event, or taking photos of animals, or if the lighting in your area is not constant, it is useful to have them.
