Studio Portraits
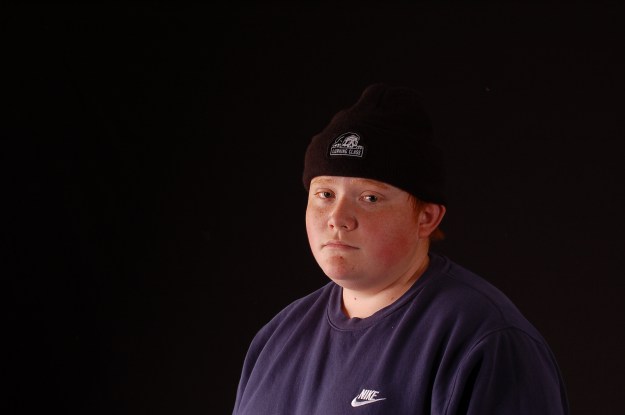
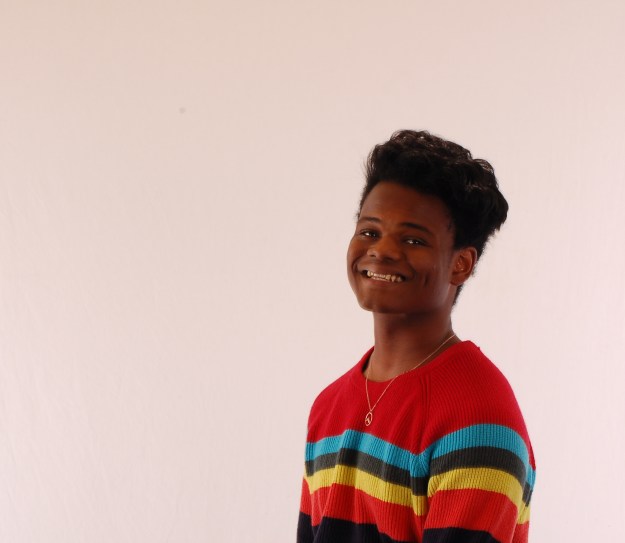
studio portraits are portraits with lots of pre-set lighting, and flash, as well as a backdrop.
studio portraits are portraits with lots of pre-set lighting, and flash, as well as a backdrop.


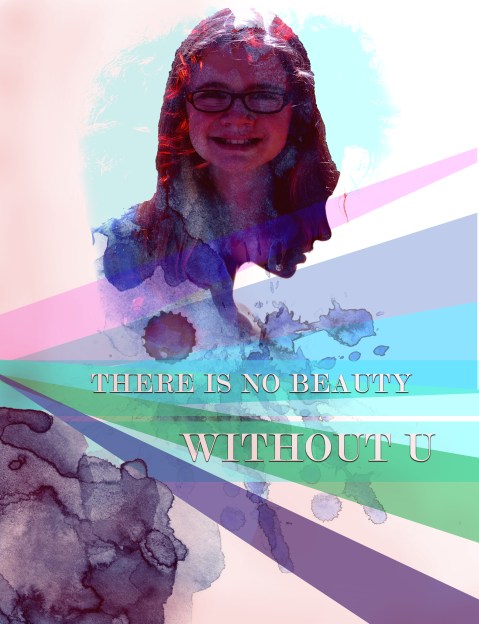
i found this poster to be a little difficult, as i am not very used to photoshop. i took an original photo, and found a watercoler splatter picture that i placed over her face, to give that smoky effect. i then found a photo of a model with red hair, and placed it over my images head, and lowered the opacity to create a sillouette. then i took two copies of another watercolor splatter, and placed it directly below the sillouette. then i made two blue rectangles across the photo, and created a ray effect across the photo. then i added a second of the first watercolor splatter, and placed in the corner. after that, i changed some adjustment levels, typed some words, and brushed a light amount of red over the right side. all in all, as hard as it was, it was very fun, and very educational.
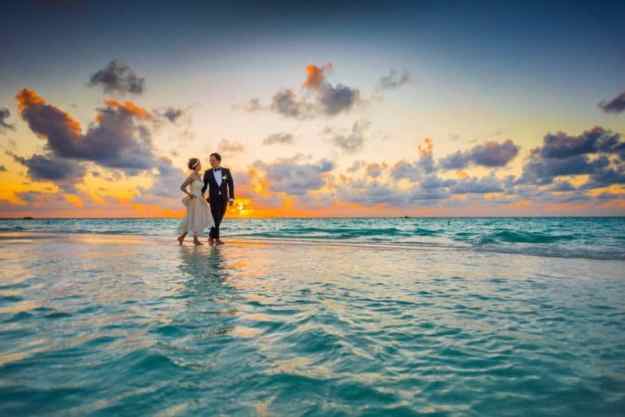
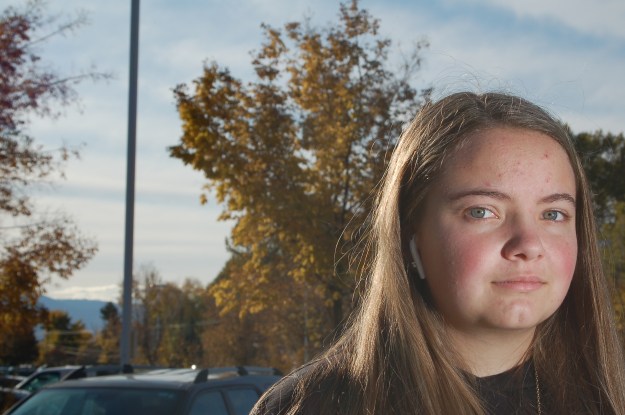
flash is a good way for most to get the subject and the sky in a clear photo. in photo 1, her face is clear, but the sky is too bright. in subject 2, the sky is clear, but she is too dark. in photo 3, i used flash, and got a good combination of the two. i do not like this very much though. i would much rather just take a picture in direct sunlight.


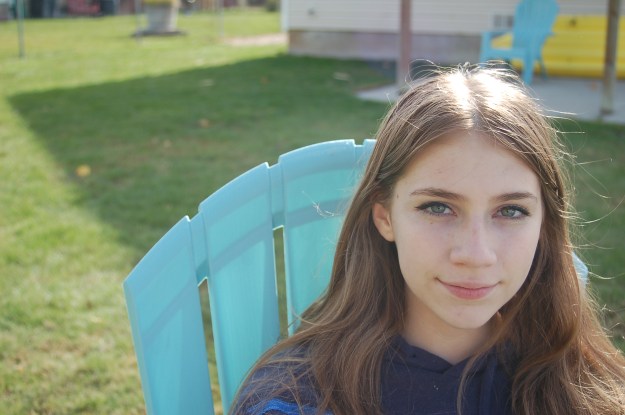
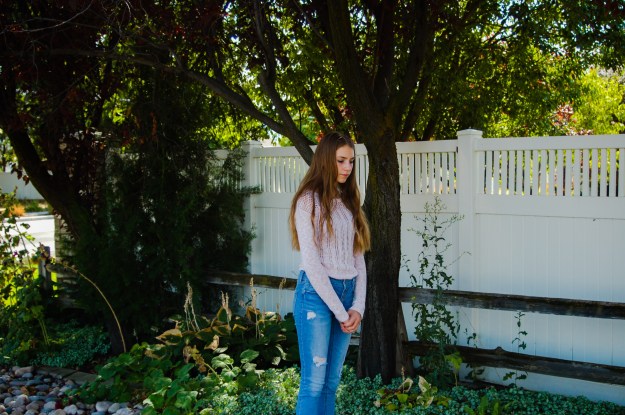
reflectors are a way to remove unwanted shadows from your subject’s face. there are several colors and types of reflectors that highlight your subject in different ways. the photo below is a photo with no reflectors.
this photo below is using a gold reflector. it highligts the yellow and warms a persons face. unfortunately, the lighting was not very good, and my gold reflector on her face resembles campfire light.
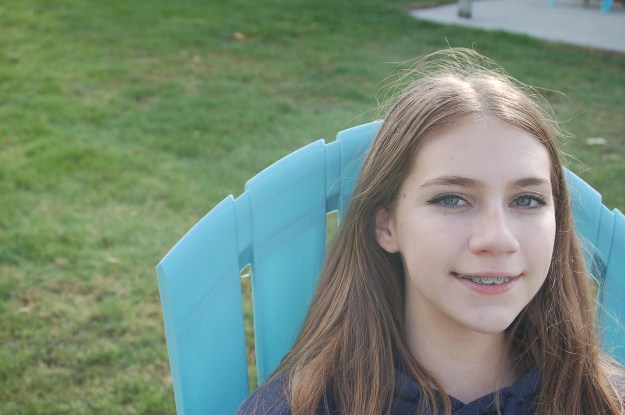
this photo below shows my subject with a white reflector. it has the same affect as snow, or any other pure white substance against light. notice how it pales her face, and also lessens the intensity of the shadow?
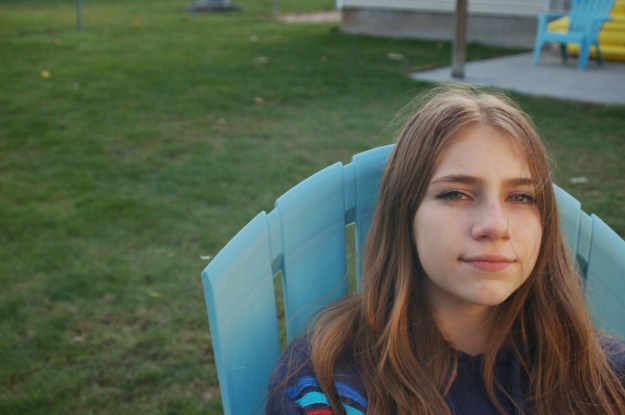
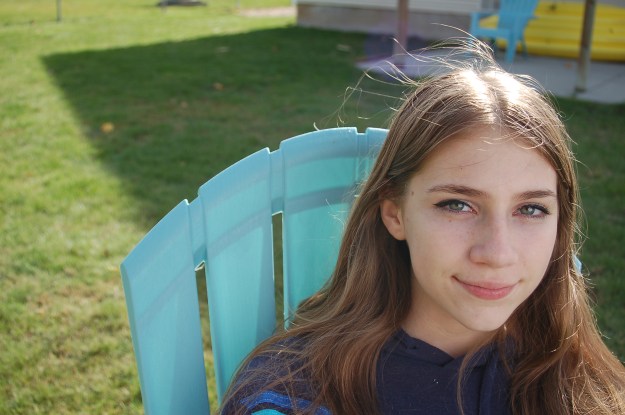
the photo below is my subject with a silver reflector. this adds more volume to her hair, eyes, and features as well as gets rid of unwanted shadows.
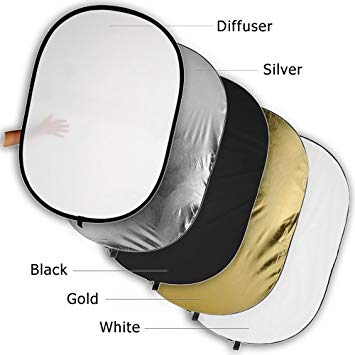
reflectors are a good way to add light for some people. i personally do not like them, and would rather take a picture of my subject facing the sun instead of going through the hassle of reflectors. the two not mentioned in this post were the black reflector, which adds a shadow, and is good if your subject is standing next to a white object, and a diffuser, which, when your subject is in harsh light, will diffuse the light and make it seem more natural.


For me to explain this, I will be using some professional example photos next to photos of my own. The photos with links attached are not mine.
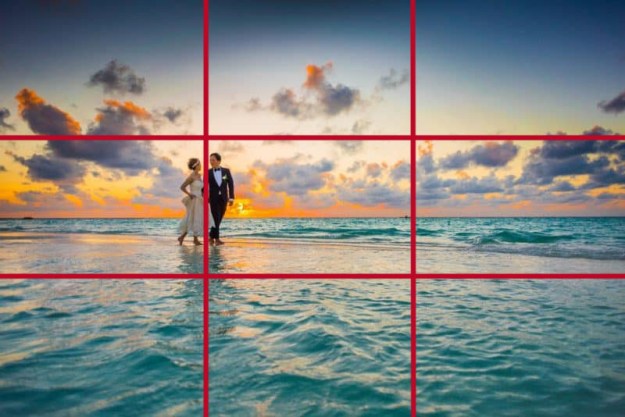
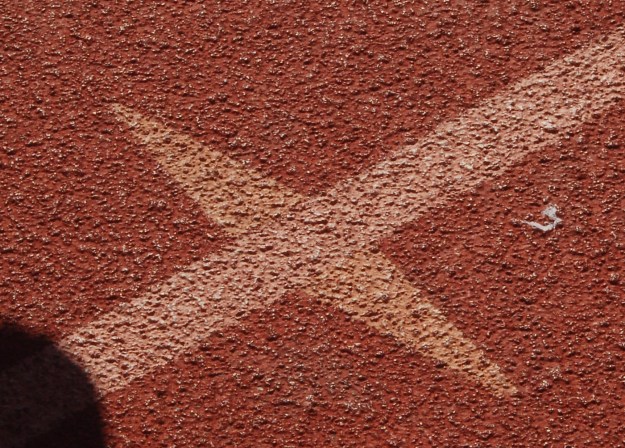
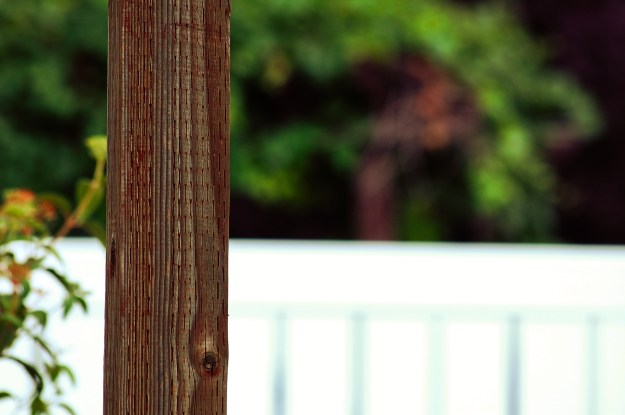
The rule of thirds is a technique in which you divide your photo into 4 lines, creating 9 squares, and align your photo into a line or a square to make the photo aesthetically pleasing. In my photo, I simply used a photo of a pillar in my backyard. notice how it follows the rule of thirds?


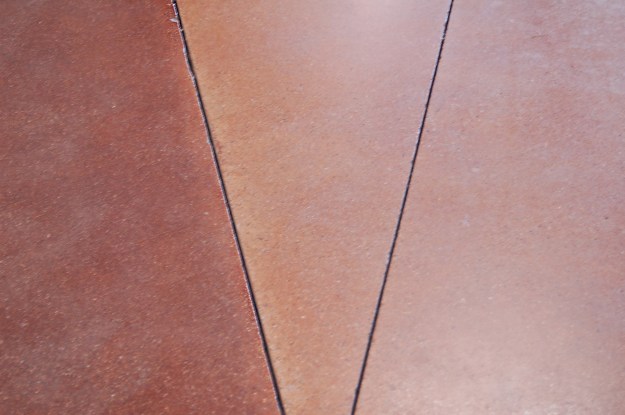
leading lines are certain points in the picture that direct your eyes to the focal point of the photo. My photo and the example photo both use a central focal point, but as long as the lines direct, it works for any focal point.
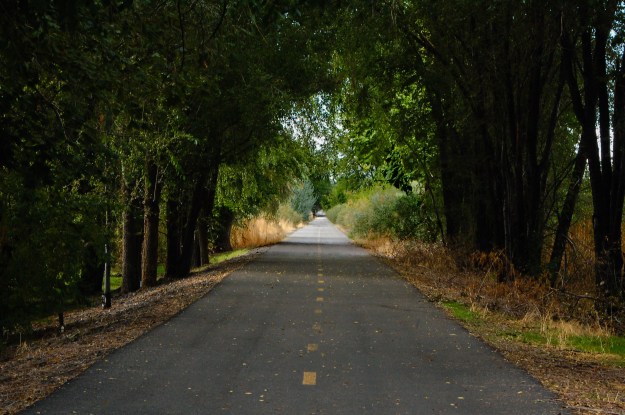
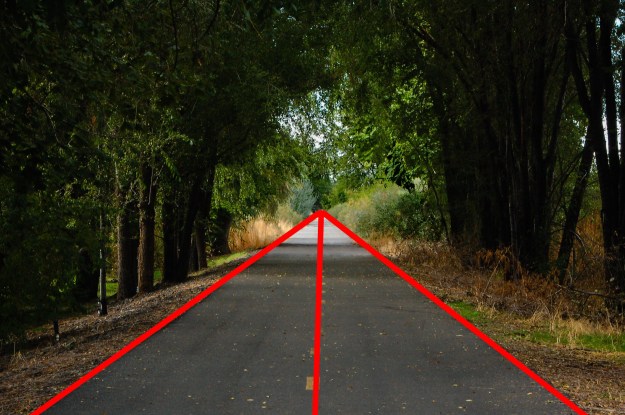
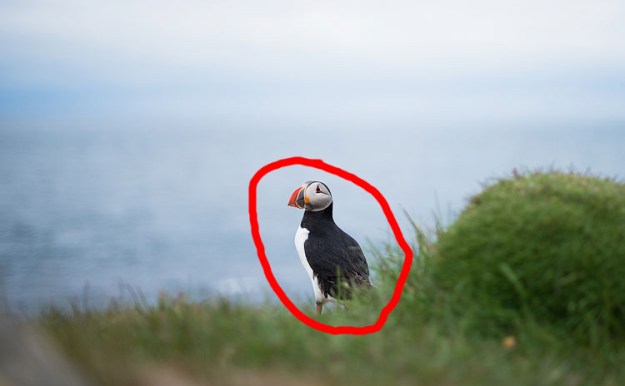
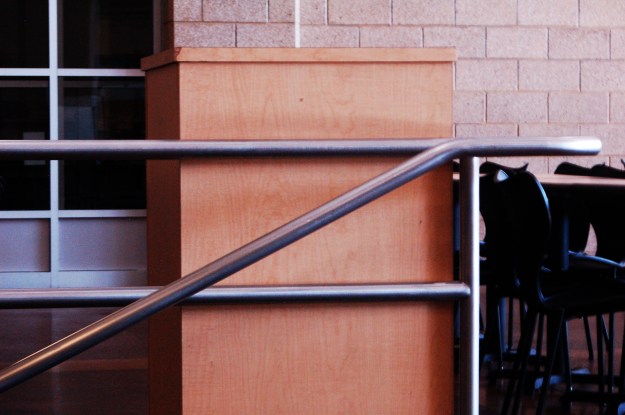
depth of field is focused around aperture and zoom. the wider your aperture is, the shallower your background will be, and vise versa. both my photo and the example photo have a shallow depth of field, so the focal point is the only thing in focus.
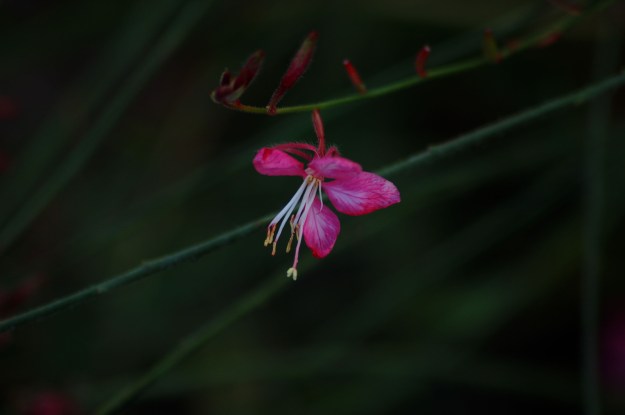
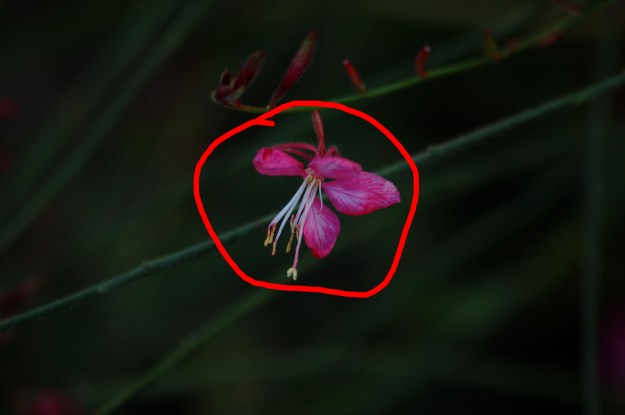
depth of field is basically aperture. the wider the aperture, the shallower the focus. for the shallow, I used a range of 5.6-4, and for deep, I used a range of 18-22.