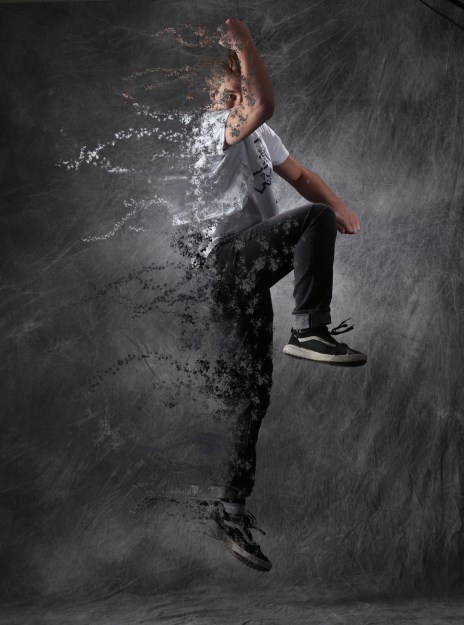
The ashy effect used in Avengers: Infinity War is quite easy to recreate in Photoshop. You take a photo, copy some layers, and liquefy/warp one layer. Then you create your own brush in Photoshop and use it on both layers, one to make the body of the subject look like its disintegrating, one to make it look like the ashes are blowing away. This isnt the best explanation, but there are many sites where you can find a more in-depth description.
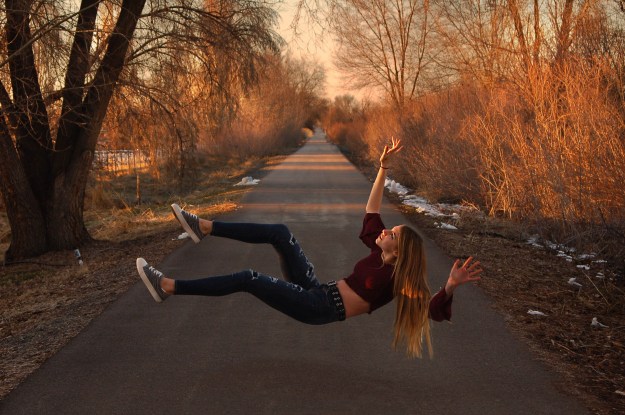
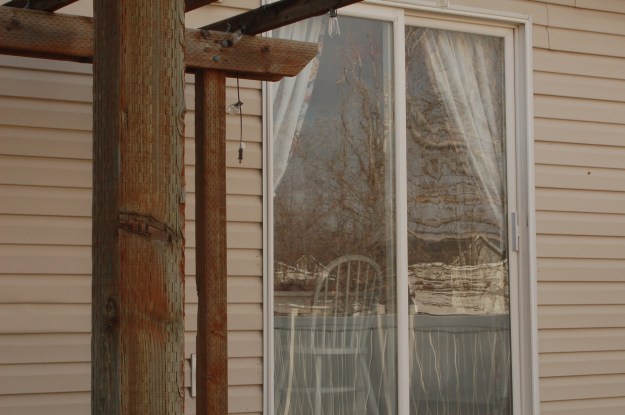
Levitation Portraits are extremely fun to do. You take two photos, one of the background, another of your subject sitting on something a little over a foot in the air (the bucket worked pretty well). You generally want the background with and without the subject to look the same, but obviously with the sunset fading fast, that didnt work for me. You edit the bucket out of the picture, and anything else you dont want as well. I chose to also add a little HDR into my picture as well, to give it a little extra oomf. And voila!
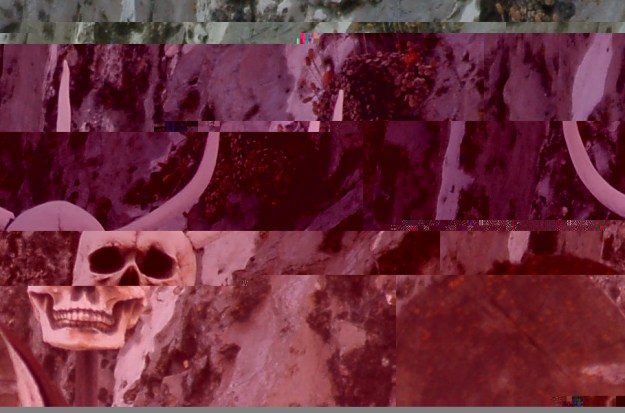
Glitch photography involves messing with the very code of the image itself. When creating a glitch image you create a copy of your original and pull up the code. You cant mess with the first 1/8th of the code, or the file will be corrupted. Basically other than that you just mess around with the code however you want. This is the photo i came up with, Im pretty happy with it.
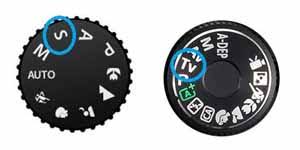
Aperture Priority mode focuses the controls of the camera around aperture, as the name states. It allows you to adjust aperture, and will automatically adjust the shutter speed based on aperture. Aperture priority is good when you want a certain depth of field.
Shutter priority mode is just like Aperture mode, but reversed. You can adjust the shutter speed and the aperture will automatically adjust to your setting. Shutter priority is good for sports events or capturing moving images.
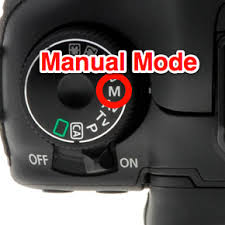
Manual mode gives you full control of the settings. You adjust the aperture and shutter speed however you want on your own, giving you a wider range of exposure.
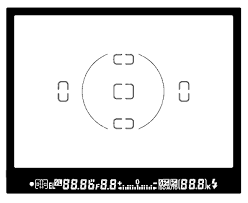
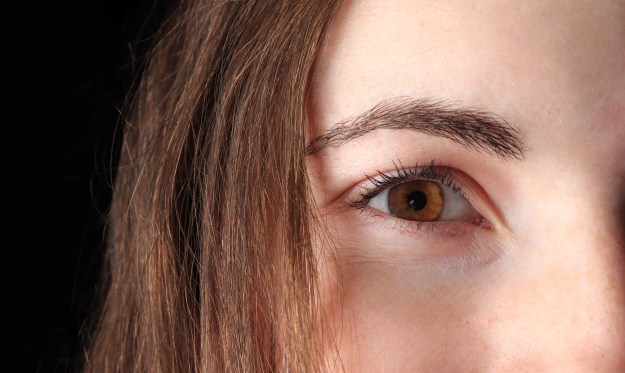
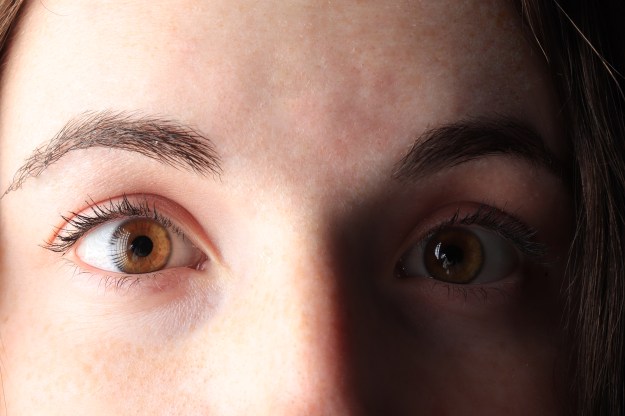
Auto focus points are the sensors that allow you to focus on a subject. You would see them as squares or rectangles in your lens that you use to focus. Auto focus looks for lines in your image and finds the thing your trying to focus on. Some points only focus or look for horizontal lines, some look for vertical lines. Some points (especially on more advanced cameras) have cross focus. They focus on both vertical and horizontal lines. My Nikon D50 has 5 auto focus points, two horizontal, two vertical, one cross focus.
Aperture, shutter speed, and ISO are the main three factors that control the exposure of a photo, as well as make up the Exposure Triangle. Balancing these three factors is essential for a good quality photo.
Aperture controls how wide the lens is open. This affects how much light is let in to the lens, as well as the depth of field. In the first photo above I used an aperture of 5.6, a shutter speed of f1/250, and an ISO of 200. While the photo is bright and well exposed, the only thing in focus is the main subject. In the second photo I used an aperture of 22, a shutter speed of f1/85, and an ISO of 200. This photo is a little darker, but everything in the photo is clearly in focus.
Freeze Motion- Shutter Speed 1/800
Blur Motion- Shutter Speed 1/50
Shutter speed controls how fast the curtains of the camera open and close. This assists in controlling how exposed the photo is, and also controls how blurry the subject of focus is. It also controls how blurry the background of the photo is. In the first photo, the subject is in focus, while the background is blurry. This is called blur motion, and gives the appearance that the object in the photo is moving quickly. In the second photo, everything is perfectly in focus, giving the appearance that time has stopped, or frozen. When you have a higher shutter speed, your image will be darker, and vise versa.
ISO 800
ISO 200
ISO increases the brightness of a photo at the expense of image quality. ISO measures the sensitivity of the image sensor. The lower the number the less sensitive your camera is to light and the finer the grain. By choosing a higher ISO you can use a faster shutter speed, or a higher aperture, and get the photo you need. But the higher your ISO is the more “noise” there is in the image.
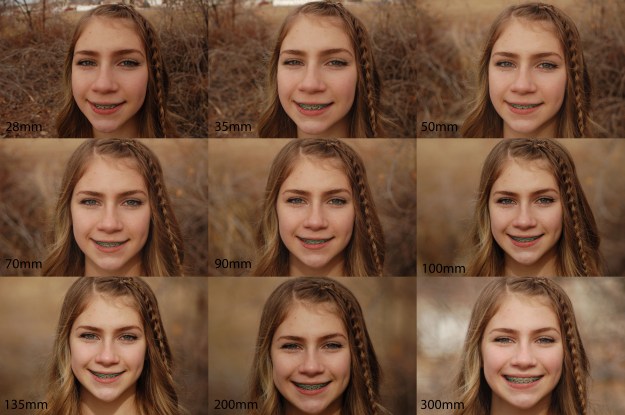
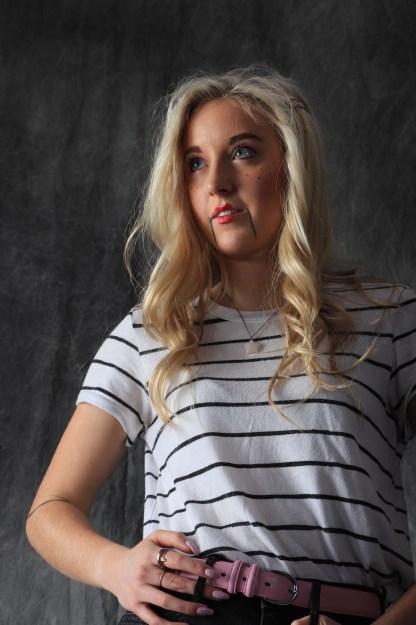
Focal length is how far you are away from the subject as well as zoomed in. when you are at a small distance from the subject (28mm) the image is warped and the face is thinned, and the background looks closer and sharper. as you get farther away, the image compresses, and rounds out your face, as well as blurs the background. 70mm to 100mm is considered the average human face shape for this example.