Advanced Editing

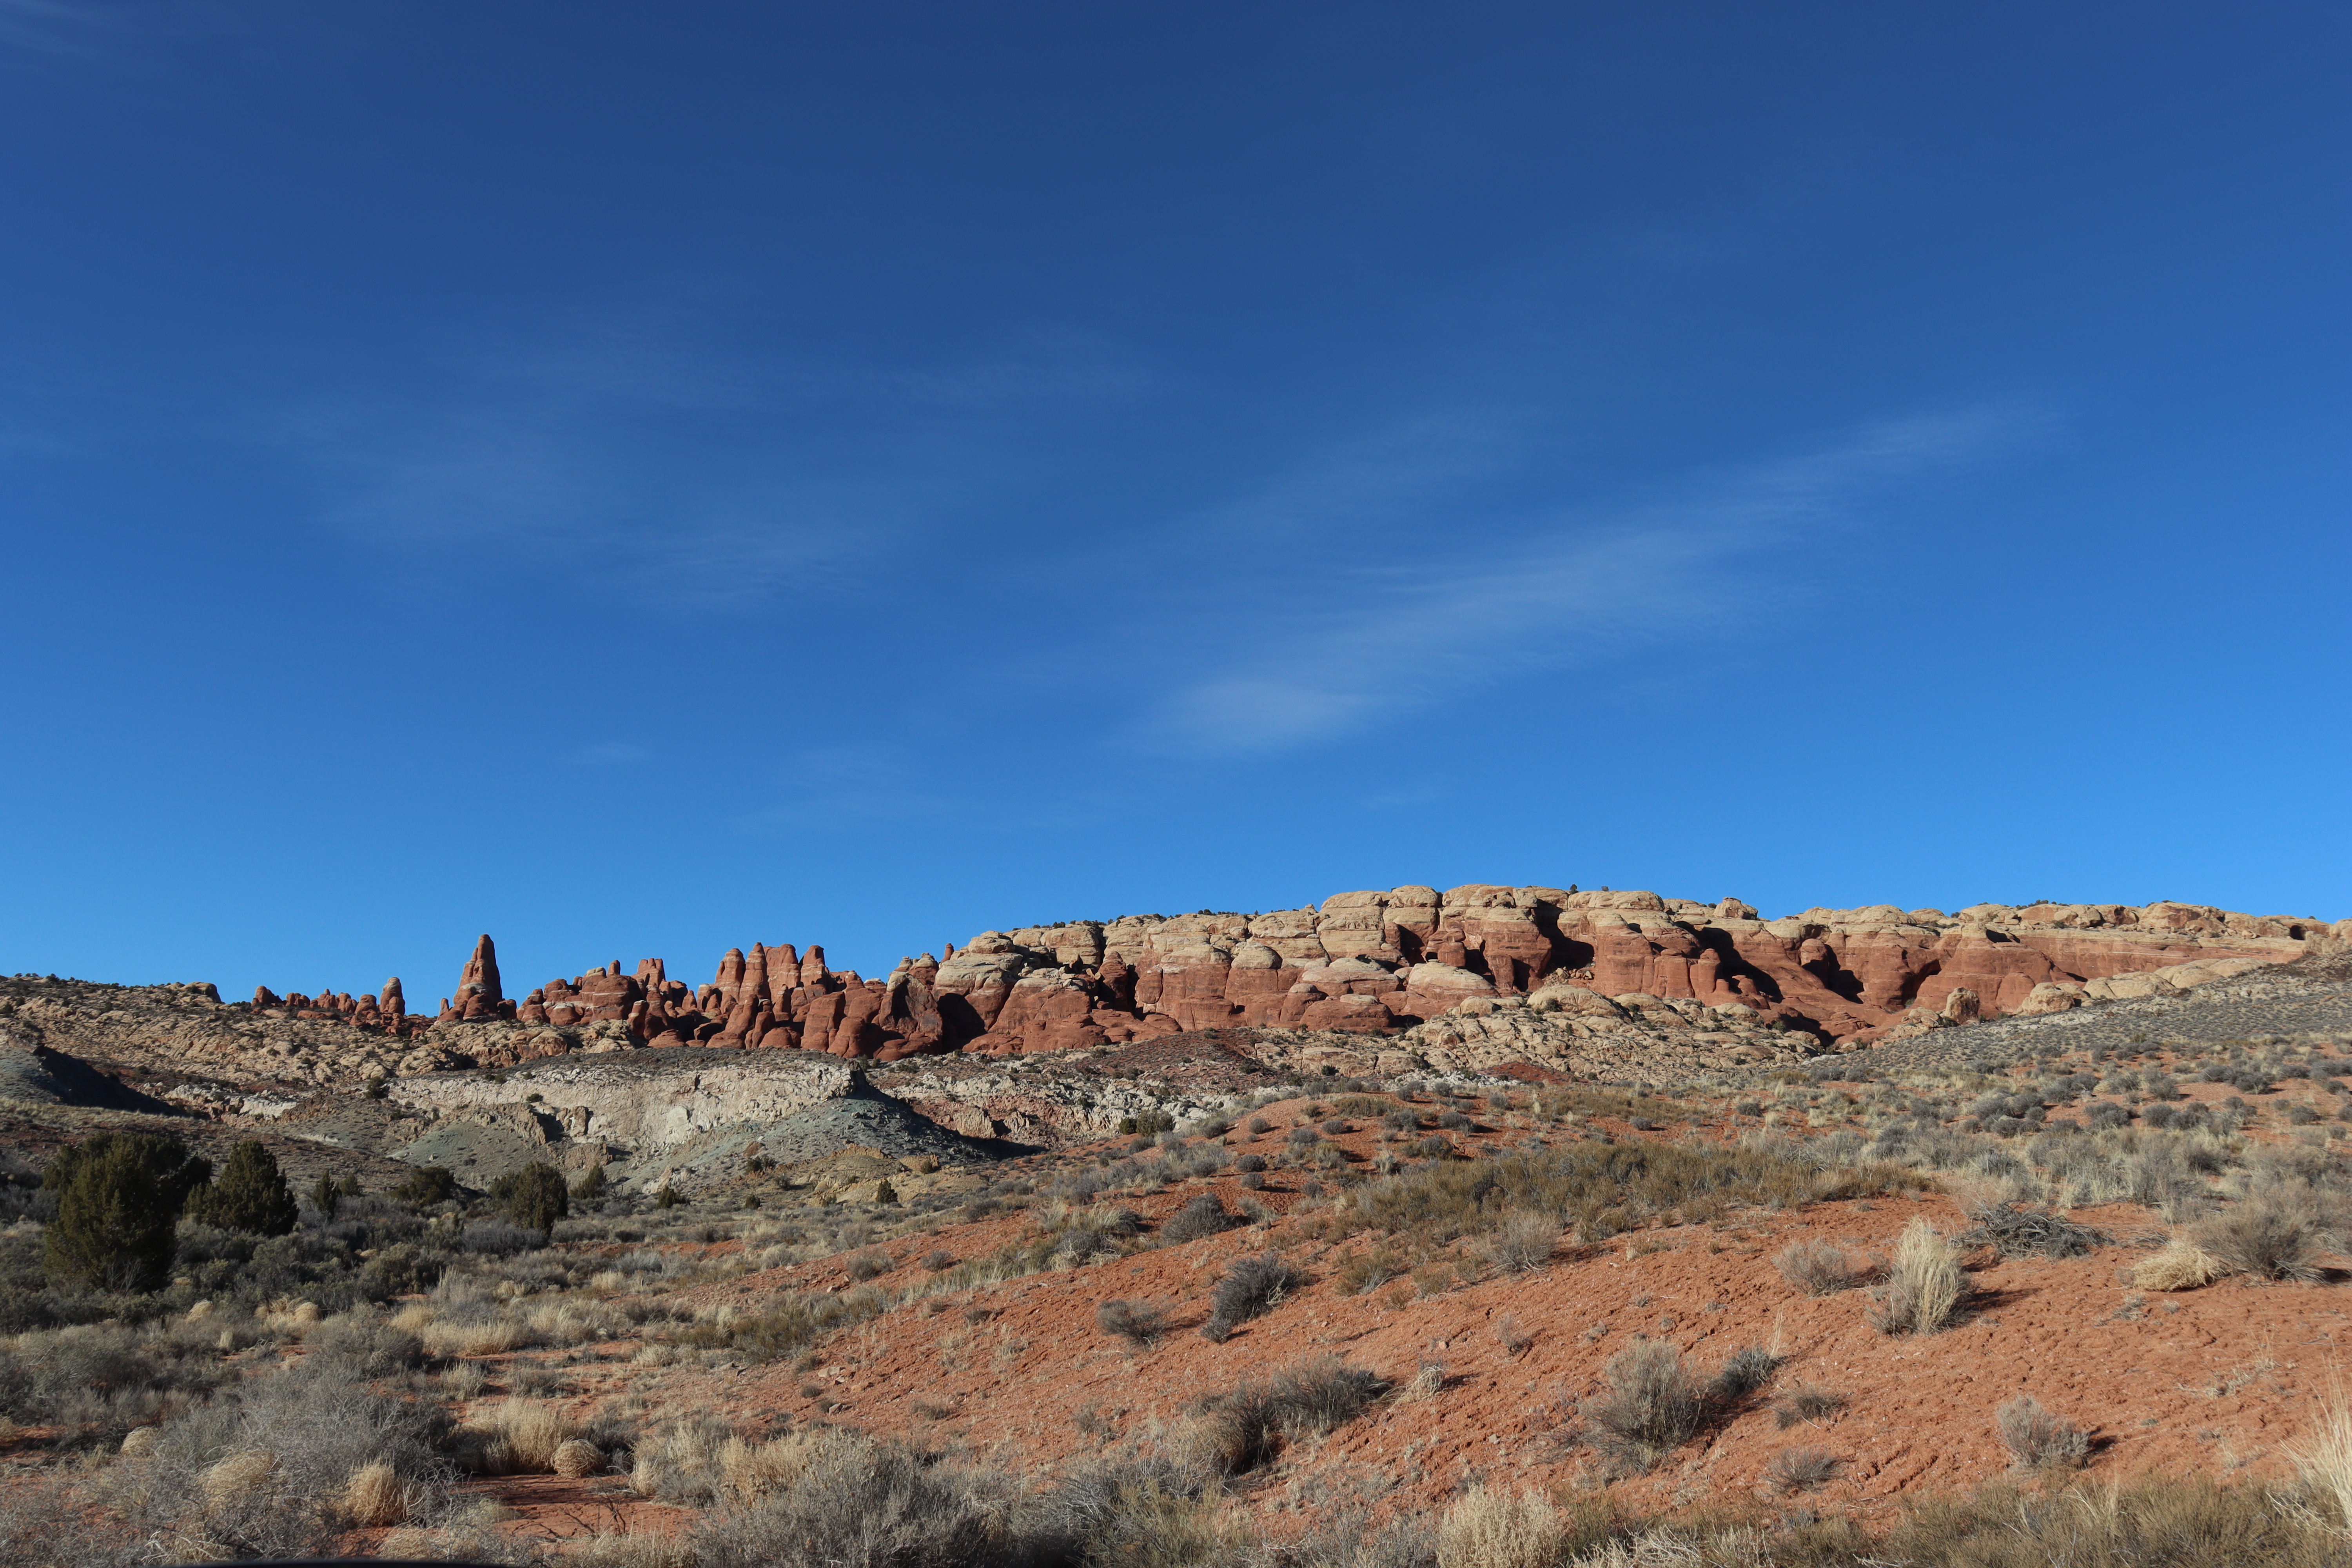
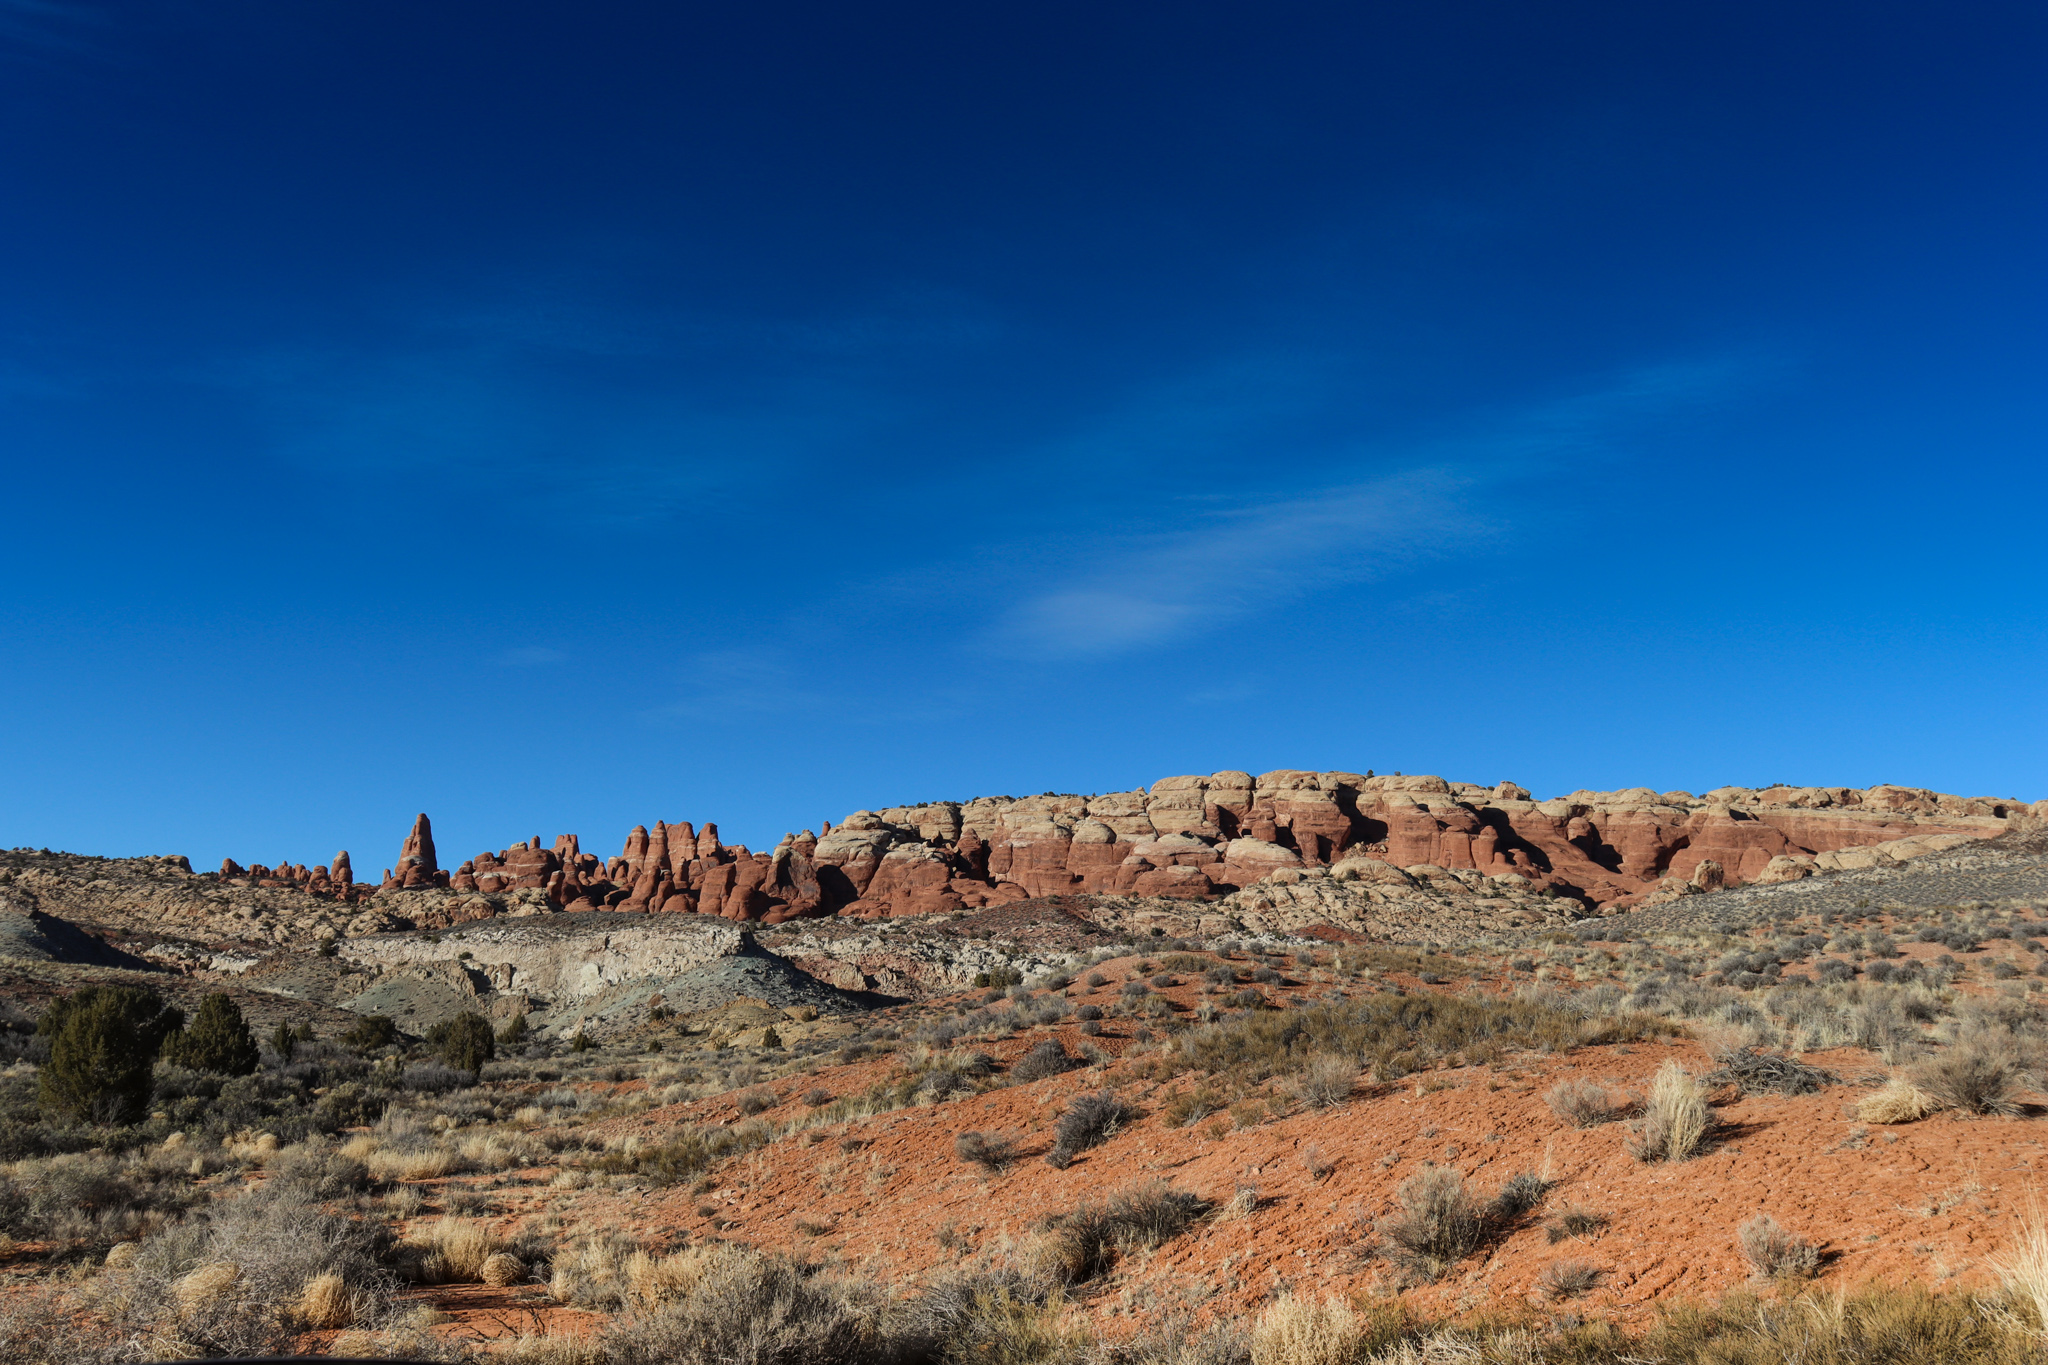
The first edit shown above was a simple process for sky replacement. I placed an image of the sky I wanted behind my original photo and changed the sky’s blending mode to multiply. Then I used a mixture of Blend If and layer masks and brush tools to remove the original sky with decent feathering so as not to leave a harsh line between the two photos.
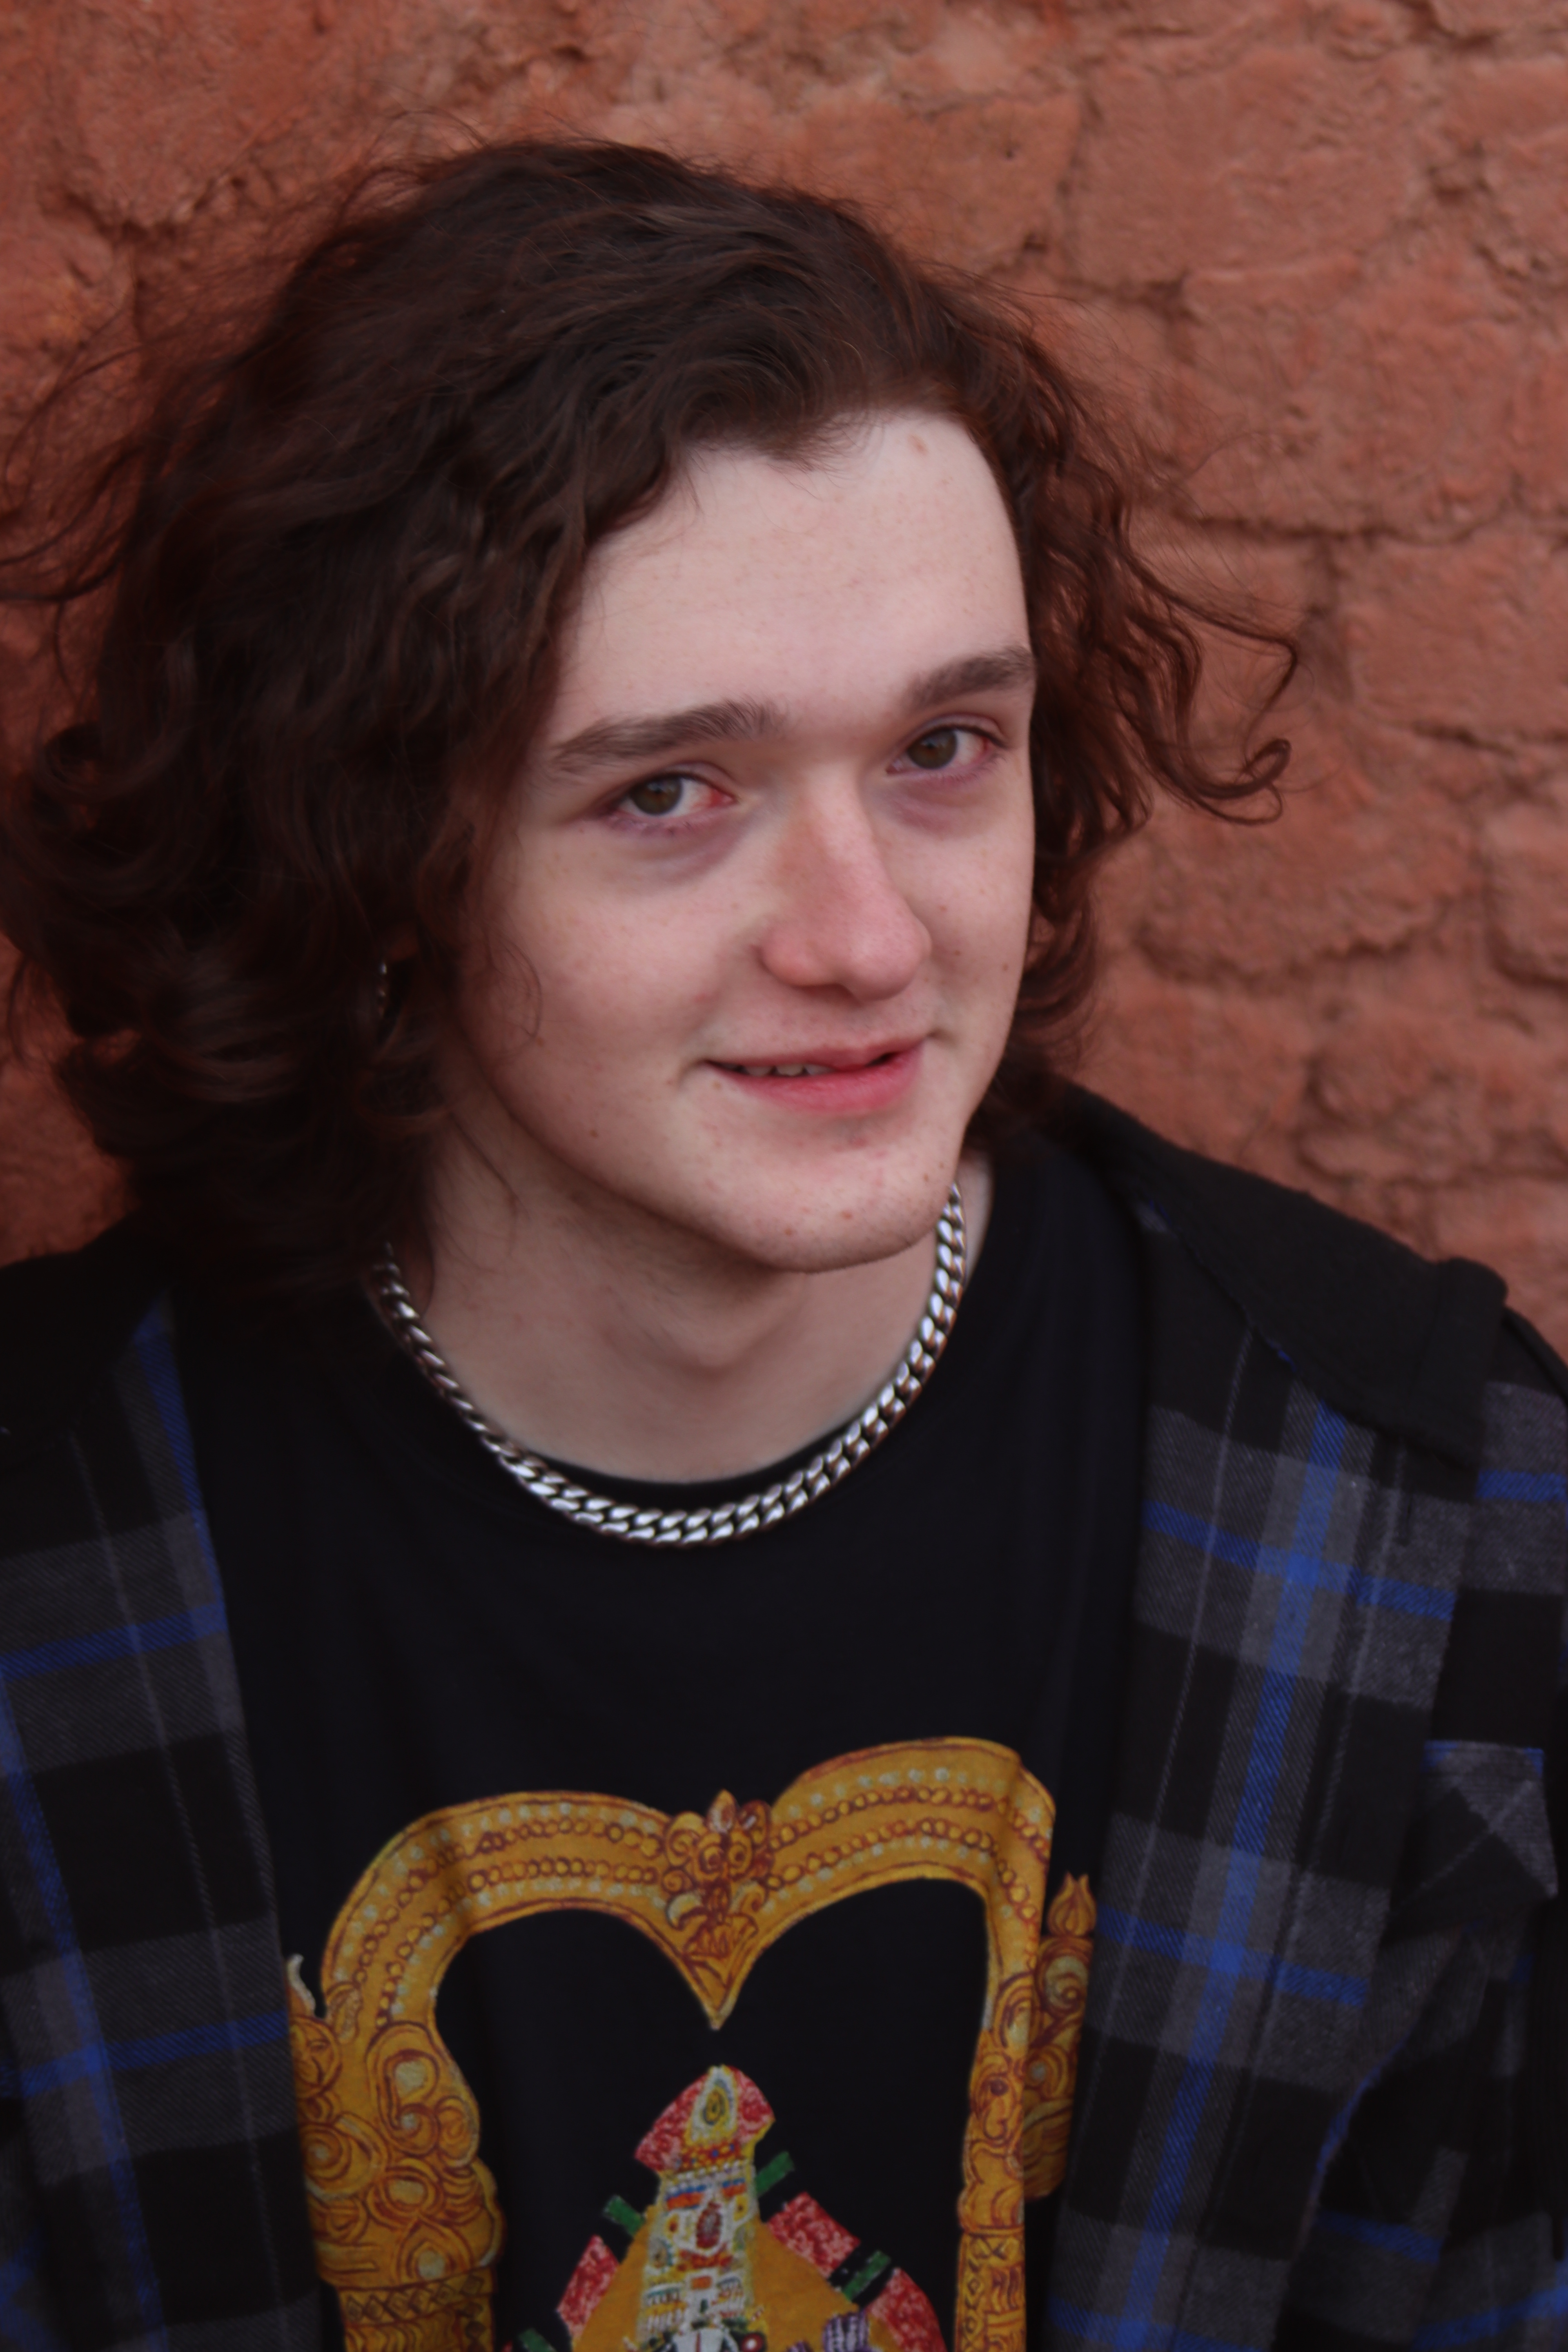
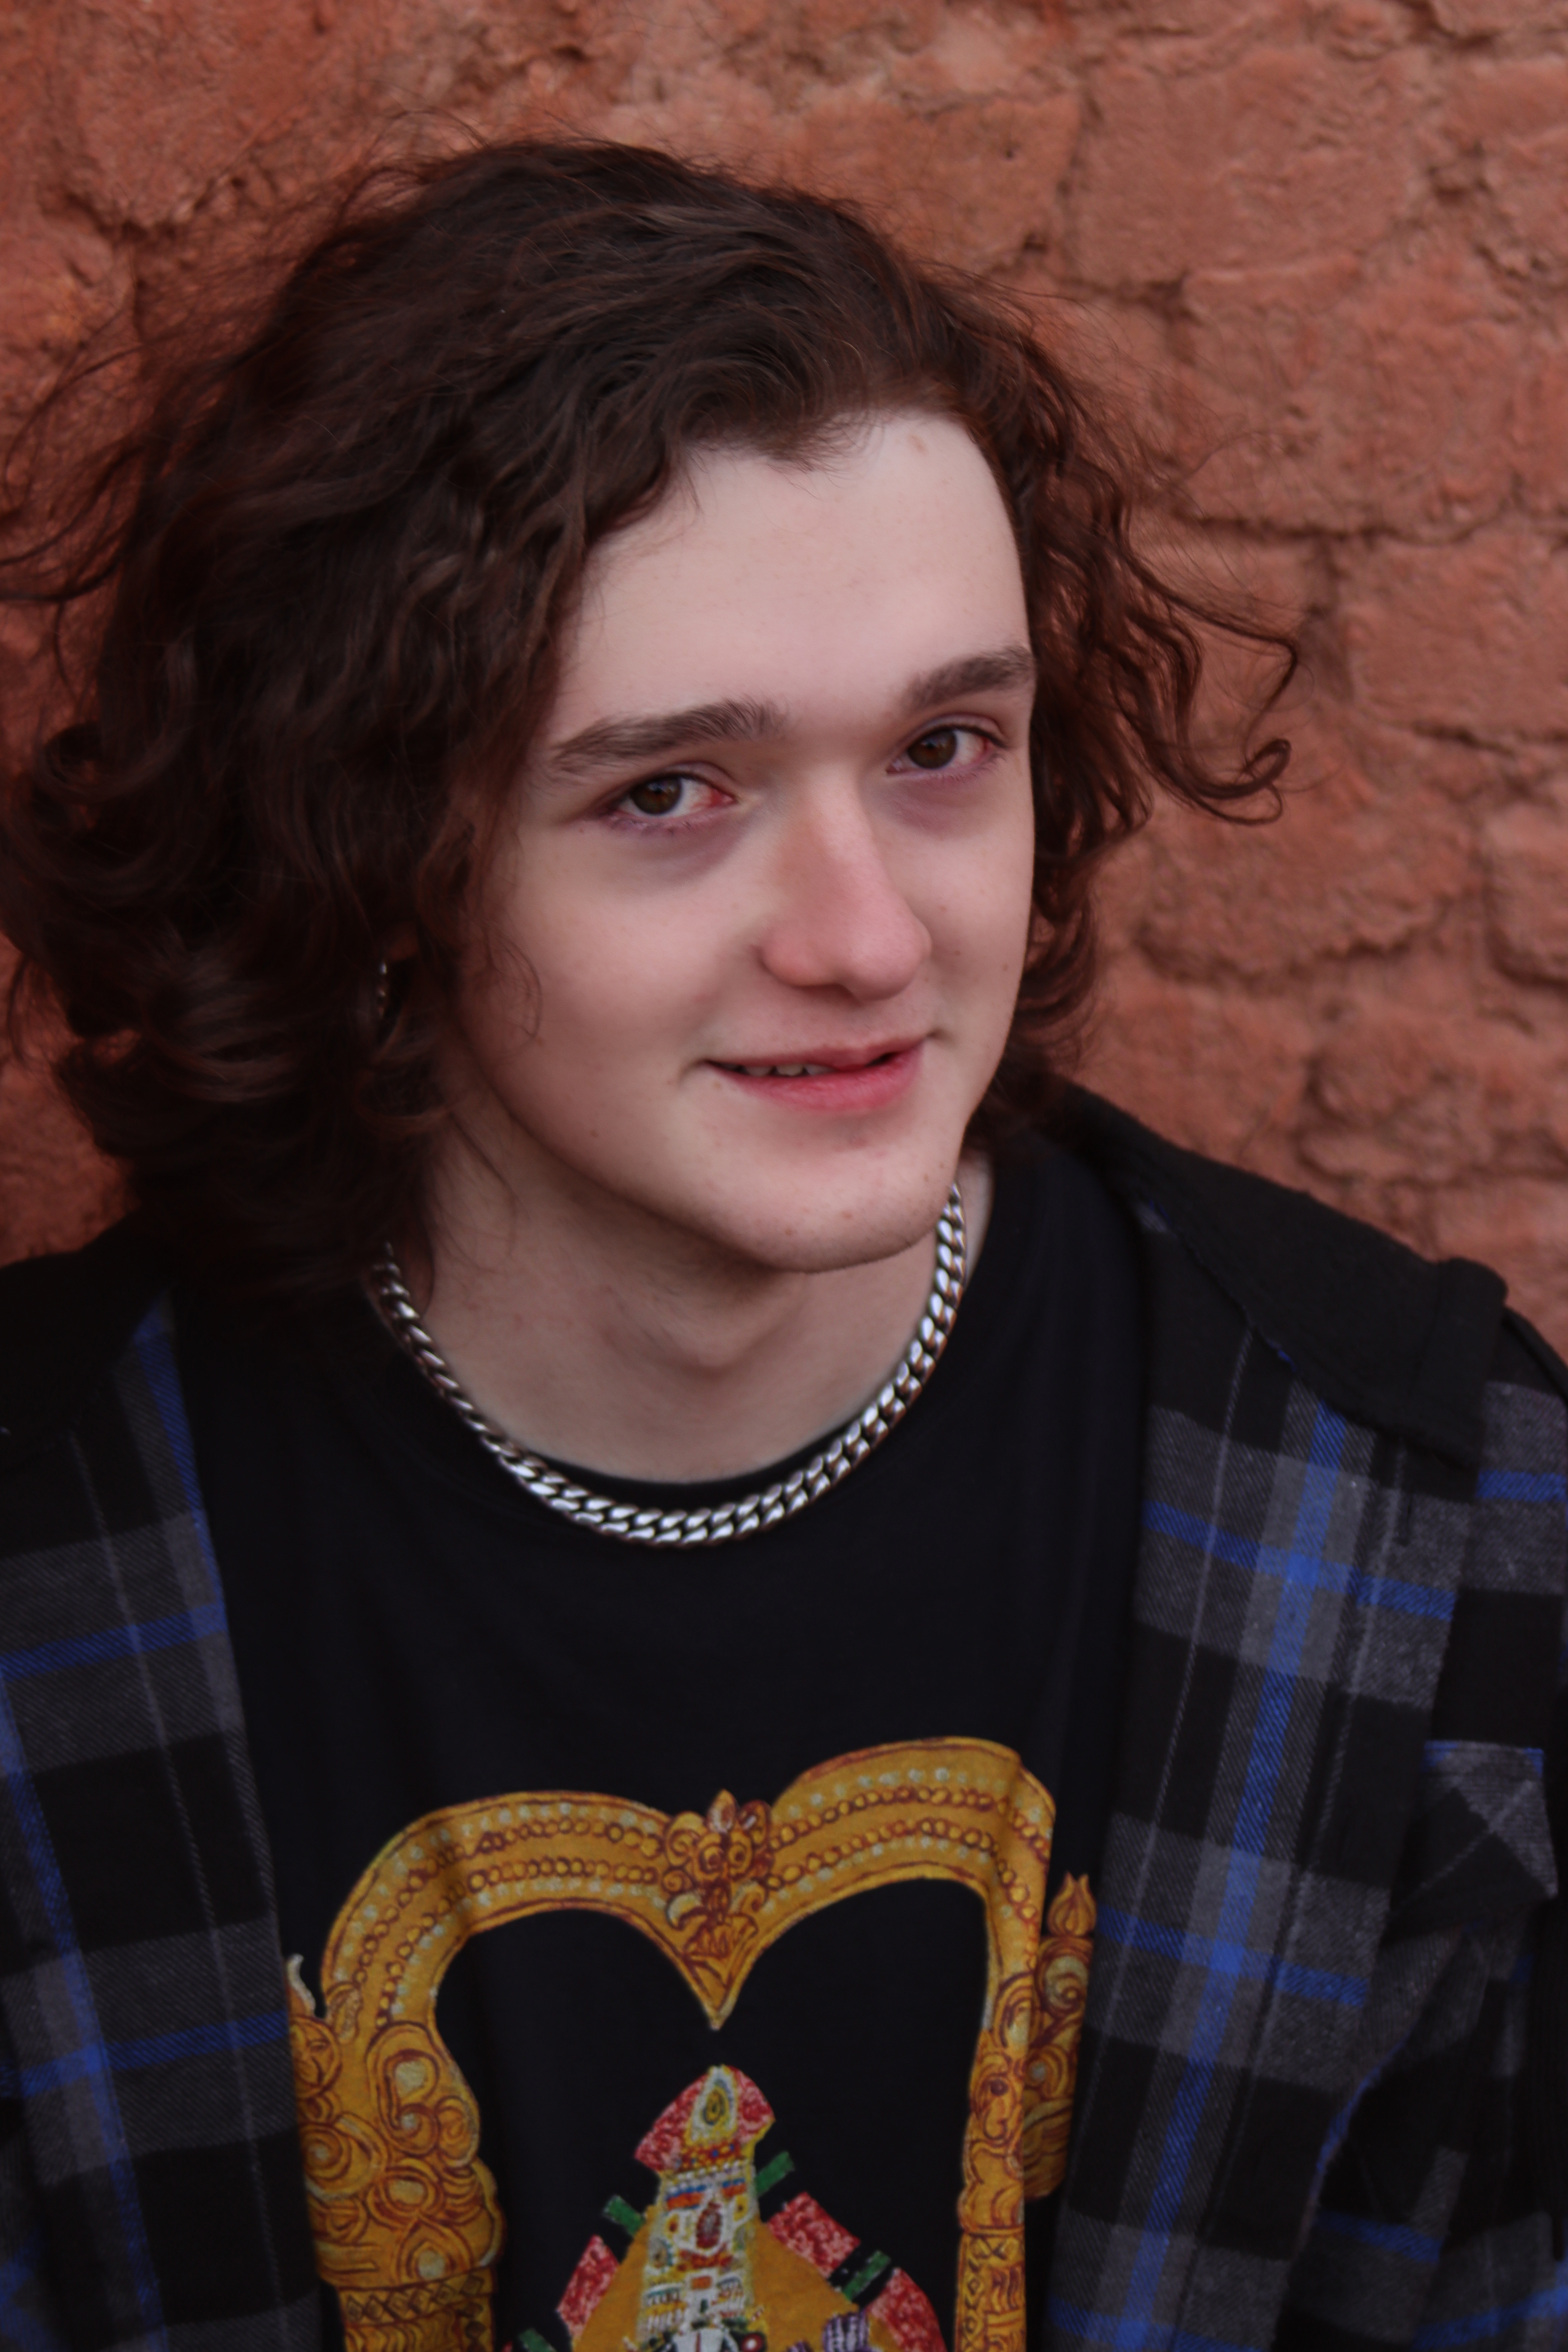
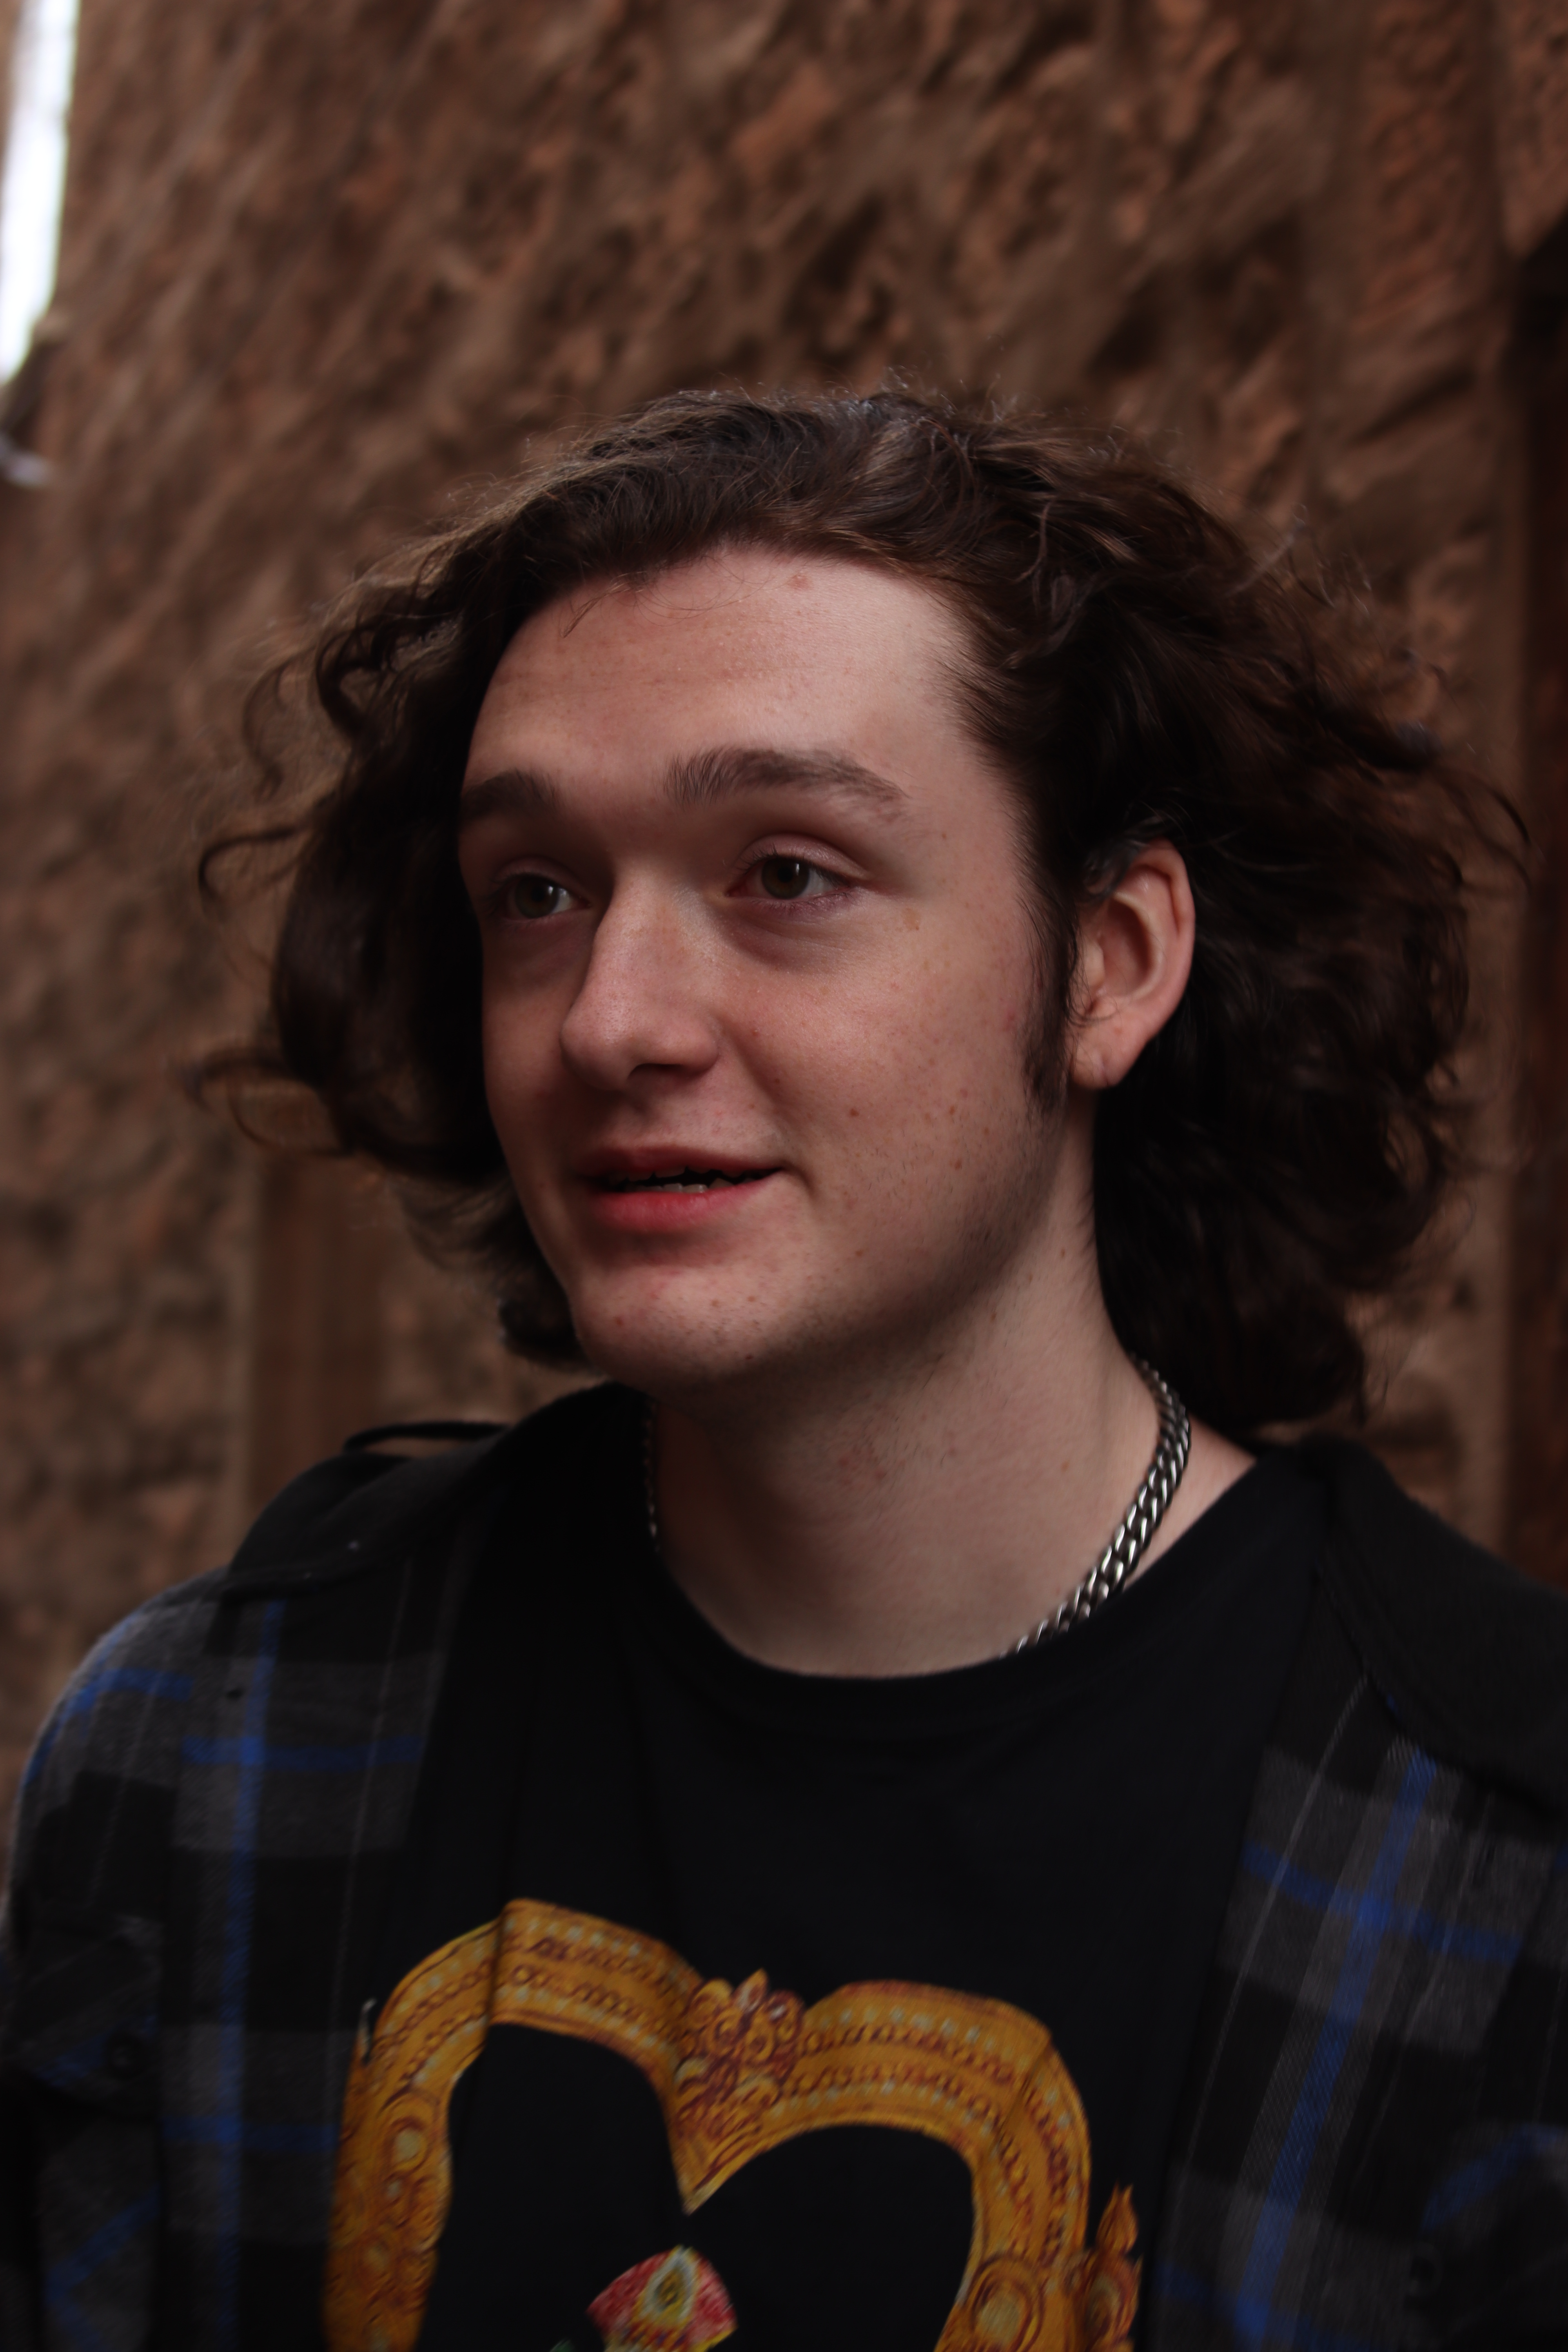
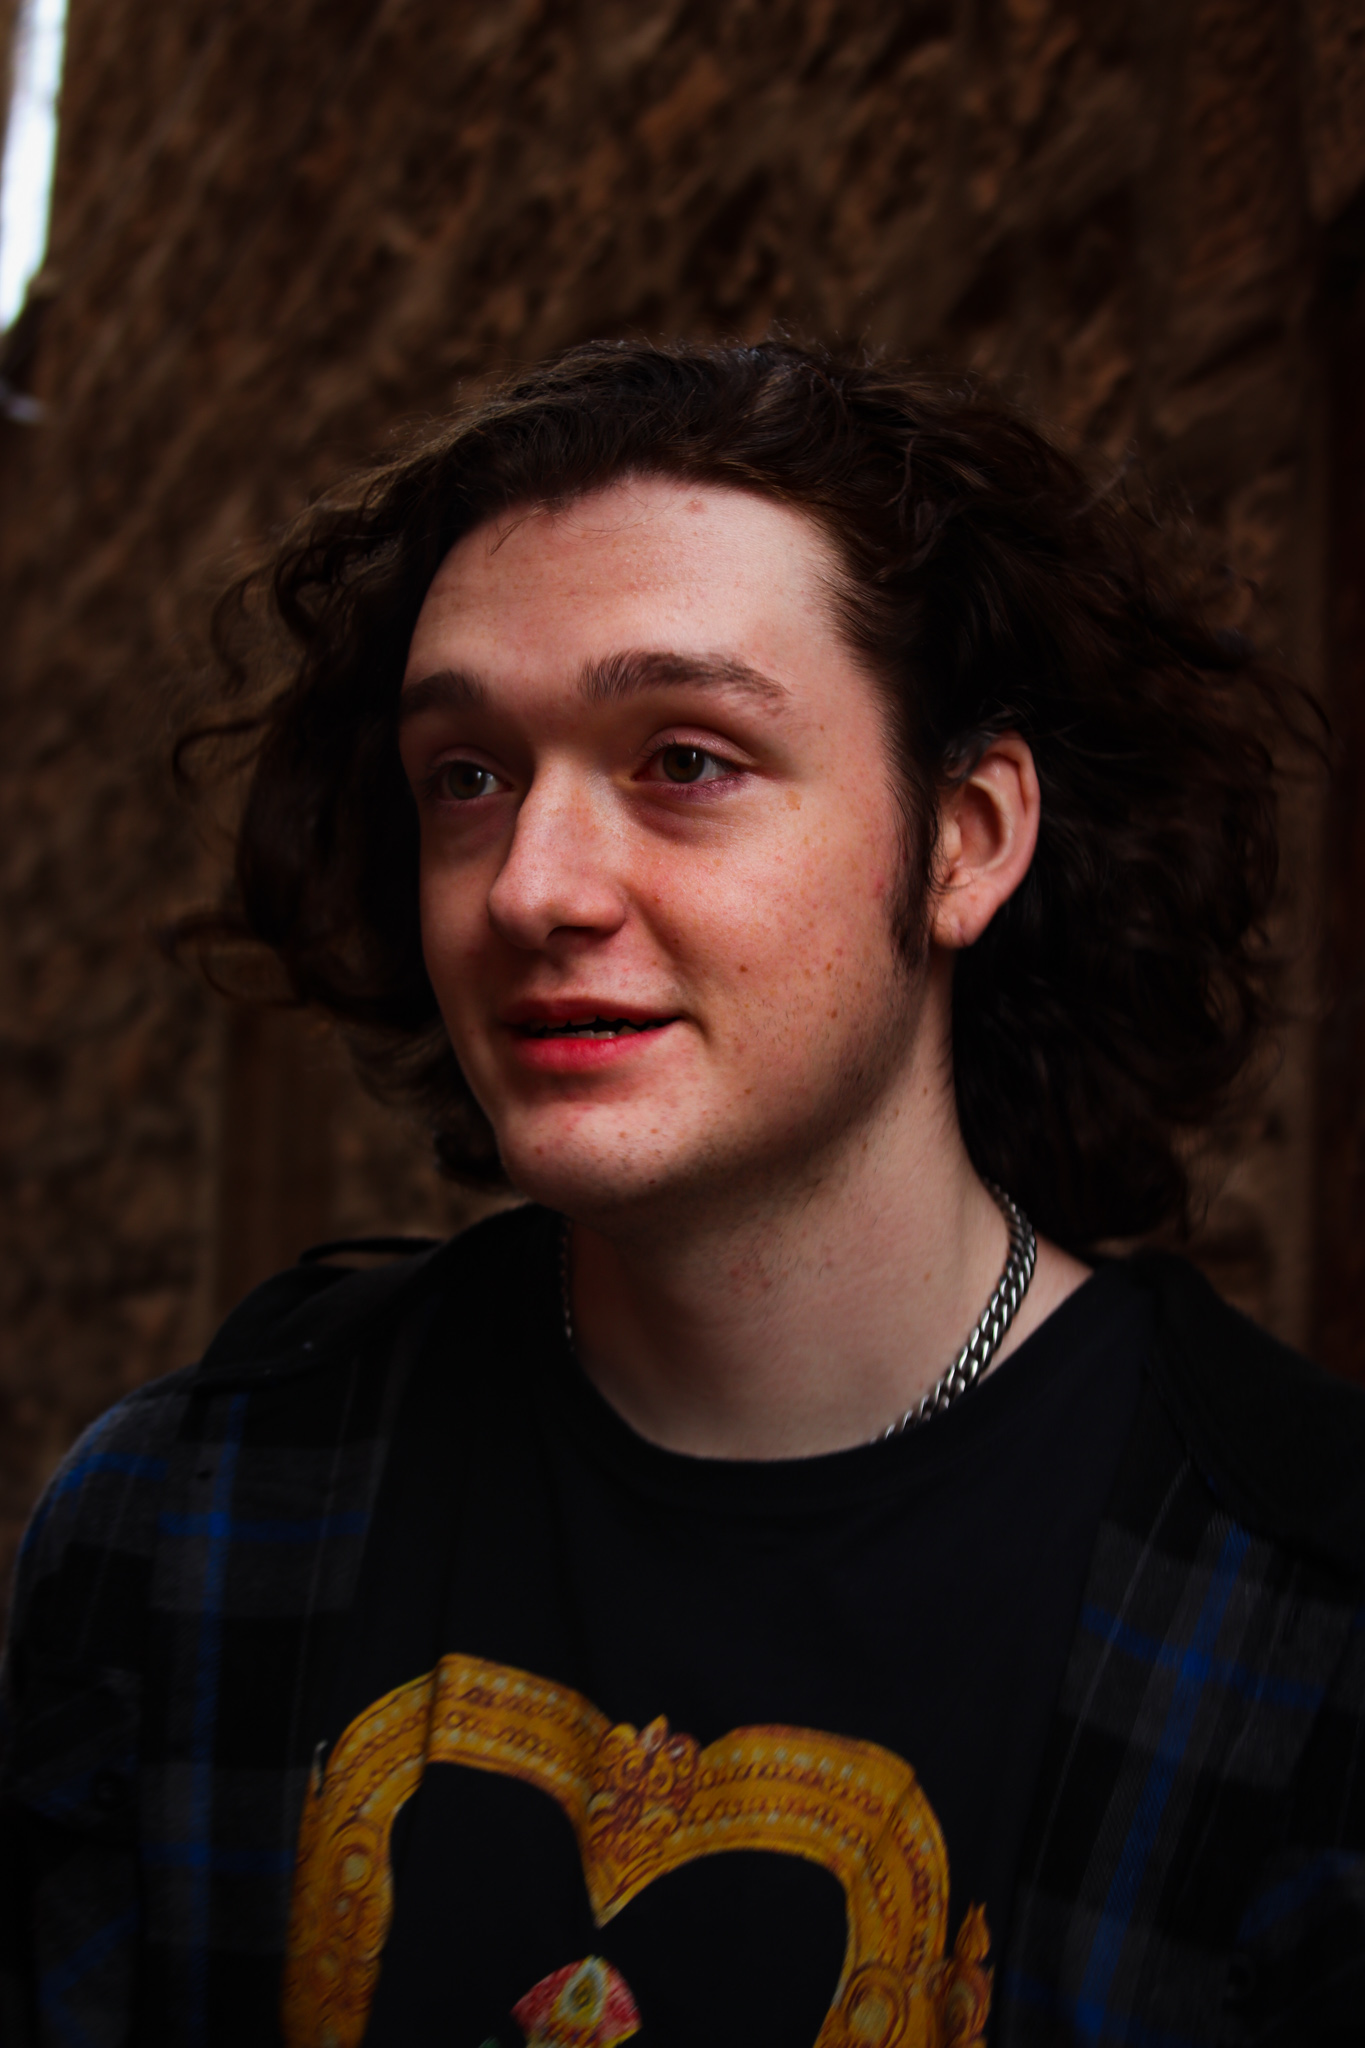
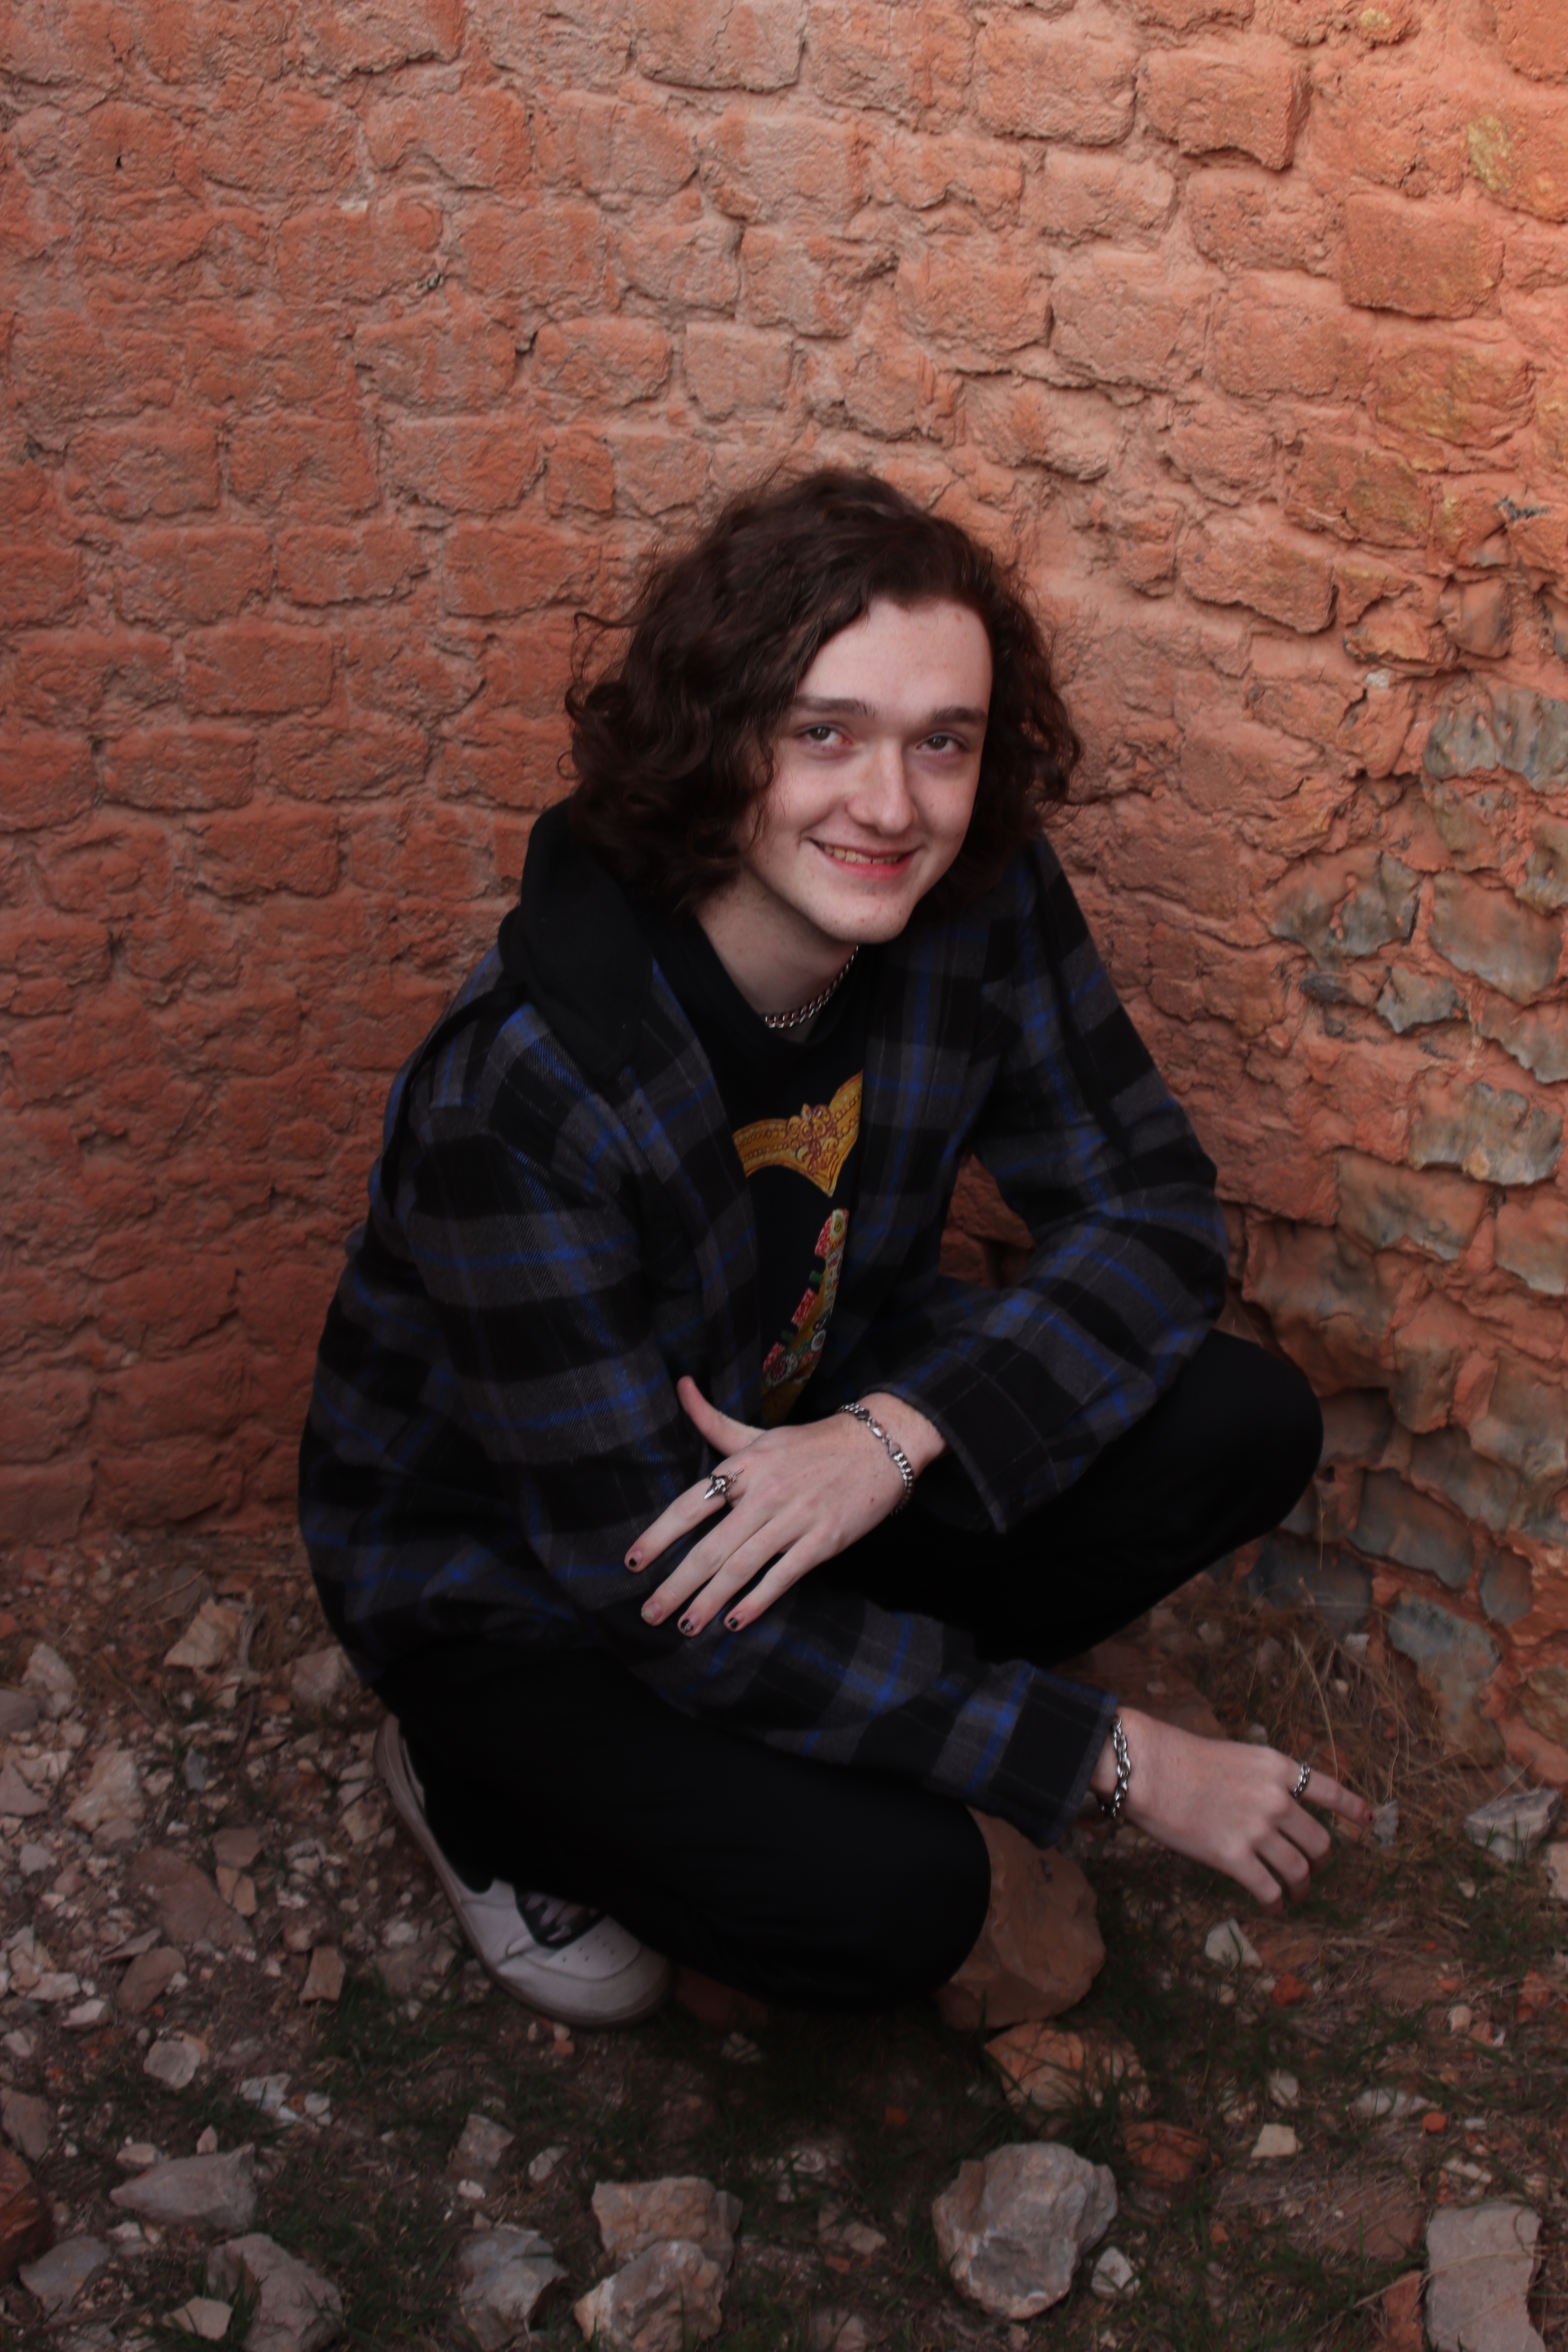
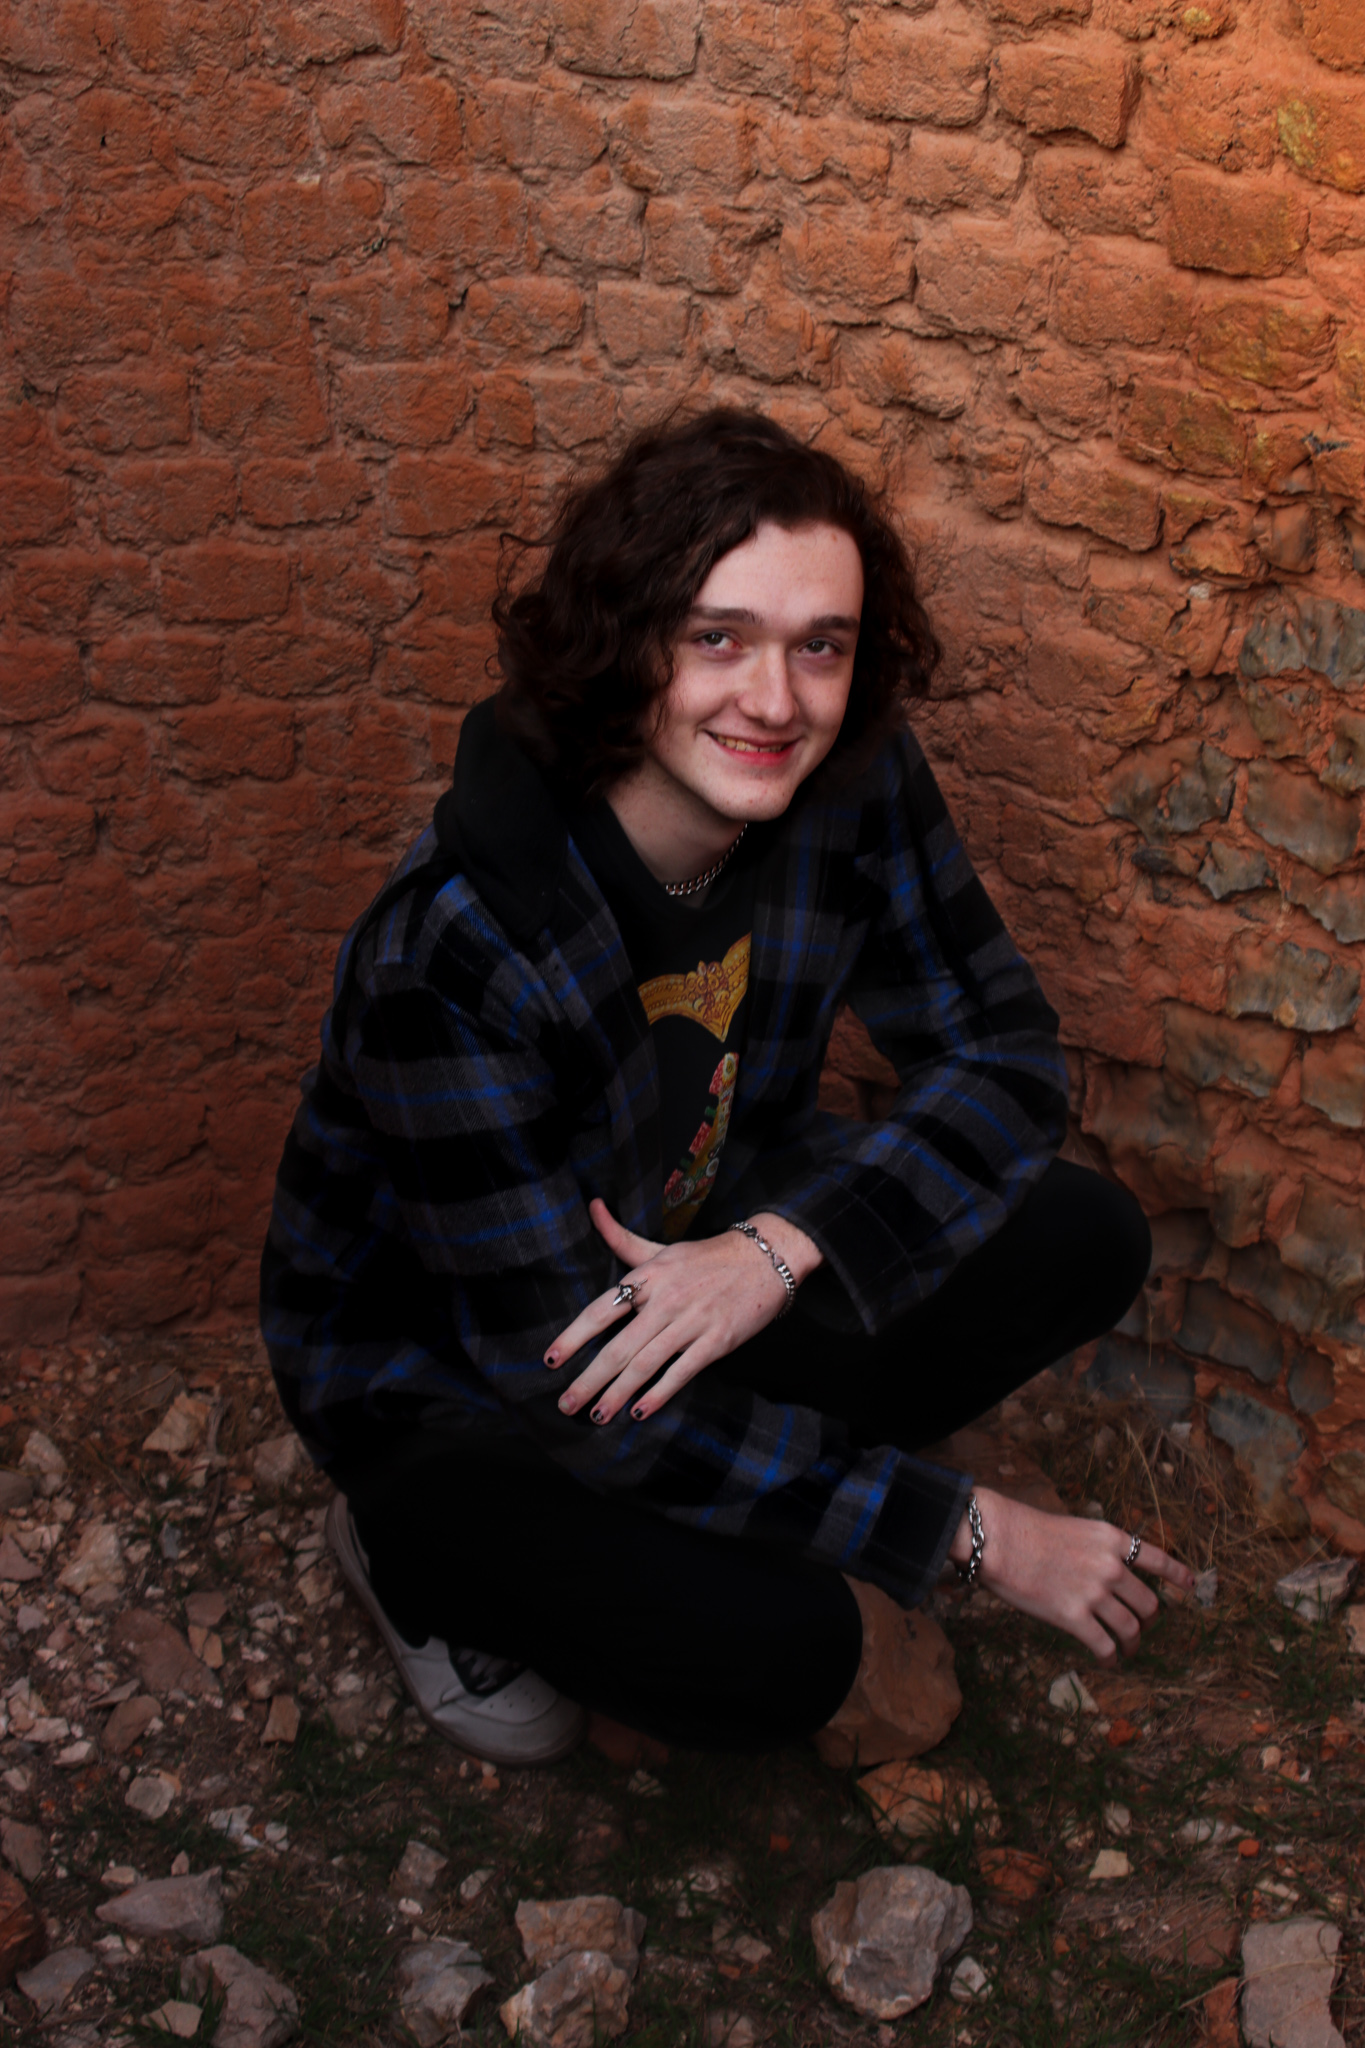
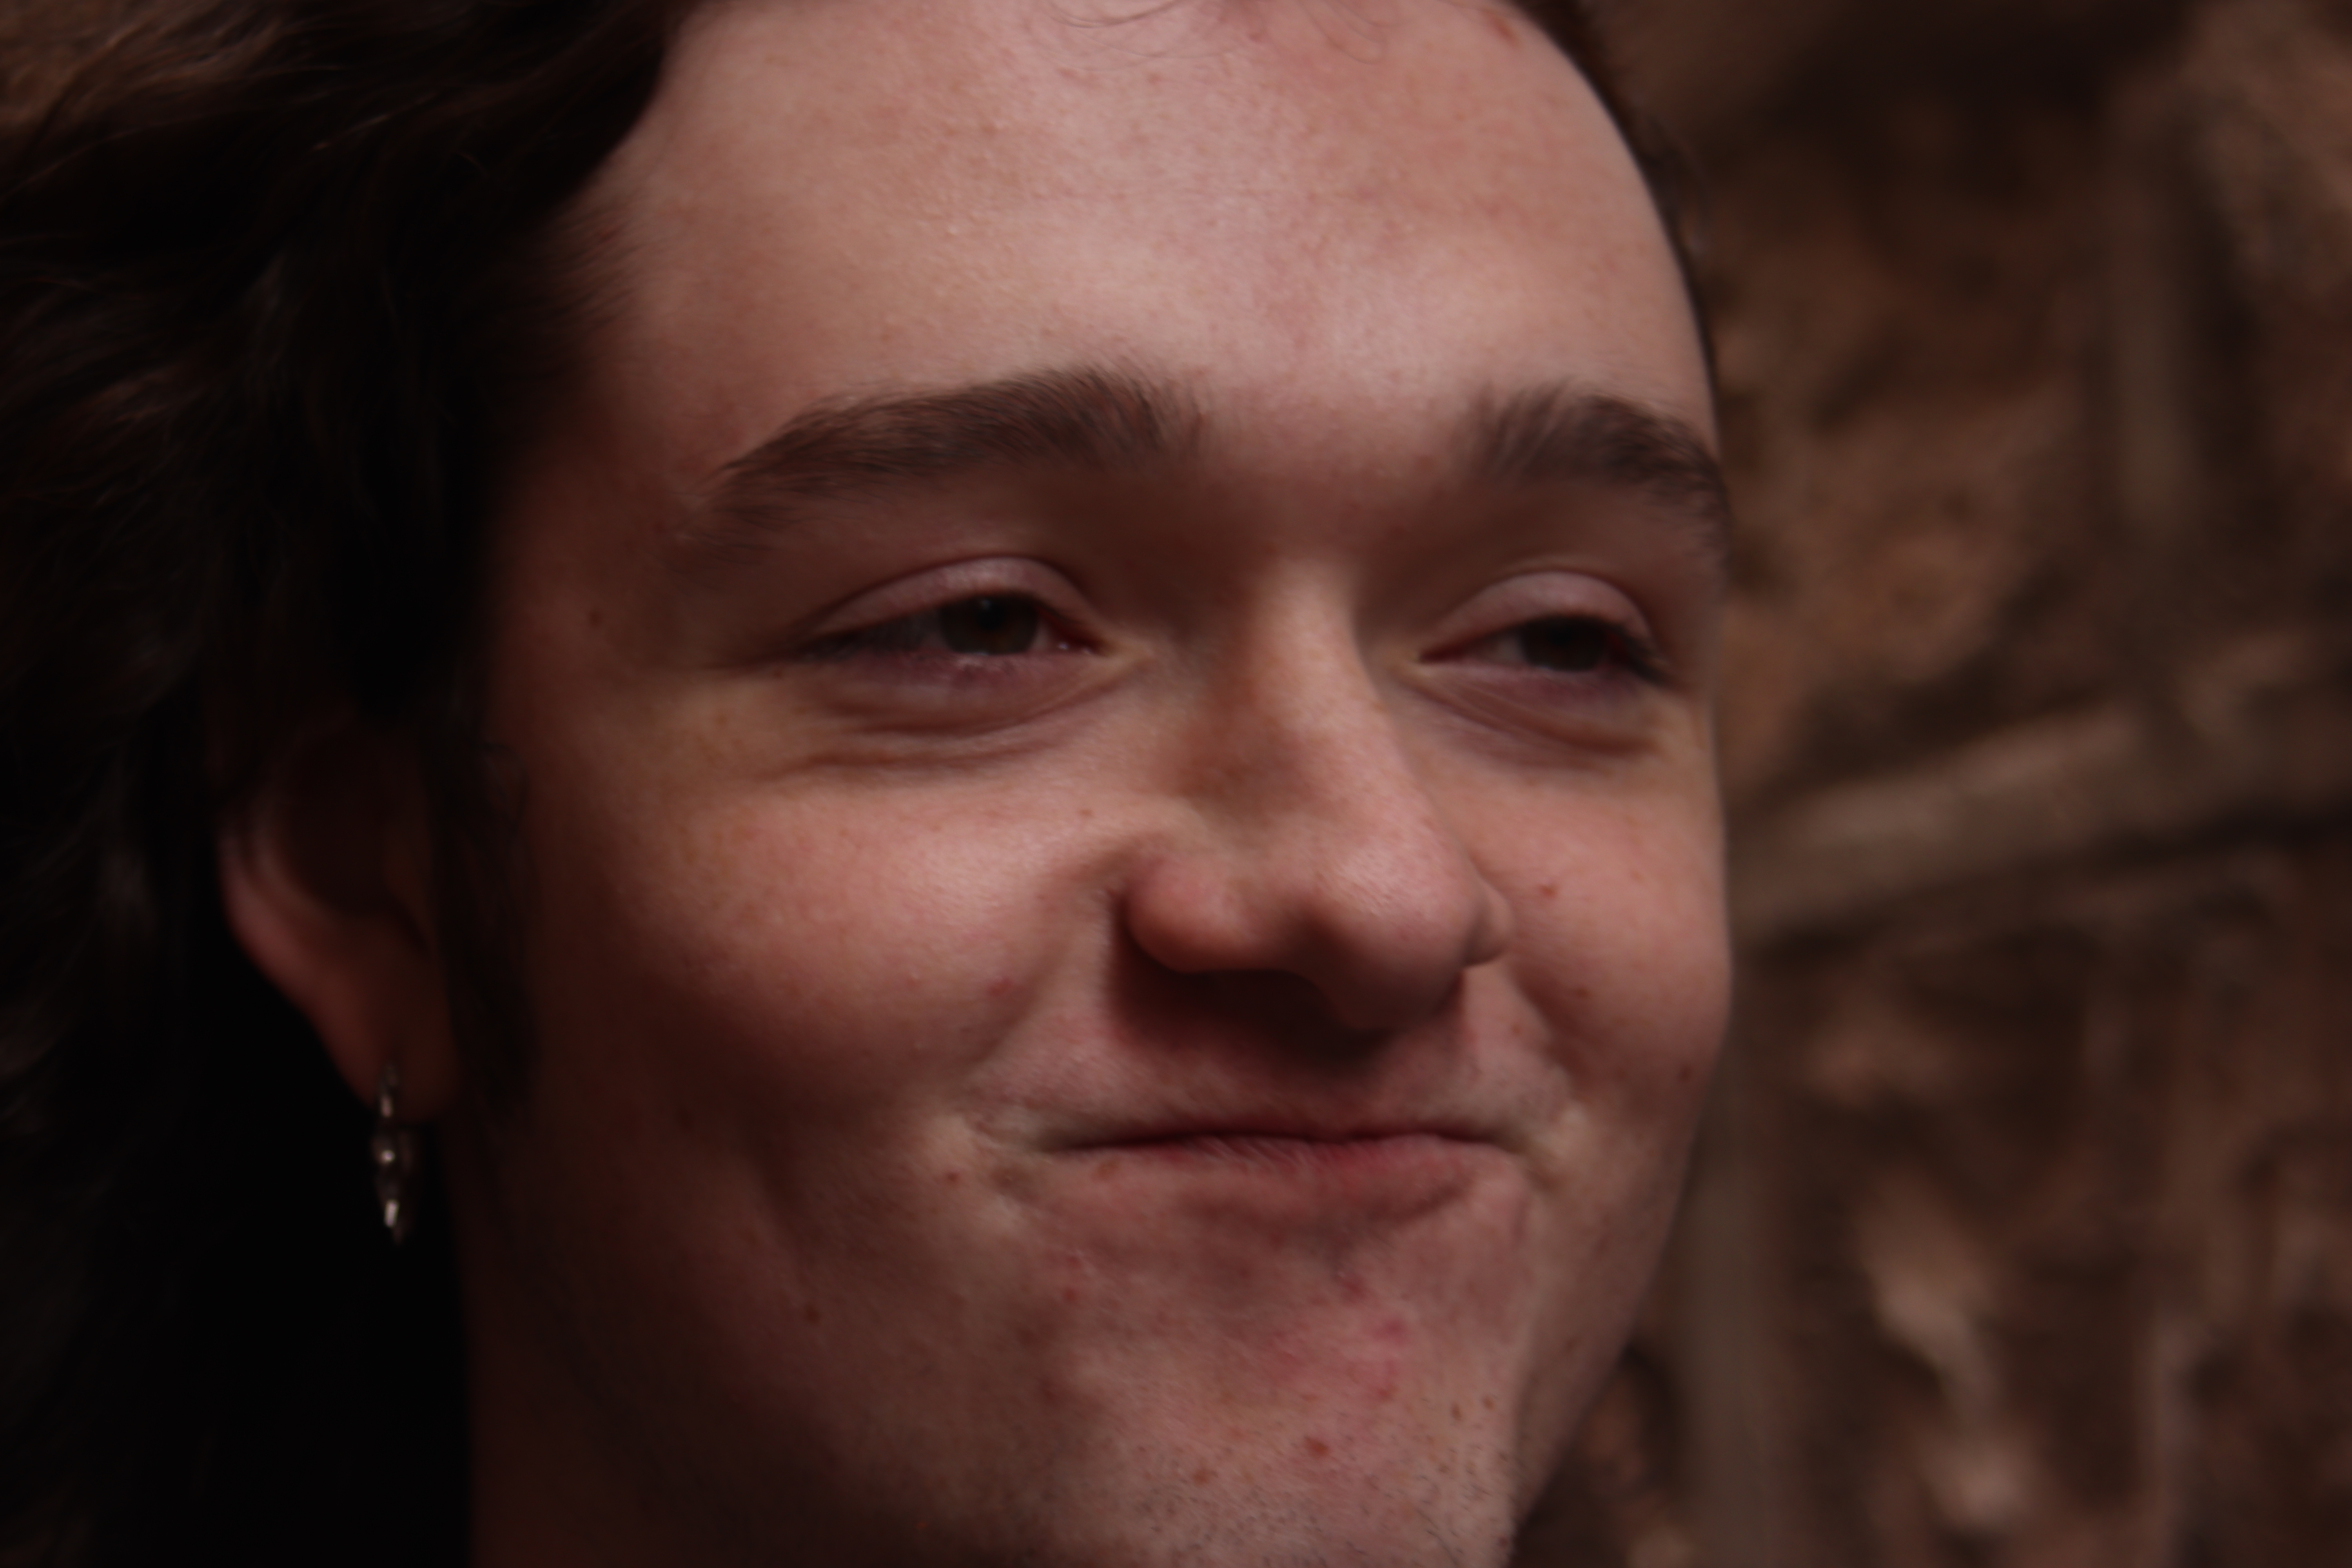
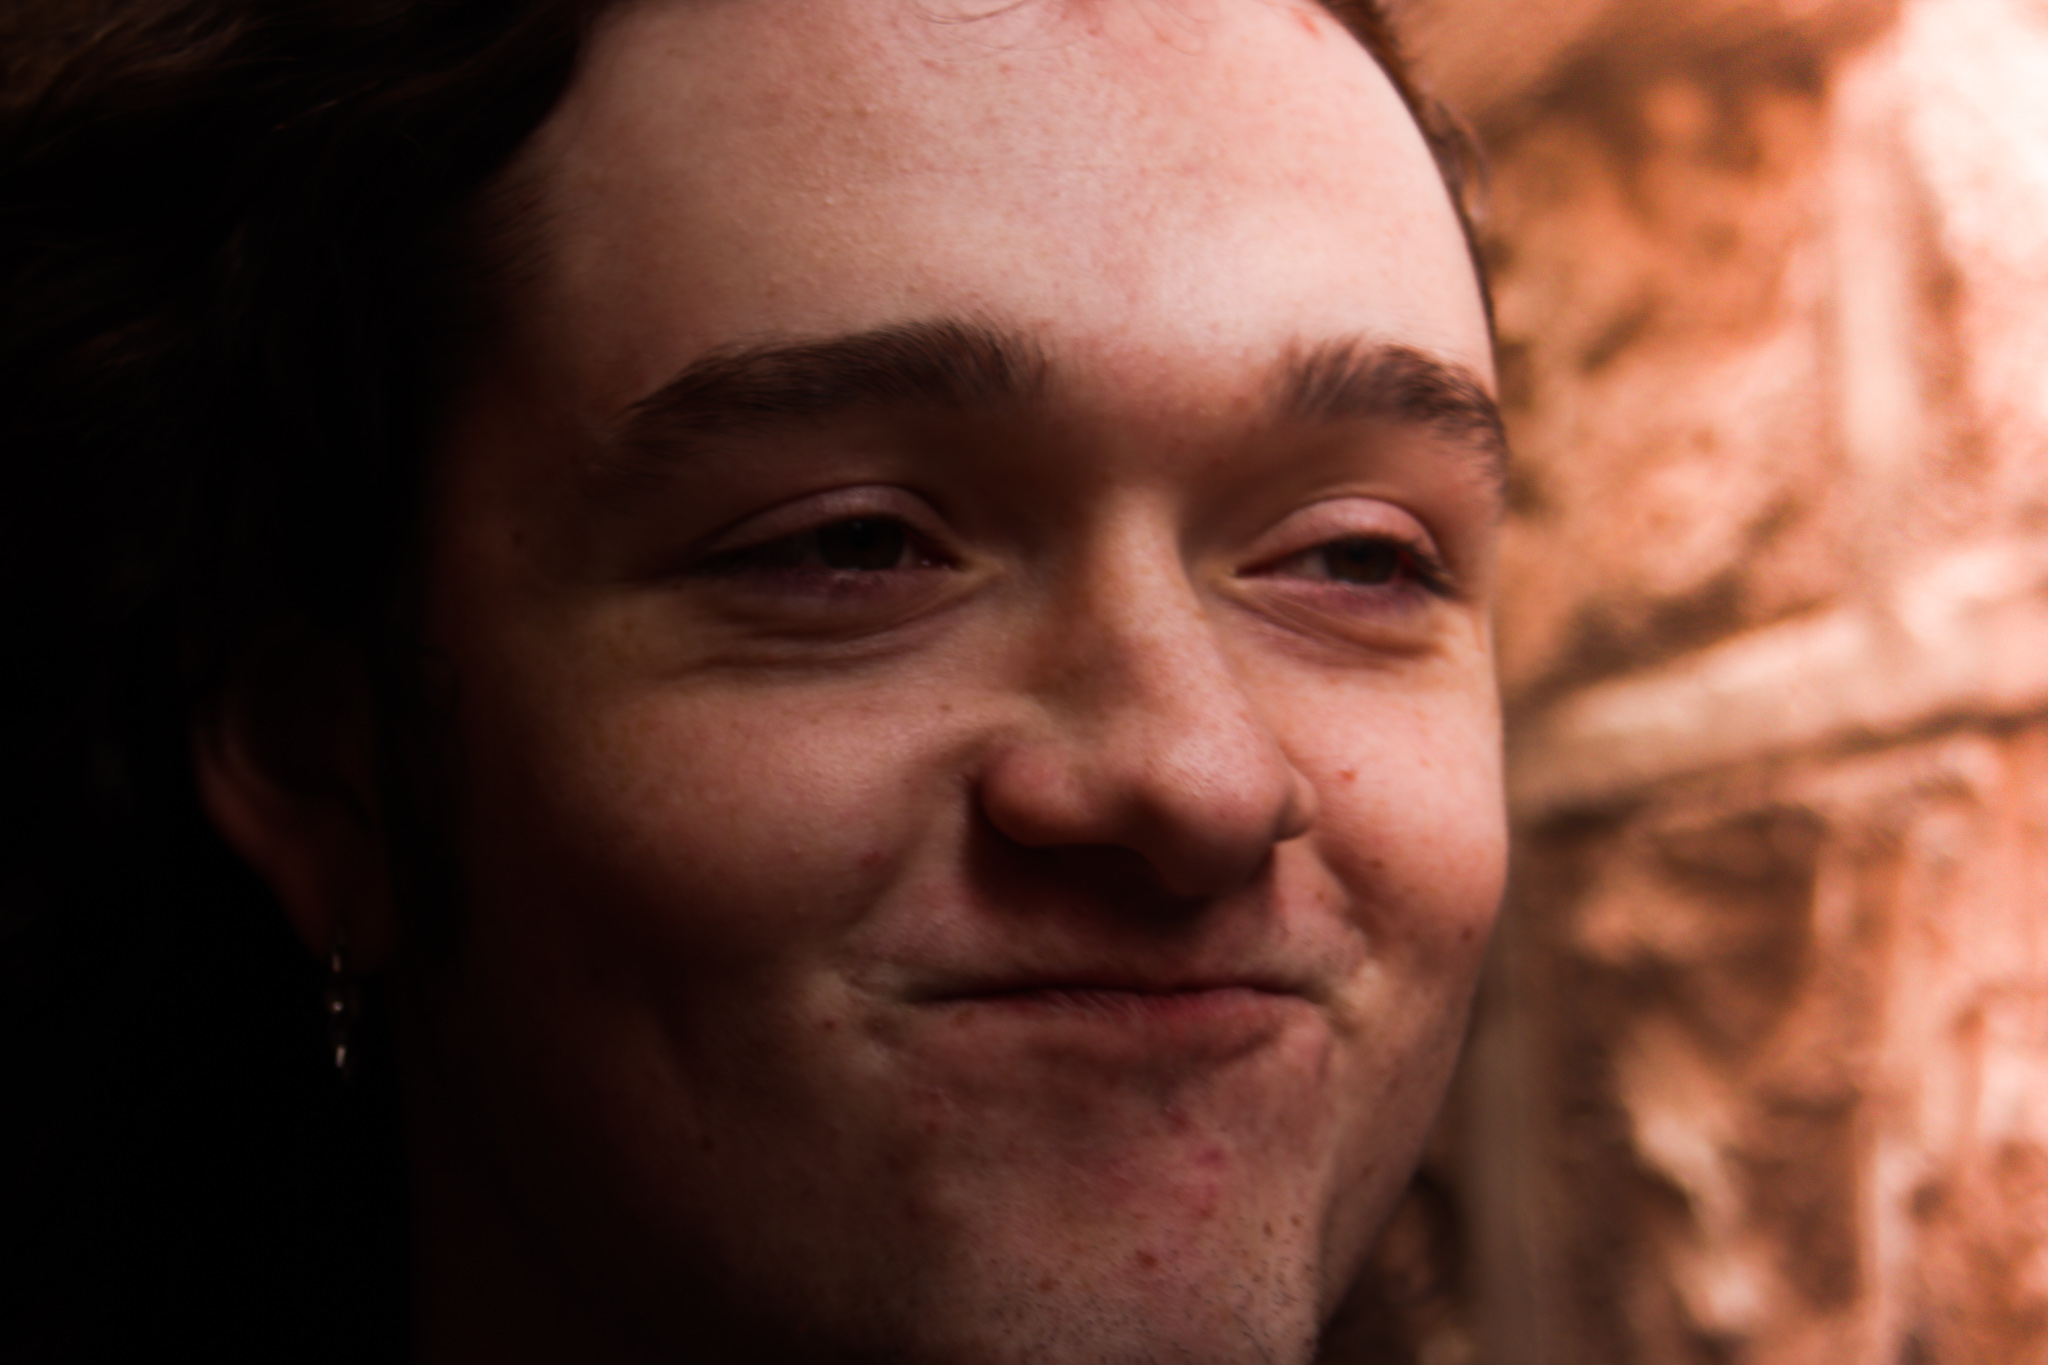
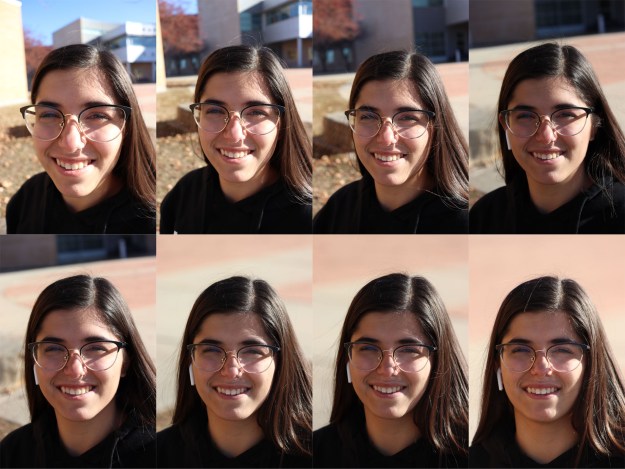
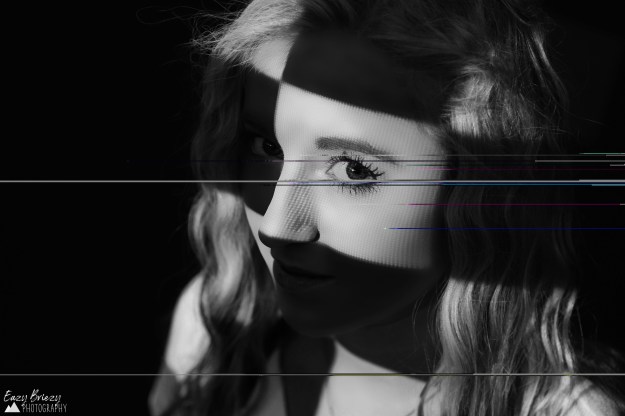
For this next photo, I smoothed out the skin and made the color of the eyes pop out more. First I made my photo into a smart filtered photo. For the skin, I created two copies of the photo in layers and grouped them, then added blur filters to the first layer, then changed my blending mode to linear light and added a high pass filter in the second layer. I created a layer mask on the group layer and used a channel filter to brush over the skin of the subject. For the eyes, I created an empty group layer, masked it, and used the channel filter to make only the iris and pupil of the eyes visible. I then added a brightness/contrast and hue/saturation adjustment layer, and drastically enhanced brightness, contrast, and saturation. for both skin and eyes, I brought the opacity of the layers down to around half their opacity, because the changes are meant to be subtle.